
There is something mighty satisfying about taking a plain little dollar store laundry hamper and turning it into a basket that looks warm, useful, and downright homey. This project uses the hamper itself as the sturdy frame, then works chunky cinnamon yarn right through those plastic grid openings so the whole thing becomes softer, prettier, and much more finished-looking without losing its shape. I love a project like this because it gives you the payoff of a large storage basket without the fuss of building one from scratch.
It is especially good for folks who want a crochet project that feels practical from the very first row. If you can manage a simple stitch and pull yarn through a large opening, you can do this. The white plastic hamper stays visible underneath just enough to remind you where it came from, and once the yarn wraps around it in rich cinnamon tones, it takes on that cozy handmade look that always makes a room feel cared for.
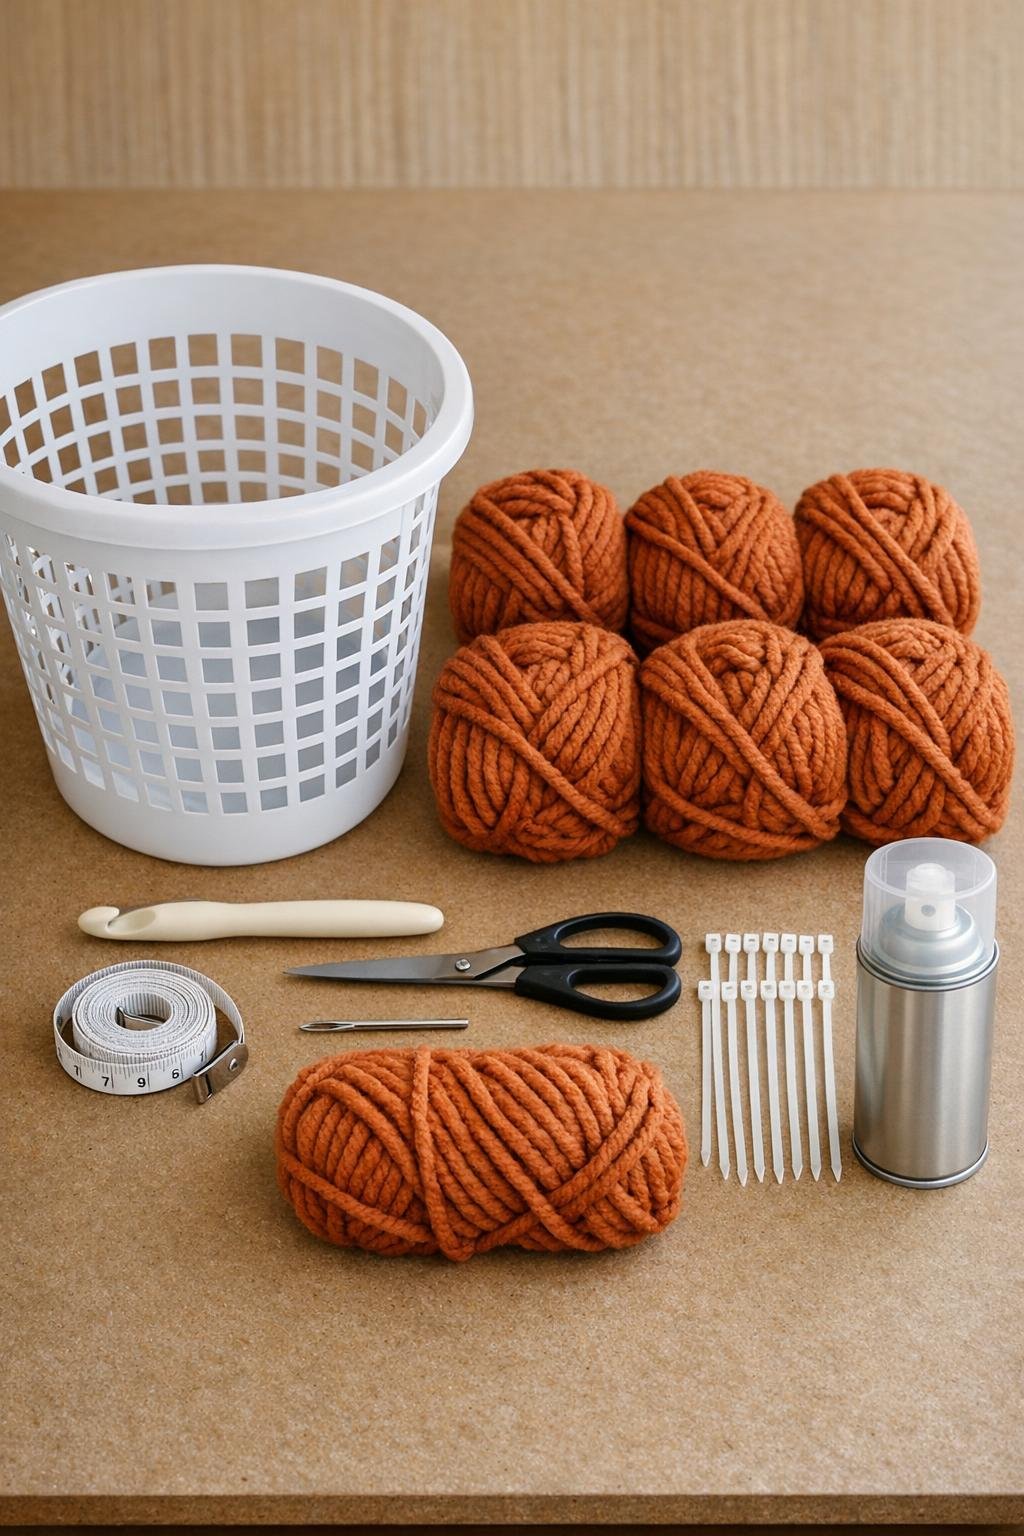
Materials
1 white plastic dollar store laundry hamper with rectangular grid openings, about 19 to 21 inches tall
Instructions
1. Wipe the hamper clean and trim away any rough plastic burrs around the grid openings so the yarn will slide without snagging. If the hamper has flexible side seams, secure them neatly with zip ties at the top, middle, and bottom to stiffen the shape.
2. Decide which side will be the front, then turn the hamper so the top rim is level and the grid rows run straight. Count the openings around the top row so you can keep your stitching balanced as you work.
3. Start at the inside of the hamper near a back corner and tie on the yarn around the lower row of grid openings, leaving a 6-inch tail. Work a round of single crochet through each opening around the base section, pulling the yarn from inside to outside and back again so it wraps the plastic grid securely.
4. Continue around the hamper in horizontal rounds, working one single crochet into each grid opening and stacking the stitches row by row. Keep the tension snug enough to cover the plastic intersections well, but not so tight that the hamper walls bow inward.
5. When you finish a skein, join the next one on the inside of the hamper with a strong knot and weave the tails through nearby stitches with the yarn needle. Keep all joins toward the back so the basket looks tidy from the front.
6. Crochet upward until the entire sidewall is covered, leaving the solid top rim exposed for strength and easy carrying. If your hamper flares outward at the top, add an extra stitch every 6 to 8 openings in the top two rows only if needed to keep the yarn lying flat.
7. For a fuller, more finished look, go back and work a second pass over any sparse vertical areas by slip stitching through the same openings where extra coverage is needed. This is the step that makes the basket look plush instead of patchy.
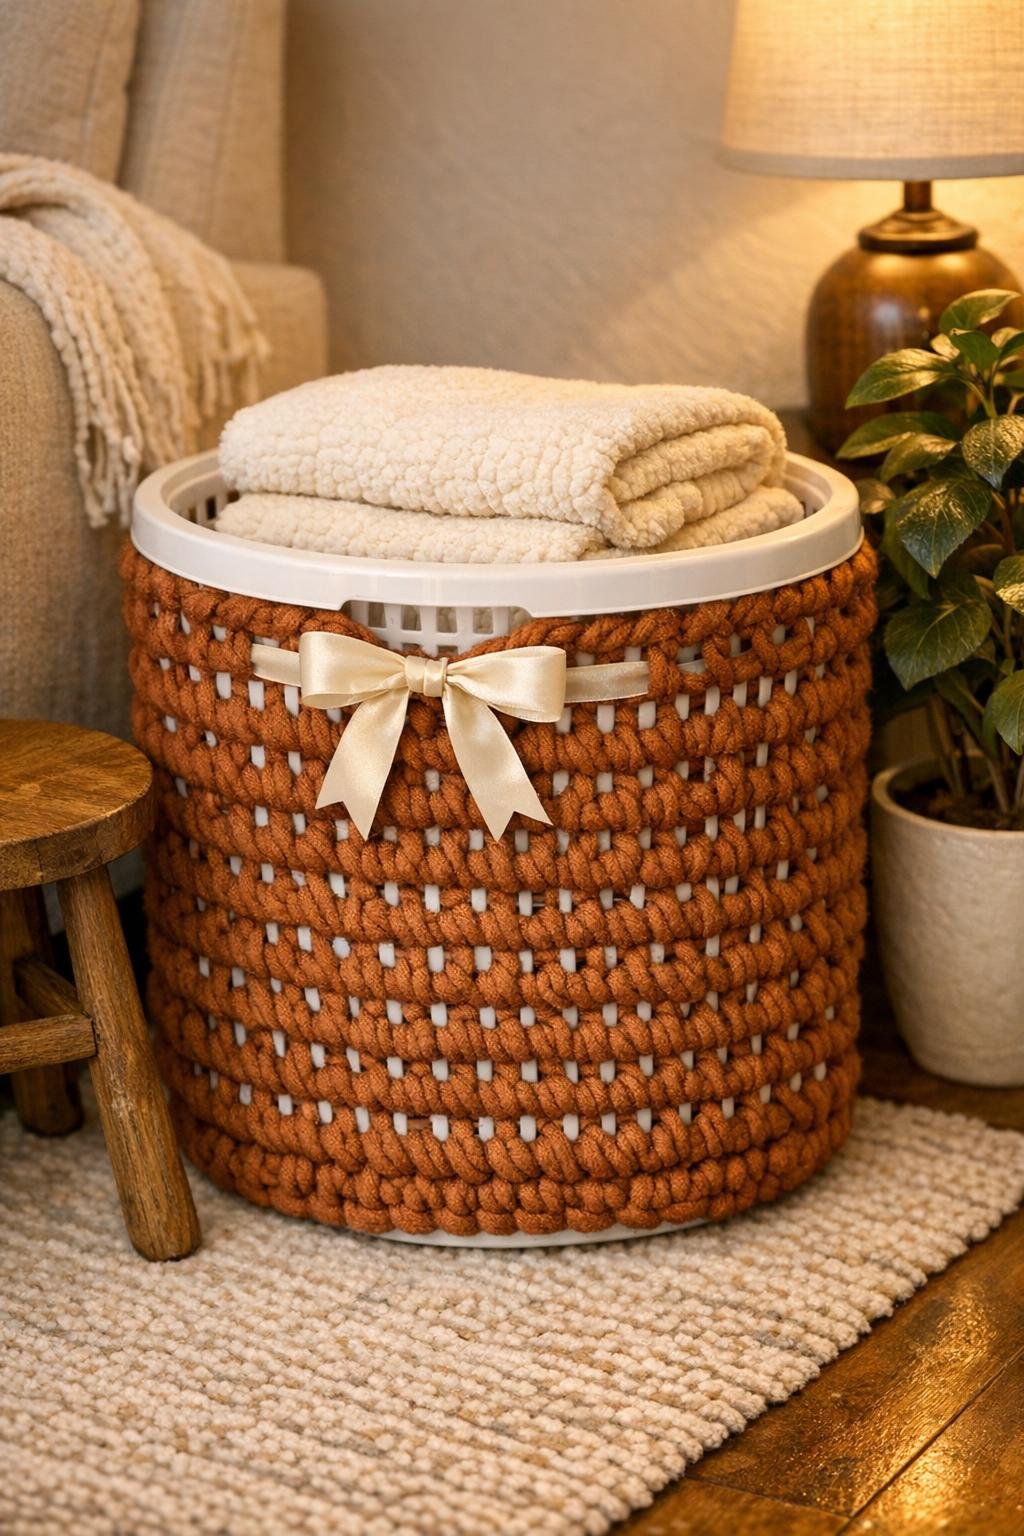
8. Cut three lengths of yarn about 36 inches long each, braid them together, and thread the braid through a row just below the top rim. Tie it off at the back and shape it into a soft decorative band or simple bow on the front.
9. If you want a polished bottom edge, work one final round through the lowest visible openings, then tuck the starting tail and ending tail deep into the inside stitches with the yarn needle. Trim any fuzz or uneven loops so the outside looks smooth and even.
10. Lightly spray the plastic rim only with a clear matte plastic-safe sealer if you want easier wipe-clean durability, and let it dry fully. Fill the basket with throw blankets, yarn, or rolled towels to help it settle into its final shape.
Variations & Tips
For a taller look: Use the hamper at full height and cover nearly all the side grid, stopping just below the top rim. It makes a wonderful blanket basket beside a chair or sofa.
For a softer basket: Choose chenille-style super bulky yarn instead of standard chunky yarn. It gives a plusher finish, though I still prefer a sturdy wool-blend or acrylic blend for everyday storage.
For neat coverage: If your hamper has larger openings, work two stitches into every other opening on rows that look thin. A generous amount of yarn is what makes this project look finished and worth the effort.
For a farmhouse feel: Keep the white rim showing and use cinnamon, oat, or taupe yarn. That little bit of white plastic peeking through reads clean and intentional, almost like enamelware in an old Midwestern kitchen.
For handles: Skip stitching over two sections near the top on opposite sides, then braid two thick yarn cords and lash them through the grid as soft side handles. Make them short so the hamper frame still carries the weight.
For storage use: This basket is best for light to medium-weight items like yarn, slippers, toys, towels, or throws. I would not use it for firewood or anything with sharp edges that could rub the yarn.
My best tip: Don’t be shy with the yarn. The prettiest version of this project is the one with dense, cozy coverage and a little decorative finish at the top, because that is what turns a tossed-aside hamper into something you would be glad to leave out in the room.