
There is something so satisfying about turning the simplest kitchen castoffs into something that catches the light and makes a room feel special. This project starts with a dozen clear deli lids and a bottle of school glue, and with just a little color and patience, you end up with a whole set of glossy, jewel-toned decorations that look far fancier than the ingredients would suggest.
I especially love this one for families, classroom-style craft afternoons, or anyone who wants a low-stress project with a big payoff. The steps are easy, the supplies are inexpensive, and once you add the black outlining and ribbon, the finished pieces have that charming handmade look that reminds me of the little window decorations my kids always wanted to hang where the sun could hit them.
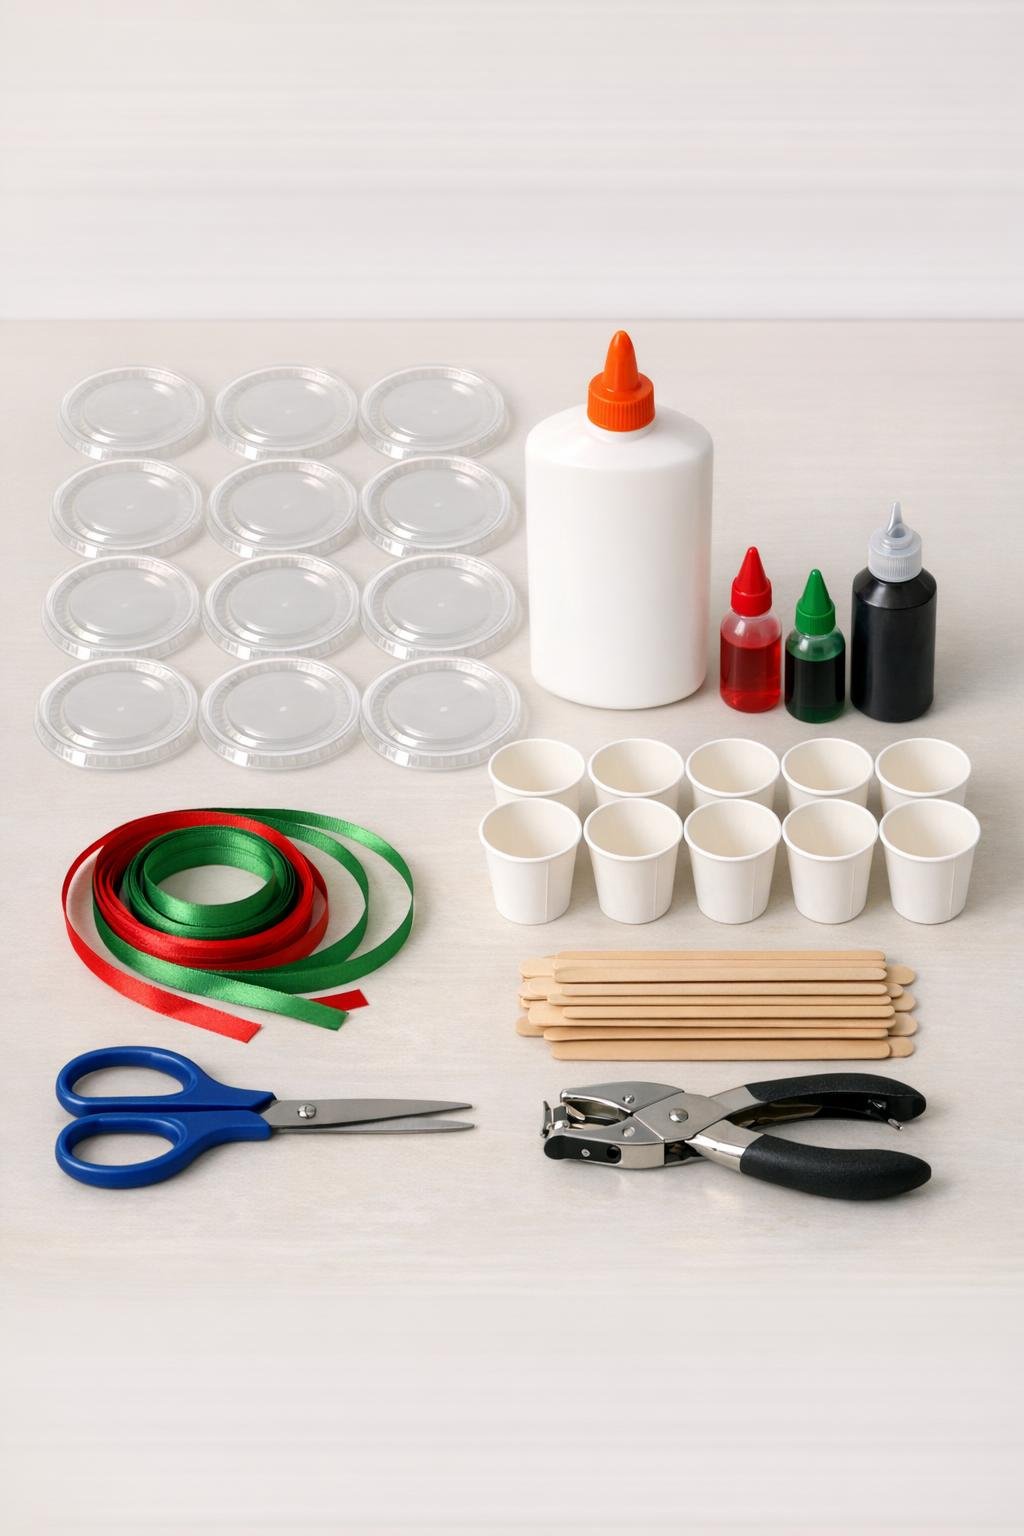
Materials
12 clear plastic deli or takeout lids, washed and dried
Instructions
1. Cover your work surface with wax paper or parchment paper and set out the 12 clean deli lids flat so they will not need to be moved once filled.
2. Divide about 2 tablespoons of white school glue into each paper cup, making 12 cups total for 12 ornaments.
3. Tint half the cups red and half the cups green using 2 to 4 drops of food coloring per cup, then stir each one slowly with a craft stick until the color is smooth and even.
4. Pour the tinted glue into the center of each deli lid, using one cup per lid, and gently tilt each lid so the glue spreads into a thick, even round layer that reaches close to the rim.
5. Pop any large air bubbles with the tip of a craft stick and leave the lids flat for 24 to 48 hours, or until the glue is completely dry, translucent, and firm to the touch.
6. Flex one lid at a time to carefully release the dried glue disc, then trim any thin uneven edges with scissors to make each piece look clean and finished.
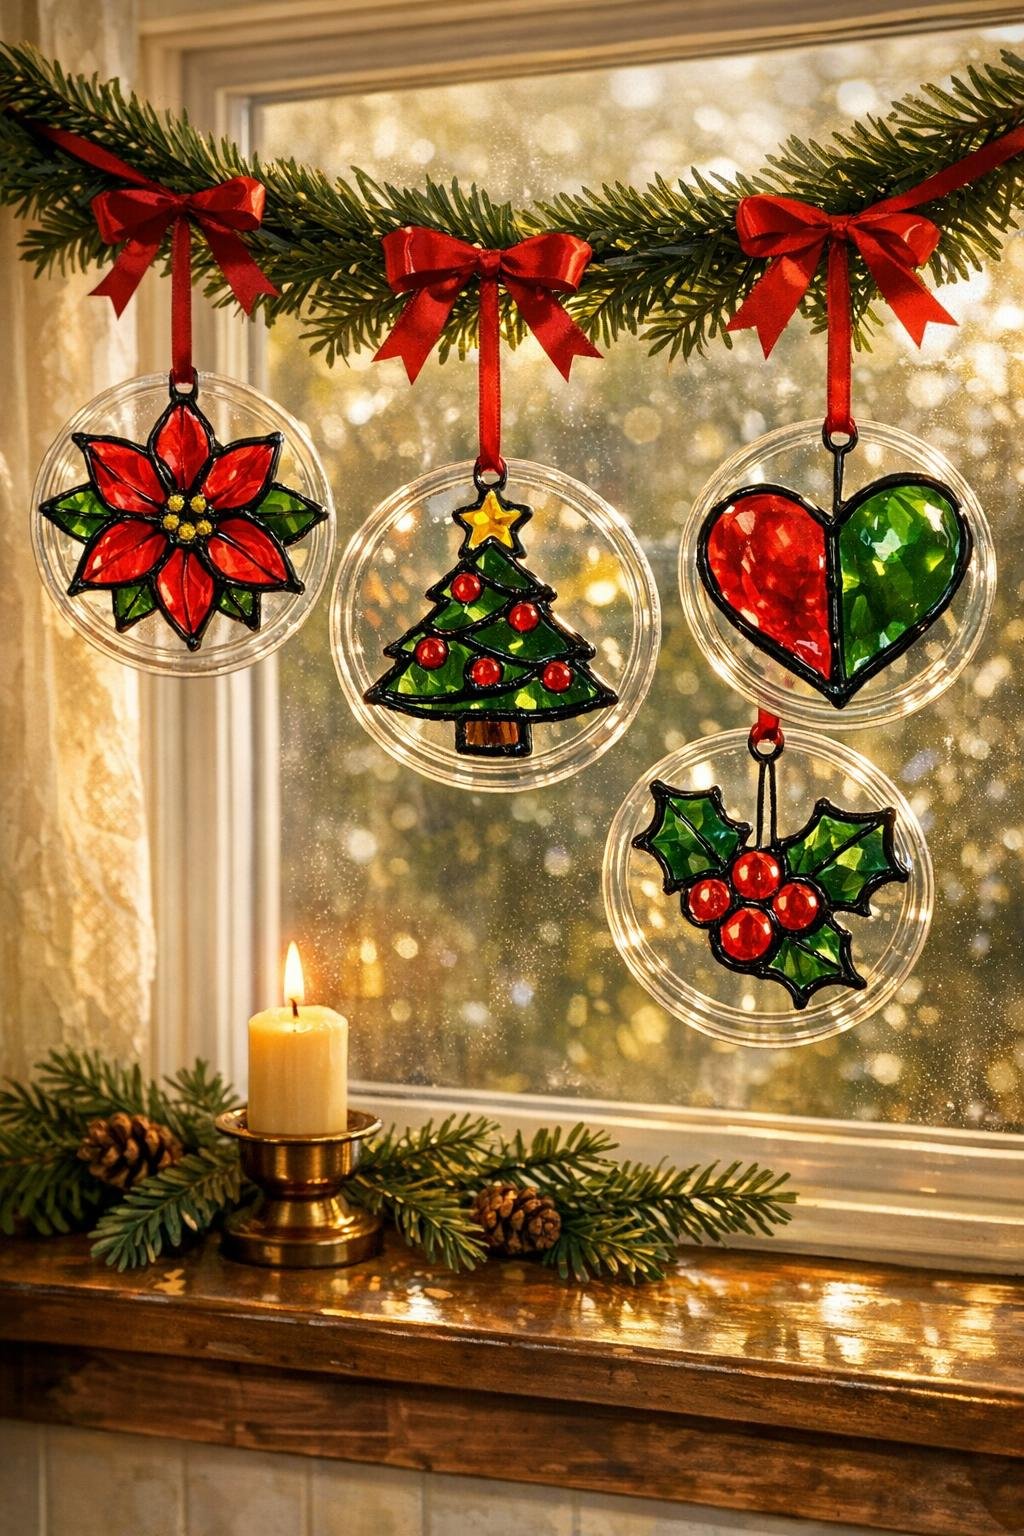
7. Use black puffy paint to outline simple stained-glass-style designs on each disc, such as holly leaves, stars, wreath rings, candy-cane stripes, ornaments, or geometric windowpanes, and let the paint dry fully according to the bottle directions.
8. Punch a hole near the top edge of each disc, staying about 1/2 inch from the rim so the ornament stays sturdy.
9. Thread one 18-inch ribbon piece through each hole and tie a knot or small bow for hanging.
10. Hang the finished pieces in a sunny window, along a garland, or on a holiday branch display where the light can shine through the color.
Variations & Tips
Kid-friendly designs: If you are crafting with children, keep the shapes simple and bold. Thick stripes, big stars, and easy leaf shapes show up beautifully once the light shines through them.
Color balance: I like making 6 red and 6 green, but you can also swirl a tiny amount of both colors into one cup for a marbled look. Just do not overmix if you want the colors to stay distinct.
Drying tip: Put the lids somewhere level and out of the way, because even a slight tilt will make the glue pool thicker on one side. I usually use a baking sheet so I can move the whole batch carefully if I need the table back.
Design shortcut: If drawing freehand feels intimidating, lightly sketch your design on paper and slide it under the ornament as a guide while you trace with puffy paint.
Ribbon options: Narrow satin ribbon looks dressy, but simple curling ribbon works too if that is what you already have on hand. For a fuller look, tie little bows at the top instead of plain knots.
For picky decorators: In my house, everyone likes choosing their own pattern, so I let each person claim a couple of discs and “order” their favorite colors and shapes. It keeps the project fun and makes the finished set feel personal when we hang them together.
Storage: Store the ornaments flat between sheets of parchment paper in a shallow box so they do not bend or stick to each other between seasons.