
Every fall, I go through the same ritual in my little Midwestern garden space: empty the pots, cover what needs covering, and make sure no water is sitting where a hard freeze can turn a small problem into a split fitting or a cracked hose end. This simple hose winterizing drain is one of those humble projects that earns its keep immediately. By punching drainage holes in aluminum soup cans and stacking them with two inexpensive dollar store items, you can make a raised, ventilated drip stand that helps the last water drain out of your garden hose before storage.
I like this project because it is practical, fast, and built from things most of us can gather in one errand. The finished drain stand keeps the hose end lifted off the ground, encourages airflow, and catches the final drips without turning into a muddy mess on the patio. If you want an easy end-of-season garden fix that looks surprisingly tidy, this is a very good one.
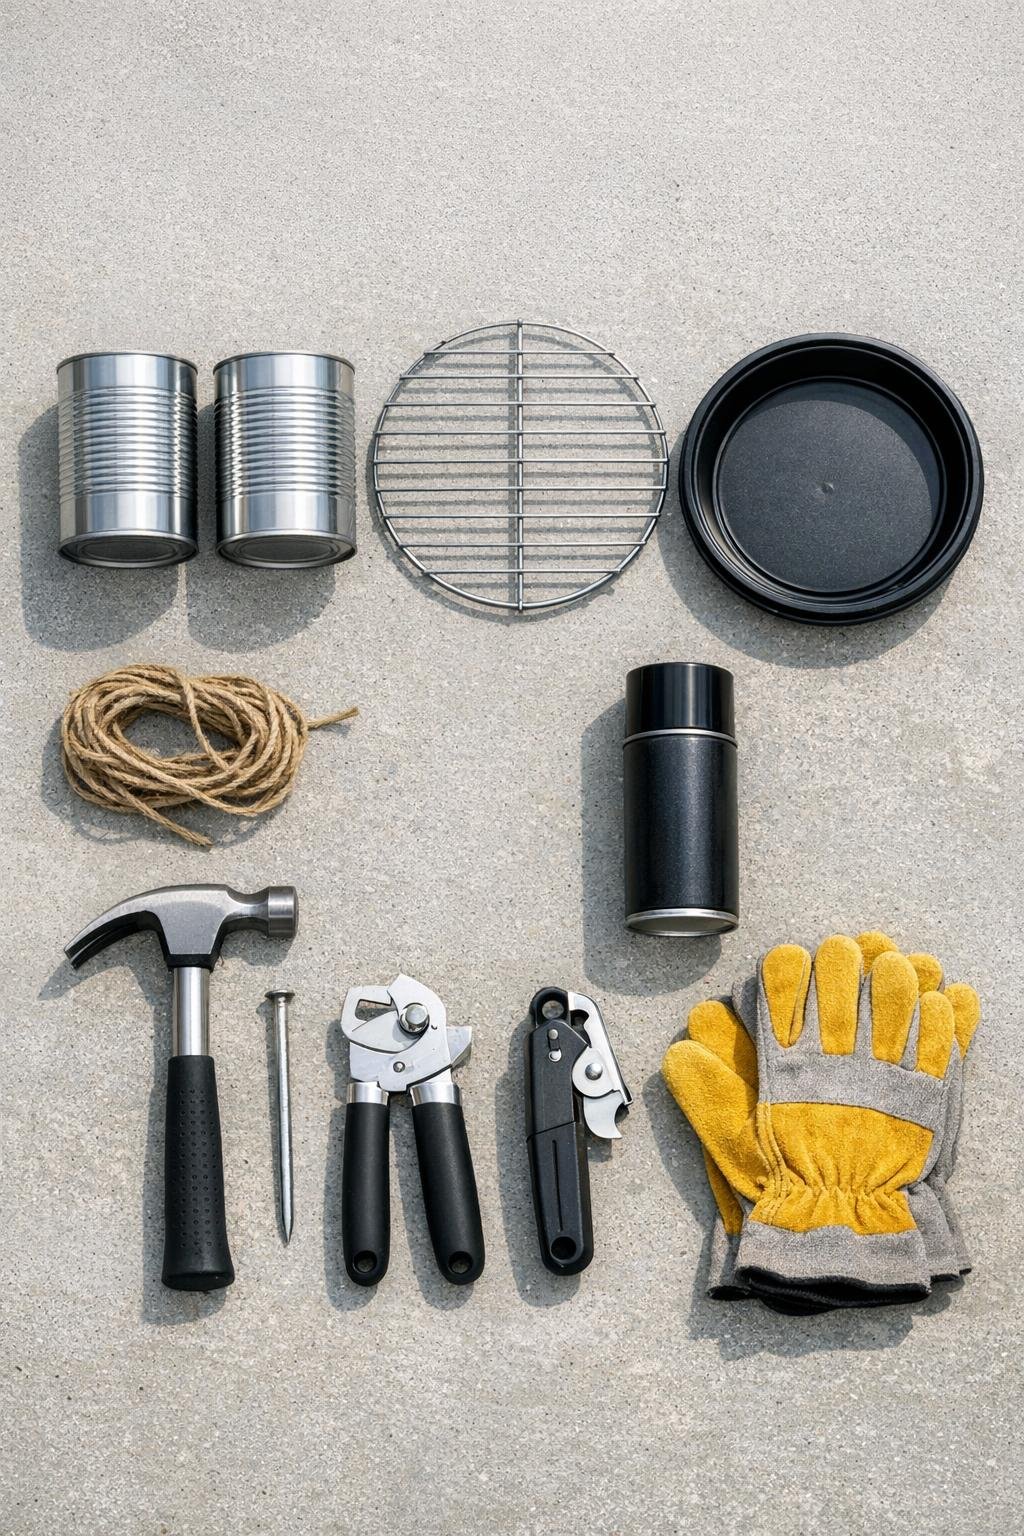
Materials
2 empty aluminum soup cans, 10.5-ounce size, washed and labels removed
Hammer, 1
Instructions
1. Wash the soup cans with dish soap, remove the labels, and dry them completely so the paint will stick and the cans will not feel slippery while you work.
2. Use the can opener to remove both ends from each can if needed, then lightly sand any rough spots around the cut edges and press down sharp burrs carefully while wearing gloves.
3. Mark a ring of drainage holes around the lower side of each can, placing holes about 1 inch apart and about 1 inch up from the bottom edge; add 4 to 6 holes in the center area that will become the lowest drainage point when stacked.
4. Set each can on concrete and punch the marked holes with the nail and hammer, turning the can as you go so the holes circle the can evenly and create plenty of drainage and airflow.
5. Rinse away any metal bits, dry the cans again, and spray-paint both cans, the cooling rack, and the plastic tray in thin coats for a more finished look; let everything dry fully between coats.
6. Place the plastic tray on a level spot near your hose storage area, then set the round cooling rack directly on top so the tray can catch drips while the rack keeps air moving underneath.
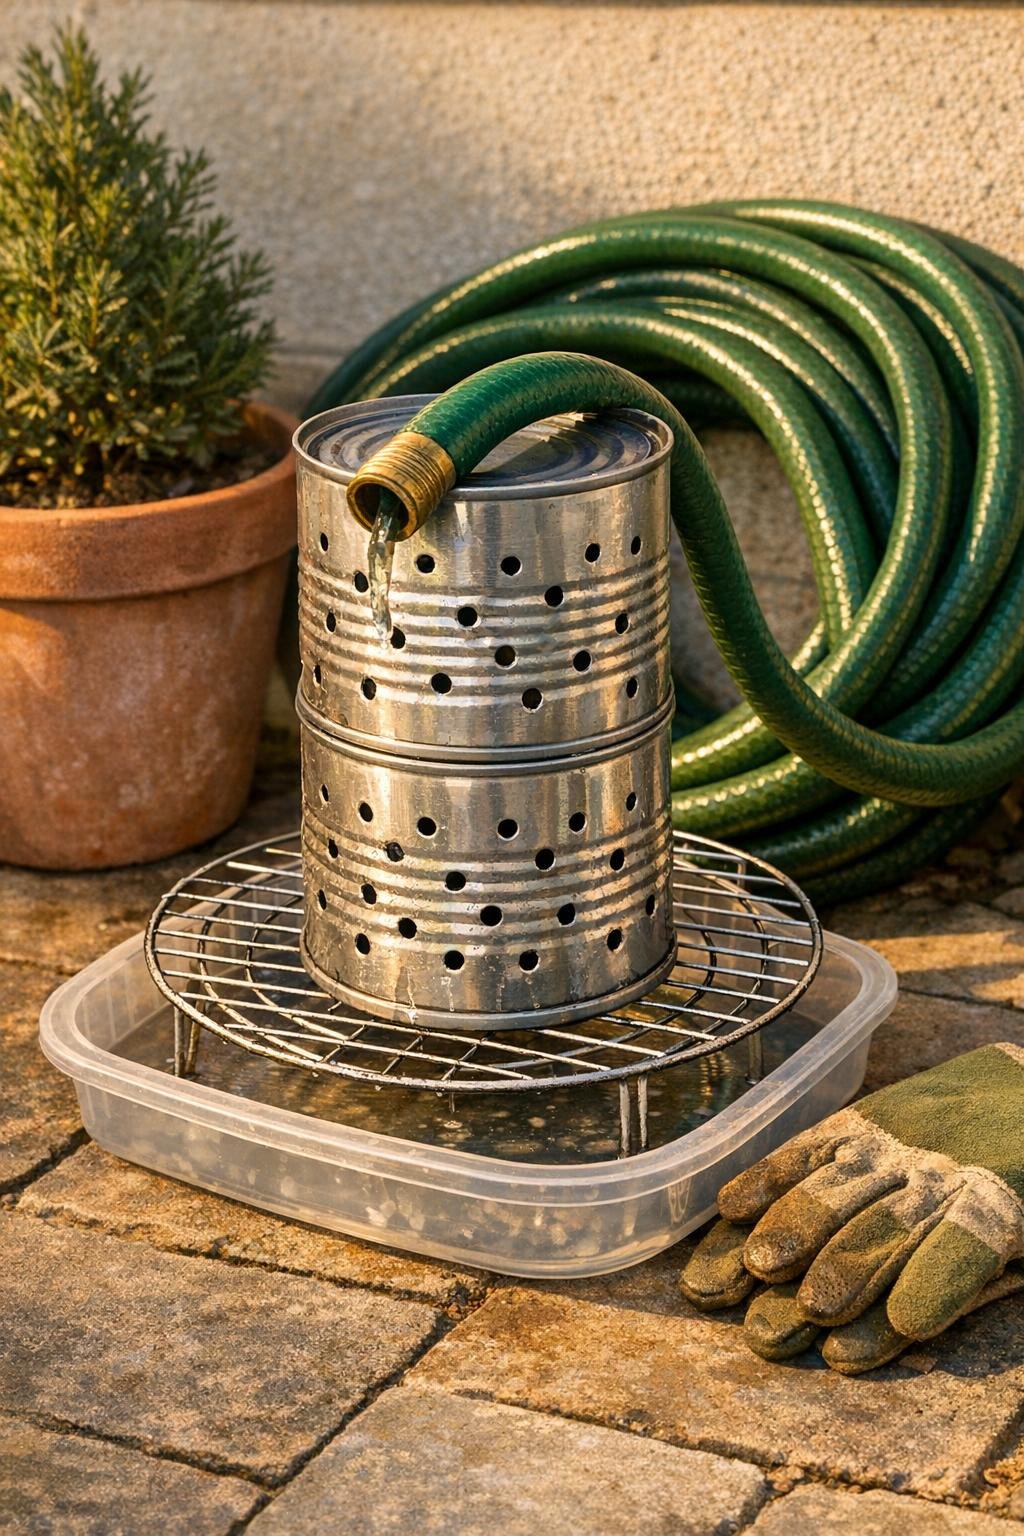
7. Stand the first can upright in the center of the rack and place the second can directly on top of it, aligning the holes so the stacked column stays stable and open all the way through.
8. If you want the stack extra secure, tie a short length of jute around the middle where the cans meet and anchor it loosely to the wire rack so the stand does not shift when you set the hose on it.
9. Disconnect your garden hose, lift one end, and walk the length of it to push remaining water toward the open end, then drape that draining end over the top of the can stack so gravity can finish the job.
10. Let the hose sit for several hours or overnight, then empty the tray if needed and coil the hose for winter storage once the dripping has stopped.
Variations & Tips
For taller drainage: If your hose is especially stiff, use taller cans of the same width so the hose end sits higher and drains a bit faster.
For better rust resistance: Even though the cans are aluminum, the cooling rack may not be; give it two full coats of outdoor paint to help it last through damp weather.
For a cleaner storage corner: Match the paint color to your hose reel, planter pots, or siding. I like dark bronze or satin black because it makes the whole setup look intentional instead of makeshift.
For extra stability: Add a small flat stone or a handful of pea gravel in the tray under the rack if your patio gets strong wind or if the hose tends to tug the stand sideways.
To avoid sharp edges: Run sandpaper over every punched opening and cut rim before assembly. This is one of those tiny steps that makes the project much nicer to handle.
Best use case: This stand is ideal for helping a hose finish draining before winter storage, not for long-term water collection. Empty the tray after use so you are not leaving standing water outside in freezing weather.