
There’s something mighty satisfying about taking the plainest supplies on the craft table and turning them into something that catches the light like winter frost on the pasture fence. This project starts with clear drinking straws and simple foam balls, but with a little patience and a good rhythm, you end up with a sparkling piece that looks far fancier than the effort would suggest.
I especially love projects like this for a side table, entryway, or holiday corner because they bring in that icy, twinkling look without requiring complicated tools or fine art skills. If you can trim straws, push them into foam, and stack a few pieces together, you can make this—and the finished result has that lovely old-fashioned magic that reminds me of tinsel trees and crystal ornaments from years gone by.
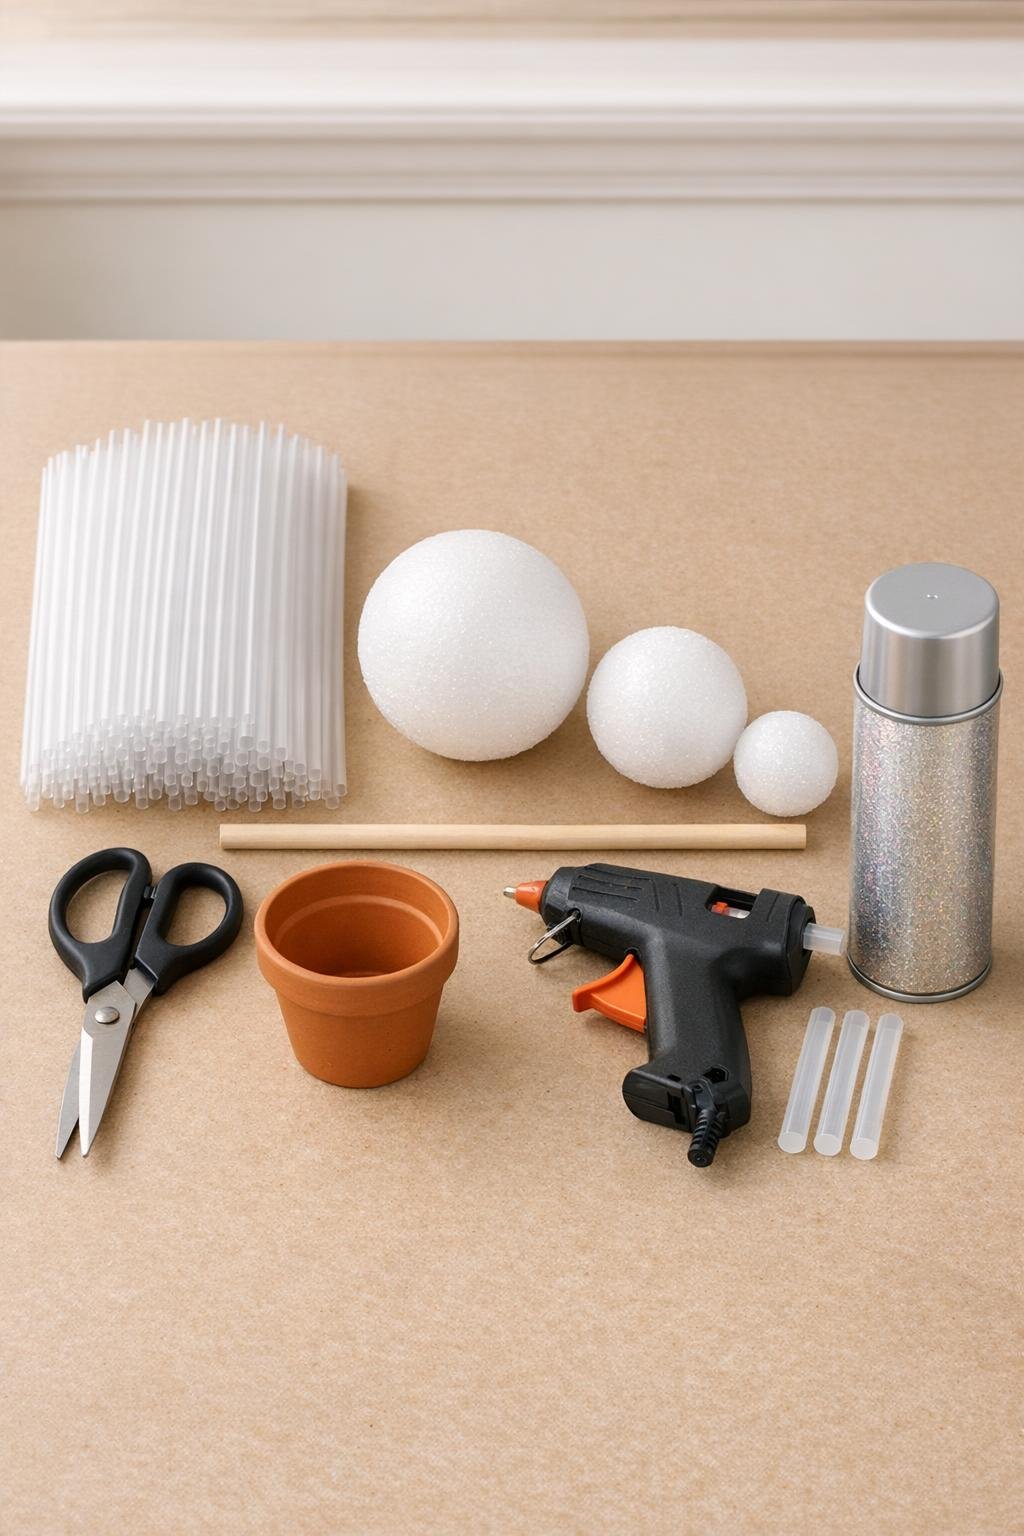
Materials
300 clear plastic drinking straws, standard size, about 7 3/4 inches long
Instructions
1. Sort your 300 straws into three piles of 100 so each foam ball will get full, even coverage and the finished tree looks balanced from top to bottom.
2. Cut the straws into mixed lengths to create a fuller starburst effect: trim about one-third to 4 inches, one-third to 5 1/2 inches, and leave one-third full length.
3. Start with the largest foam ball and push the straws straight into the foam one at a time, spacing them about 1/2 inch apart and mixing the lengths as you go so the surface looks dense and sparkling.
4. Rotate the ball often and keep filling bare spots until all 100 straws are in place, leaving only a small open circle at the bottom where the dowel will go.
5. Repeat the same process with the medium ball using another 100 straws, then cover the smallest ball with the last 100, again leaving a small opening on the bottom of each.
6. Lightly spray all three straw-covered balls with iridescent spray glitter in thin coats, turning them as you work so the clear straws keep their see-through look but pick up a soft crystal shimmer.
7. Add a generous pool of hot glue inside the clay pot and press the wooden dowel straight down into the center; hold it upright until the glue firms up.
8. Thread the largest ball onto the dowel first, pressing it down near the pot and securing it with hot glue at the entry point so it sits level and steady.
9. Slide the medium ball onto the dowel above the first, leaving just enough space that the starbursts don’t crush together, then glue it in place.
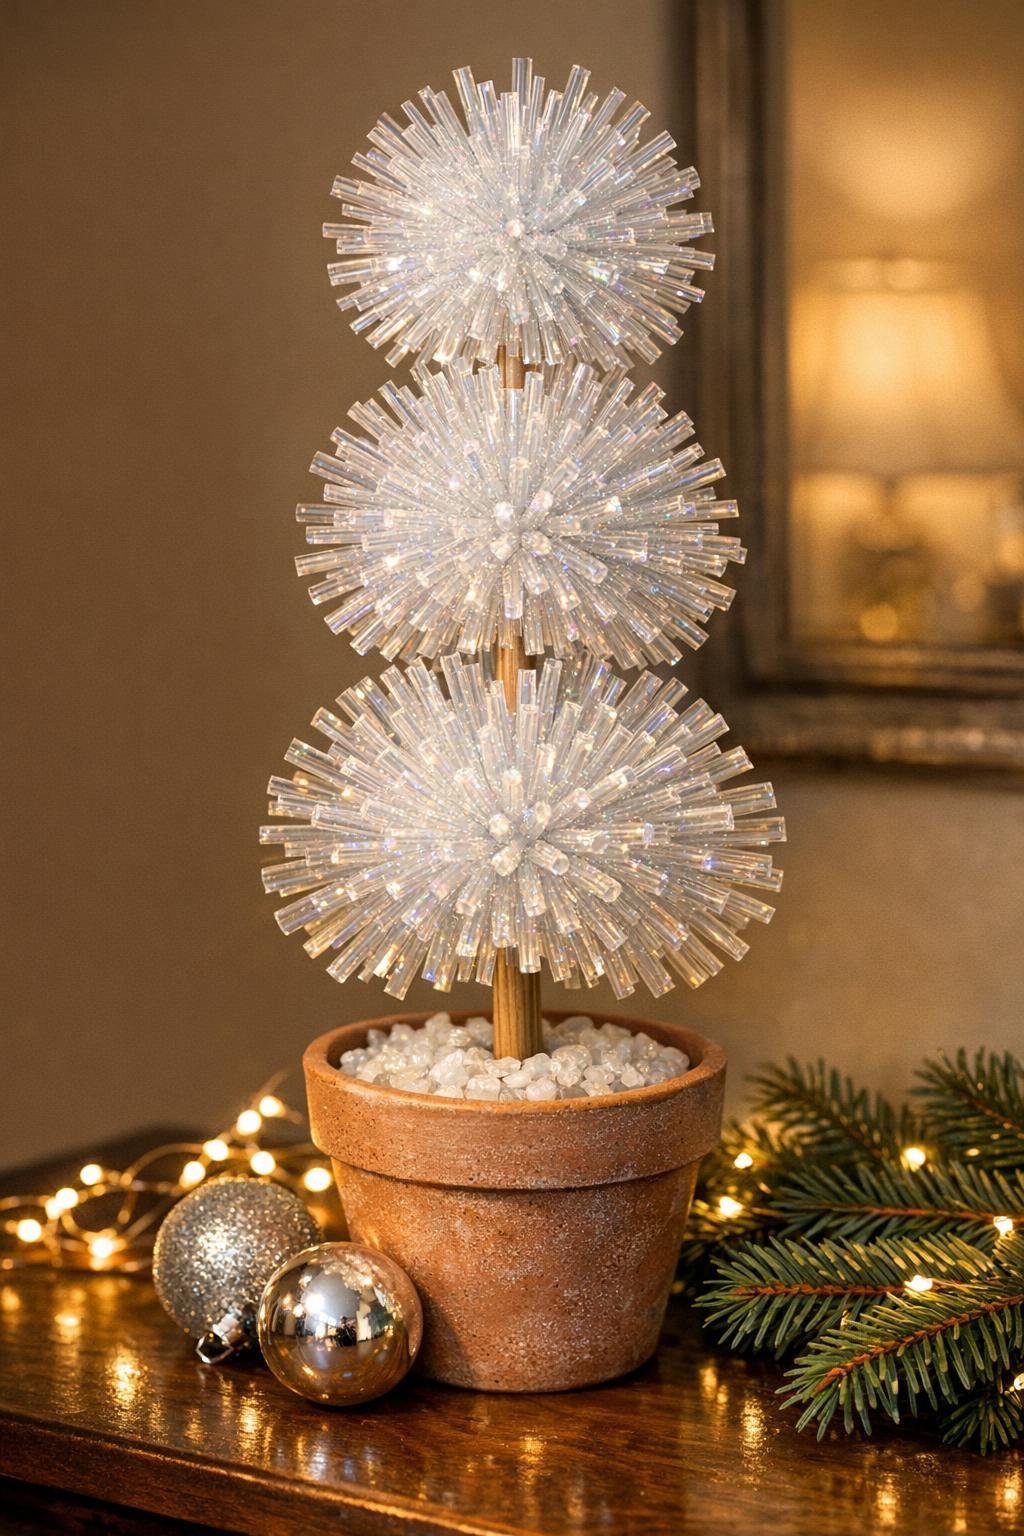
10. Add the smallest ball at the top of the dowel and glue it securely, adjusting the three tiers until the whole piece stands straight and the straw bursts fan out evenly.
11. Finish by touching up any thin spots with a few leftover trimmed straw pieces if needed, and give the whole topiary one last very light mist of iridescent spray for an even, polished sparkle.
Variations & Tips
For extra fullness: If you want an even richer look, cut 20 to 30 extra straws and tuck them into any open spaces after assembly; the denser the coverage, the more light this piece catches.
Pot finish: A plain clay pot looks nice and natural, but you can also paint it white, silver, or soft champagne before assembly for a dressier finish.
Safer spraying: Spray the glitter in light coats instead of one heavy coat so the straws don’t drip or stick together; I find two or three whisper-thin passes give the prettiest icy glow.
Keeping it straight: If your dowel leans a bit in the pot, build up extra hot glue around the base before adding the foam balls; it’s much easier to correct the line early than after stacking.
Where to display it: This looks especially pretty where it can catch lamplight, window light, or tiny string lights in the evening, much the way old glass ornaments used to come alive on my mother’s holiday table.
Storage tip: Tuck the finished piece into a tall box with tissue around the pot, not around the straws, so those pretty starbursts stay crisp and don’t get bent between seasons.