
There are a few little kitchen-table projects that still make me feel like a child leaning in close, waiting for the magic to happen, and this is one of them. You start with the plainest laundry-room staple and a few simple craft supplies, and by the next day you’ve got something that looks like winter itself paid a visit in the night.
I especially love this project because it’s easy on the hands, easy on the budget, and impressive enough to make people ask where you bought them. If you’ve got an afternoon, a safe spot for a few jars to sit undisturbed, and a fondness for old-fashioned holiday pretties, this is the sort of homemade surprise that feels generous without being fussy.
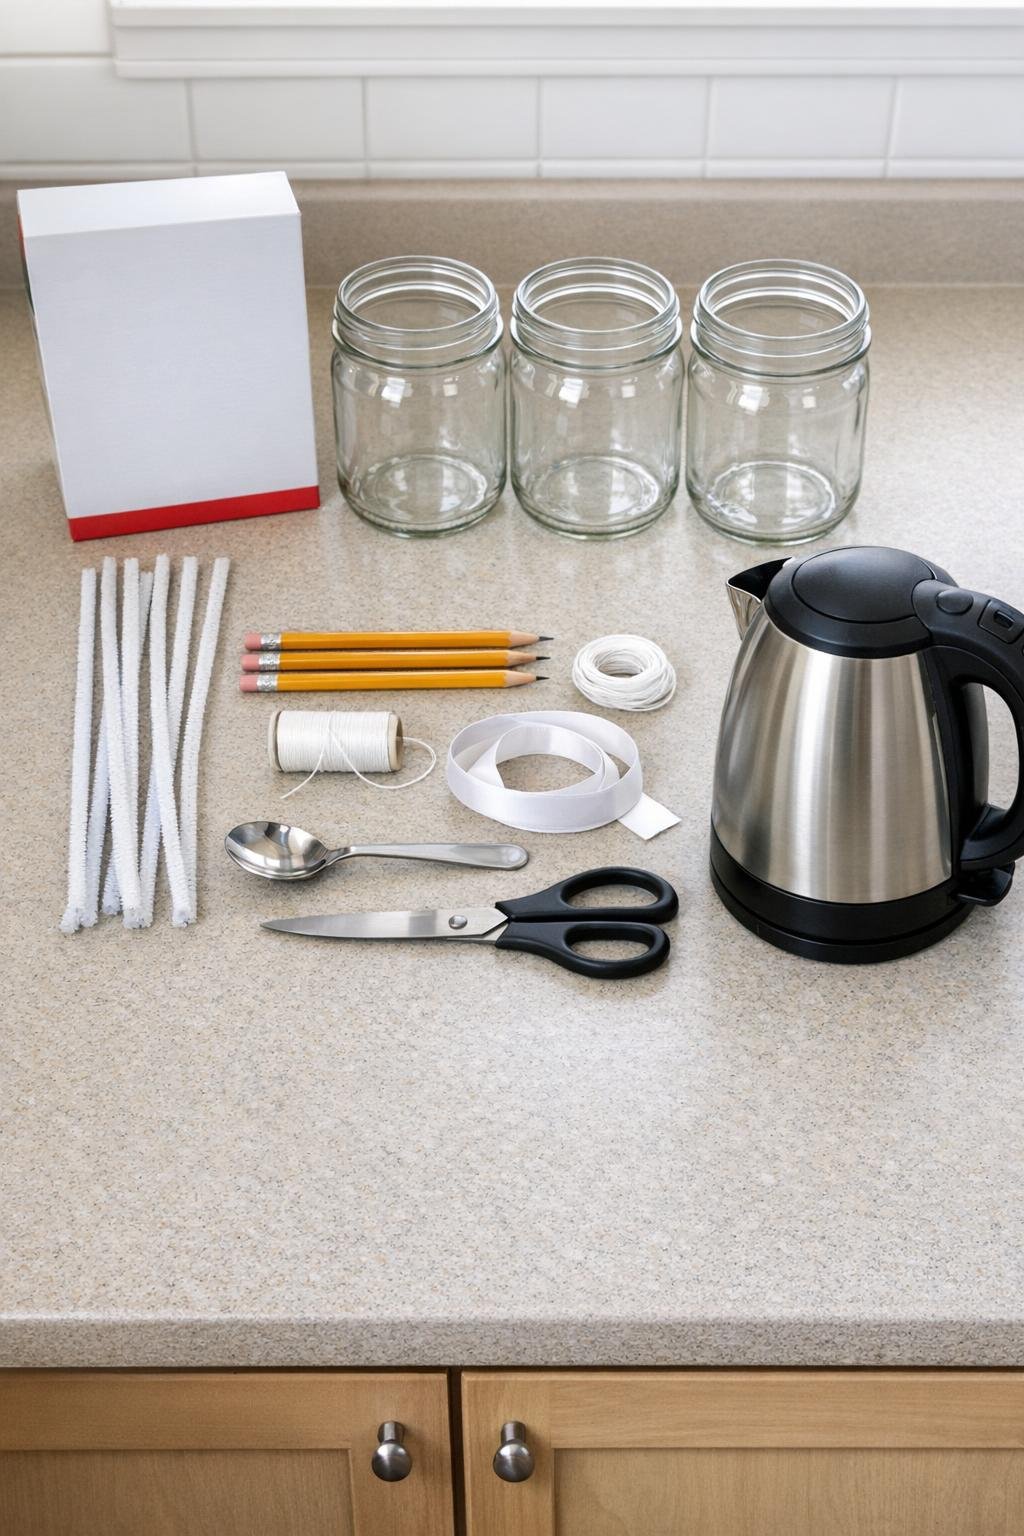
Materials
1 box Borax laundry booster, about 9 tablespoons total for 3 cups water
Instructions
1. Shape the ornaments first by twisting two white pipe cleaners together into a five-point star, leaving the ends wrapped snugly so the shape stays crisp and even.
2. Cut three lengths of white thread and tie one to the top point of each star, then tie the other end of each thread to the middle of a pencil so the star will hang down into a jar.
3. Test each star inside a jar and adjust the thread so the star hangs centered, about 1 inch above the bottom and not touching the sides.
4. Bring 3 cups of water to a full boil in a kettle or saucepan, then carefully pour 1 cup of boiling water into each jar.
5. Stir 3 tablespoons of Borax into the first jar until most of it dissolves, then repeat with the other two jars, adding a little extra pinch if needed until the water looks very saturated and slightly cloudy.
6. Lower one star into each jar by resting the pencil across the rim, making sure the pipe cleaner shape is fully submerged without touching the jar.
7. Set the jars in a safe place where they can stay completely still for at least 8 hours or overnight while crystals grow all over the stars.
8. Lift the stars out by the pencils once they are fully coated with crystals, then lay them on paper or a cooling rack to dry for 1 to 2 hours.
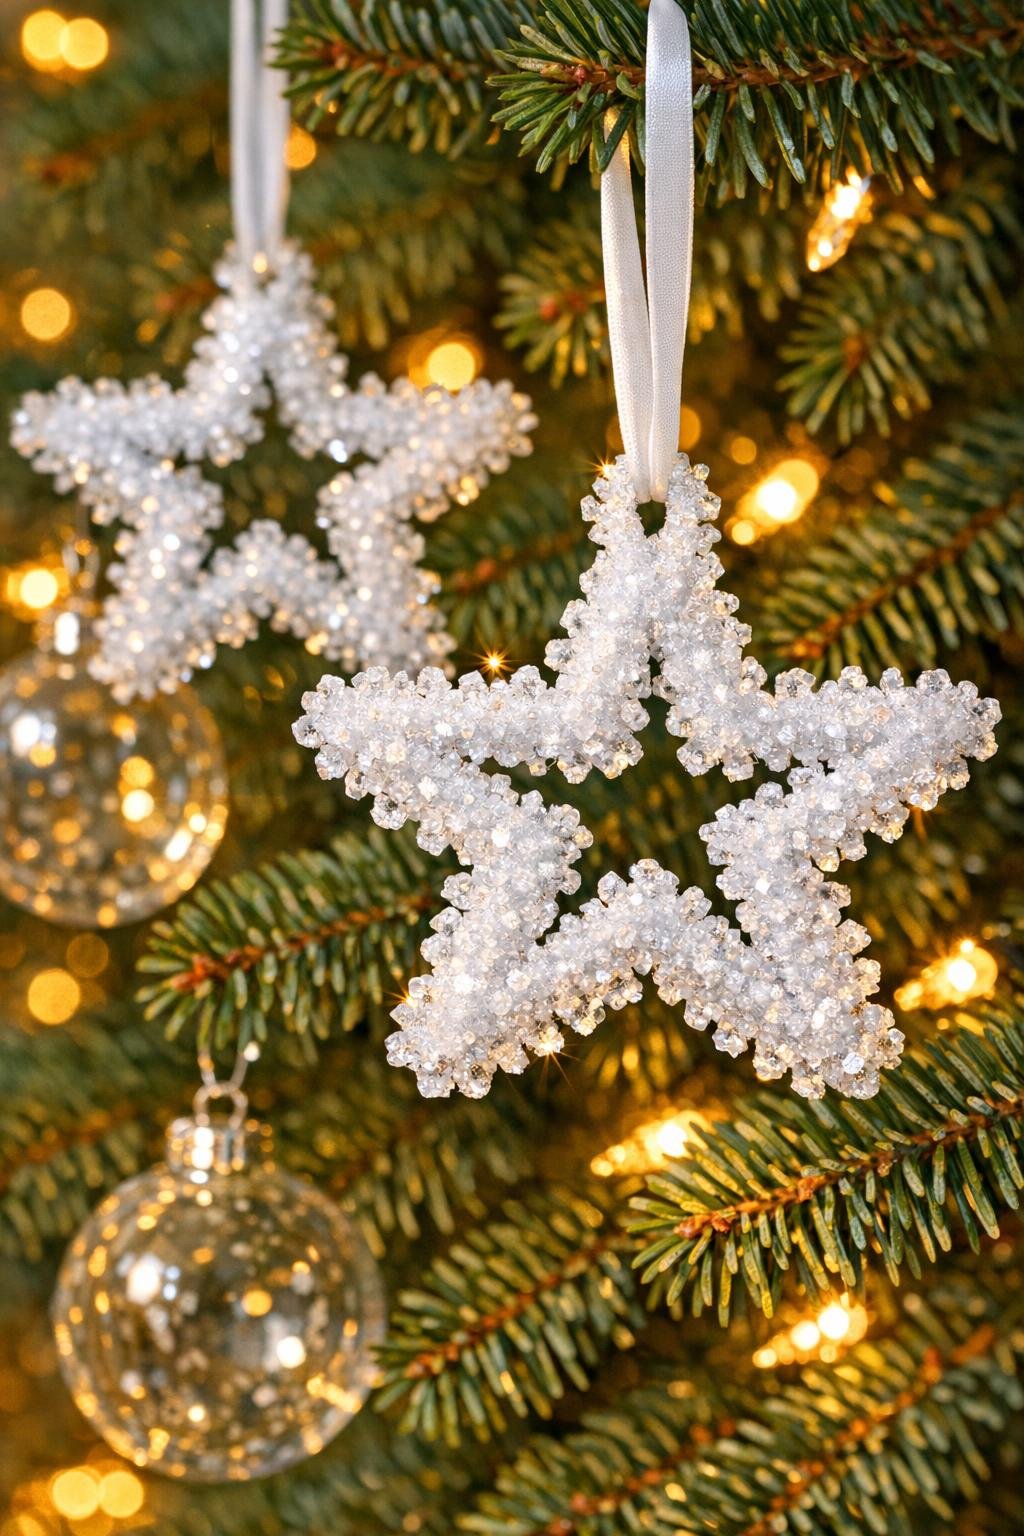
9. Snip away the thread, then tie a ribbon loop to the top point of each star for hanging.
10. If you want extra sparkle, trim the ribbon ends into neat points and fluff the bow or loop so each ornament looks finished and gift-ready.
Variations & Tips
For fuller crystals: Let the jars cool undisturbed and don’t bump them; stillness gives you thicker, more even crystal coverage, which is what makes these look so special.
For larger ornaments: Make slightly bigger stars, but be sure they still fit comfortably inside the jars with space on all sides, or the crystals will glue them to the glass.
For a brighter finish: White pipe cleaners give the cleanest snowy look, which I prefer, but a pale silver or icy blue ribbon adds a lovely polished touch without taking away from the crystal coating.
For easy cleanup: Pour the cooled solution back into the jars only if you plan to reuse it soon; otherwise rinse everything well with warm water so stray crystals don’t build up on the glass.
For gifting: These look beautiful tied onto a cookie tin, tucked into a wreath, or hung in a window where the light can catch them; I like to make a few extra because once folks see them, they always want one.