
There are a few projects I make just for the pure delight of watching something ordinary turn into something unexpectedly beautiful, and this is one of them. We’re taking plain green plastic party cups, giving them a quick trip through the oven, and turning them into a sparkling little décor piece that looks far fancier than the supplies would suggest.
I especially love this project for winter decorating, holiday tables, or that awkward little spot on a shelf that needs something festive but not bulky. If you’re comfortable using a hot glue gun and can line up cups on a baking sheet, you can absolutely make this. It’s simple, a little magical, and honestly the kind of craft that makes everyone in the house stop and ask, “Wait... those were cups?”
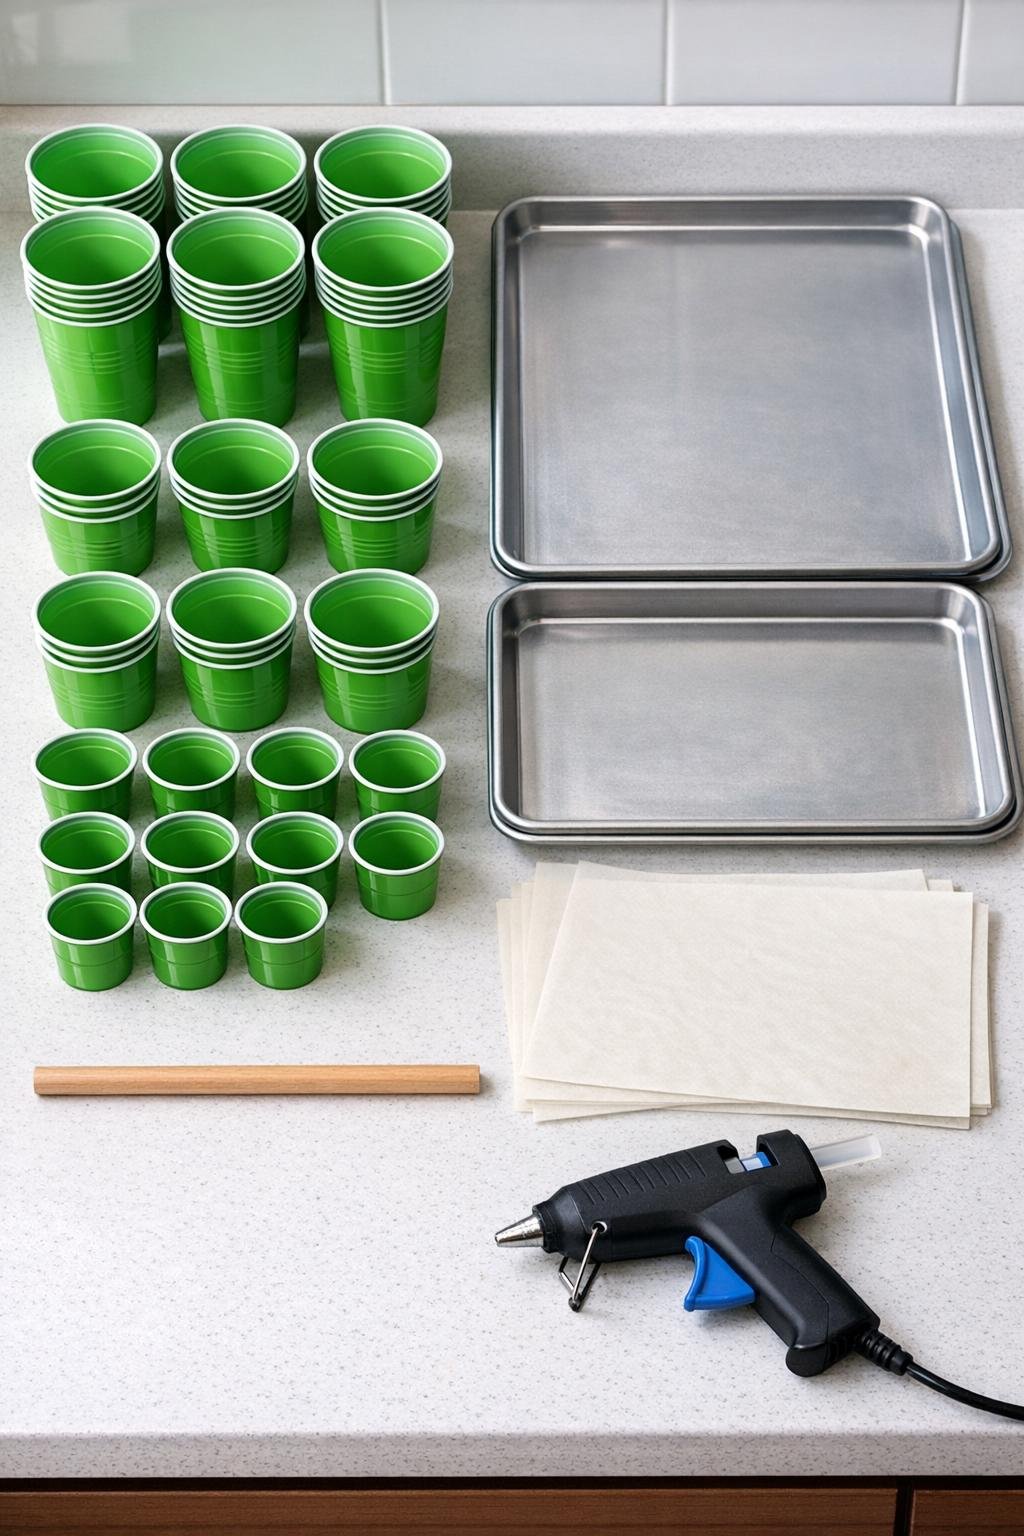
Materials
Instructions
1. Preheat your oven to 350°F and line both baking sheets with parchment paper. Turn all 30 cups upside down and arrange them in tight rows across the sheets, leaving a little space between each cup.
2. Bake one sheet at a time for 3 to 5 minutes, watching closely, until the cups soften, crumple, and shrink into glossy ruffled shapes. Remove the pan as soon as they collapse fully, then let the pieces cool completely before touching them.
3. Peel the cooled pieces off the parchment and sort them by size, with the largest pieces for the bottom of the project and the smallest for the top. If any piece has an overly tall bump in the center, trim it flat with sturdy scissors so it stacks more neatly.
4. Glue the wooden dowel upright into the center of the wood base, holding it in place until firm. Add extra hot glue around the bottom edge of the dowel for strength, because this little step keeps the whole project sturdy.
5. Starting with the largest shrunk pieces, poke or widen the center opening if needed and slide one piece down the dowel to the base. Add a ring of hot glue under and over that first piece so it stays level and forms a full bottom layer.
6. Continue stacking the remaining large pieces, rotating each one so the ruffled edges fill gaps and build a dense, full shape. Use a dab of hot glue between every layer to keep the pieces from sliding and to create a nicely packed look.
7. Add the medium pieces next, angling them slightly upward as you stack so the shape begins to taper like a tree. Keep turning each layer as you go so the edges overlap and the finished form looks lush instead of spotty.
8. Finish with the smallest pieces at the top, stacking them tightly to create a pointed treetop. If you want extra sparkle, dust a tiny pinch of glitter onto warm glue in a few spots between the top layers.
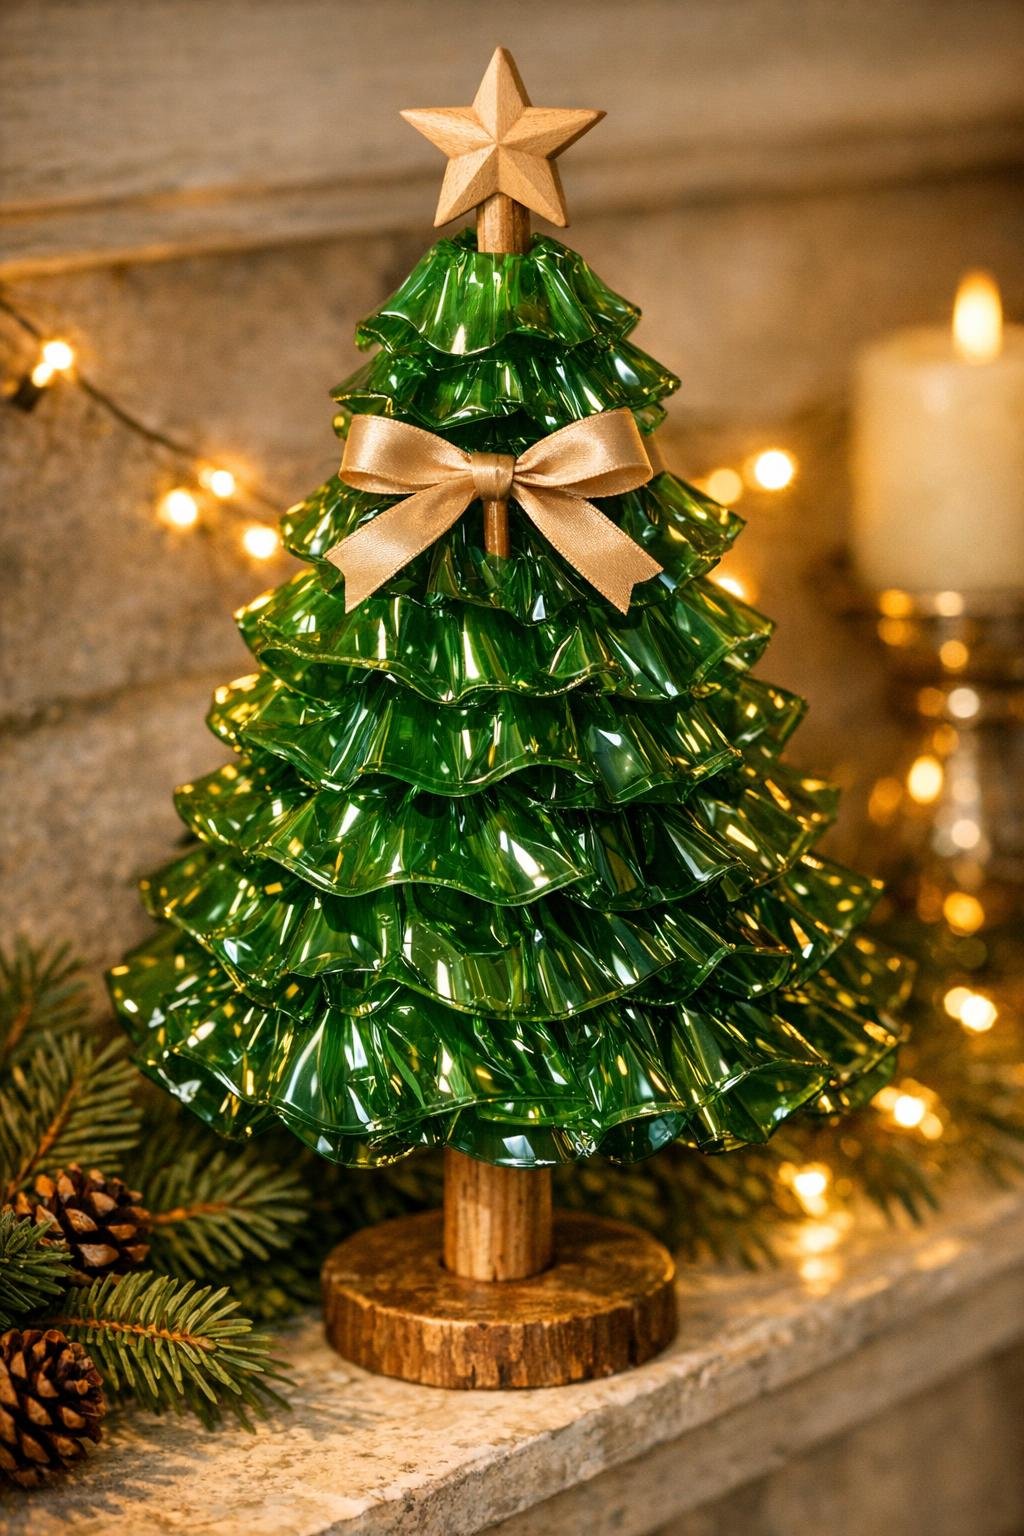
9. Glue the star to the tip of the dowel or nestle it into the top layer, then add a small ribbon bow near the base if you like. Check the tree from all sides and tuck in any loose edges with a tiny extra dab of hot glue.
10. Let all the glue cool completely, then place the finished piece on a mantel, buffet, shelf, or holiday table where the light can catch all those glossy curled edges. It looks especially pretty near a candle lantern or string lights, where the green plastic almost glows.
Variations & Tips
For a fuller tree: If you want an extra lush look, overlap the layers more tightly and keep the largest pieces concentrated around the bottom third. The denser you stack them, the more dramatic and polished the tree looks.
For picky decorators: In my house, somebody always likes things less glittery, so I often leave one tree plain and glossy with no sparkle at all. The shrunk plastic already catches light beautifully, so glitter is completely optional.
Color idea: You can make the same project with mixed shades of green cups for more depth, or add a few clear cups in the upper layers for an icy effect. Just keep the basic size order the same so the shape stays nicely tapered.
Base option: If you don’t have a wood round, use a small scrap block hidden under a circle of felt or ribbon. A heavier base helps if you plan to display the tree where kids or pets may bump the table.
Safety tip: Stay close to the oven while the cups bake, because they shrink fast and different plastics can change shape at slightly different speeds. I like to bake one test cup first if I’m using a brand I haven’t tried before.
Finishing touch: For a cleaner look, wrap a little ribbon, faux snow, or even a strip of burlap around the base after the glue has cooled. That tiny detail makes the whole project feel more intentional and gift-worthy.