
I love a project that turns everyday packaging into something charming enough to pass for boutique holiday décor, and this one absolutely does that. Starting with plain cereal boxes and a few basic craft supplies, you can make a whole batch of sweet little decorations with plenty of detail, texture, and old-fashioned warmth.
This is especially good if you want a budget-friendly afternoon craft that still looks thoughtful when it's done. The steps are simple and repetitive in the best way, so it's easy for beginners, nice for family crafting, and satisfying if you're the kind of person who enjoys assembly-line projects the way I enjoy rolling out a tray of cookies before a holiday dinner.
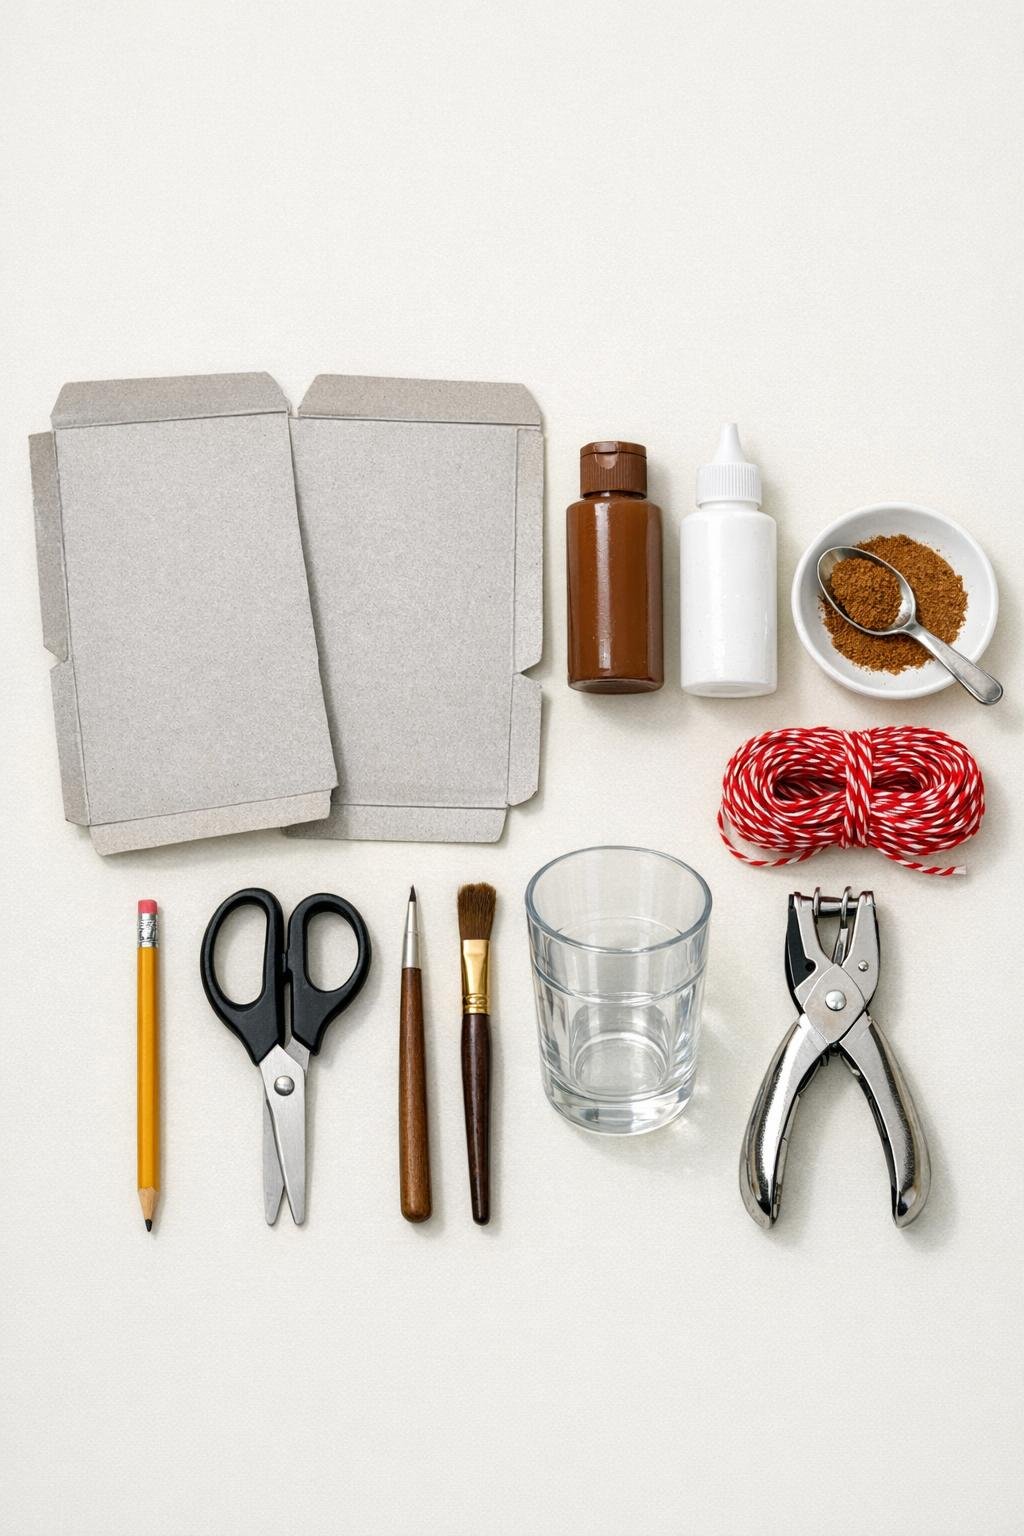
Materials
Instructions
1. Flatten the cereal boxes and work with the plain gray inside facing up. Trace 20 circles with the drinking glass, fitting them close together so you use both boxes efficiently.
2. Cut out all 20 circles as neatly as you can, then trim any rough edges so the shapes look clean and even. Small imperfections are fine because the paint and piping will soften them.
3. Punch one hole near the top edge of each circle, keeping the hole about 1/4 inch from the rim so it stays sturdy. Line the circles up afterward to make sure the holes are placed consistently.
4. Mix the cinnamon into the brown acrylic paint if you want a light gingerbread scent, then paint the front and edges of every circle. Let them dry, then add a second coat for rich, cookie-like coverage.
5. Flip the circles over and paint the backs brown as well, then let everything dry completely. Painting both sides makes the finished pieces look polished from every angle on a tree or garland.
6. Use the white puffy paint to pipe simple cookie-style borders around the edges of all 20 circles. Make scallops, dots, loops, zigzags, or snowflake-like centers so the set looks full and varied while still coordinated.
7. Let the puffy paint dry flat until the designs are set and no longer tacky. This usually takes a few hours, and I like to leave them overnight so the raised details stay crisp.
8. Cut the red baker's twine into 20 hanging loops, thread one through each hole, and knot the ends securely. Adjust the loop sizes so they match and the ornaments hang evenly.
9. If you want a fuller finished set, group the circles by pattern as you work so you end up with a balanced mix of border-heavy, center-heavy, and extra-detailed pieces. That little bit of planning makes the whole collection look intentional once it’s displayed together.

Variations & Tips
Classic cookie mix: I like making a few repeating designs rather than 20 completely different ones. Try five scalloped-edge circles, five dotted wreath-style circles, five snowflake centers, and five crisscross “iced” cookies for a full coordinated set.
Make them sturdier: If your cereal box cardboard feels thin, glue two traced circles together before painting so each ornament has a thicker cookie feel. Just remember to punch the hole after the glue dries.
Finish the edges neatly: Don’t skip painting the cut edges brown. That one small touch is the difference between “cute craft” and “convincing faux cookie.”
Add more color carefully: Tiny painted red dots or miniature green holly leaves can be sweet accents, but use them sparingly so the ornaments still read as classic iced gingerbread.
For garland or gift toppers: Use shorter twine loops for package decorations, or string several finished circles onto a longer length of baker’s twine for a mantel garland.
Drying tip: Puffy paint smears easily when it’s fresh, so keep the ornaments on a tray or sheet of parchment while they dry. I treat them the same way I do iced cookies in my kitchen: give them space, and don’t rush the finish.
Scent note: The cinnamon adds a gentle cozy scent, but it will fade over time. If you want a stronger fragrance, tuck the ornaments into a storage bin with a cinnamon stick between seasons rather than adding extra spice to the paint.