
I love a project that clears out a little shed clutter and solves a real gardening annoyance at the same time, and this one absolutely does both. We’re turning a white plastic milk jug plus two basic shed staples into a sturdy garden twine dispenser that keeps string clean, dry, and easy to pull while I’m tying up tomatoes, bundling herbs, or staking floppy flowers.
If you’ve ever had a ball of twine roll into the dirt or unravel into a tangled mess right when you’re in a hurry, this is for you. I’m all about practical fixes that don’t eat up a whole Saturday, especially during busy weeks when I’m squeezing in garden chores after work, and this one comes together fast but still looks neat and intentional when it’s done.
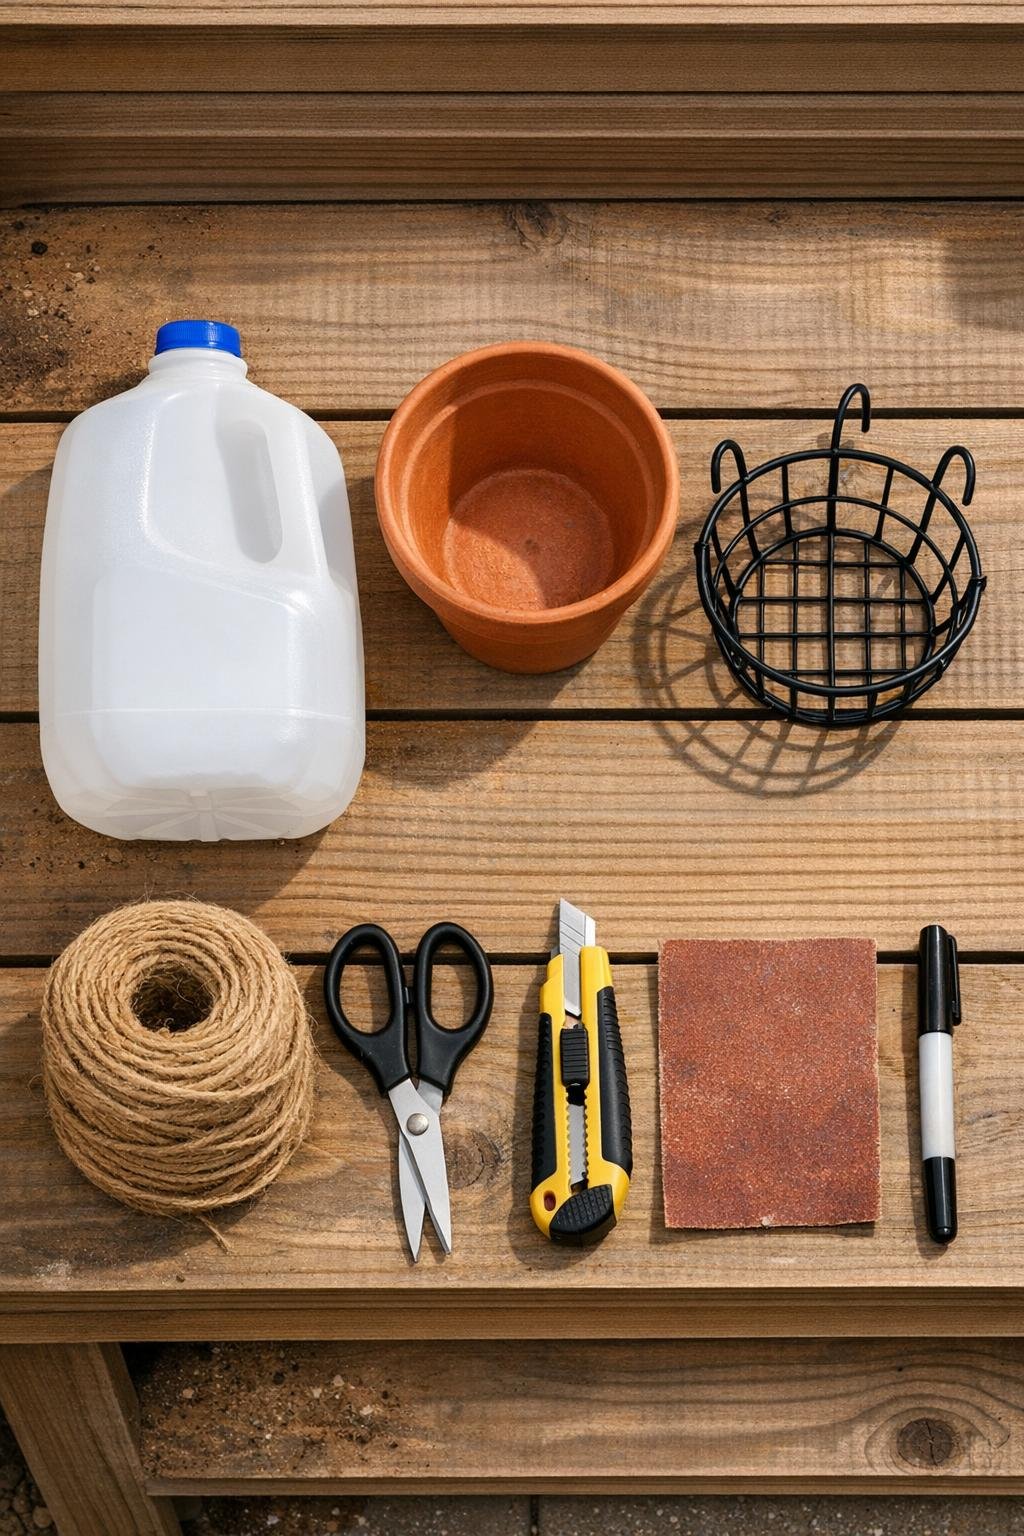
Materials
1 empty white plastic milk jug, 1 gallon, cleaned and dried
Instructions
1. Wash the milk jug with warm soapy water, remove any cap or label, and let it dry completely so the twine stays clean inside.
2. Use the marker to draw a cutting line around the bottom of the milk jug about 1 1/2 inches up from the base, then carefully cut the bottom off with the utility knife or scissors.
3. Smooth the cut edge of the jug with fine-grit sandpaper so it isn’t sharp and won’t catch your hand when you refill it.
4. Turn the terracotta pot upside down and check that the neck of the milk jug fits neatly through the drainage hole; if needed, widen the opening slightly by choosing a pot with a larger hole rather than forcing the plastic.
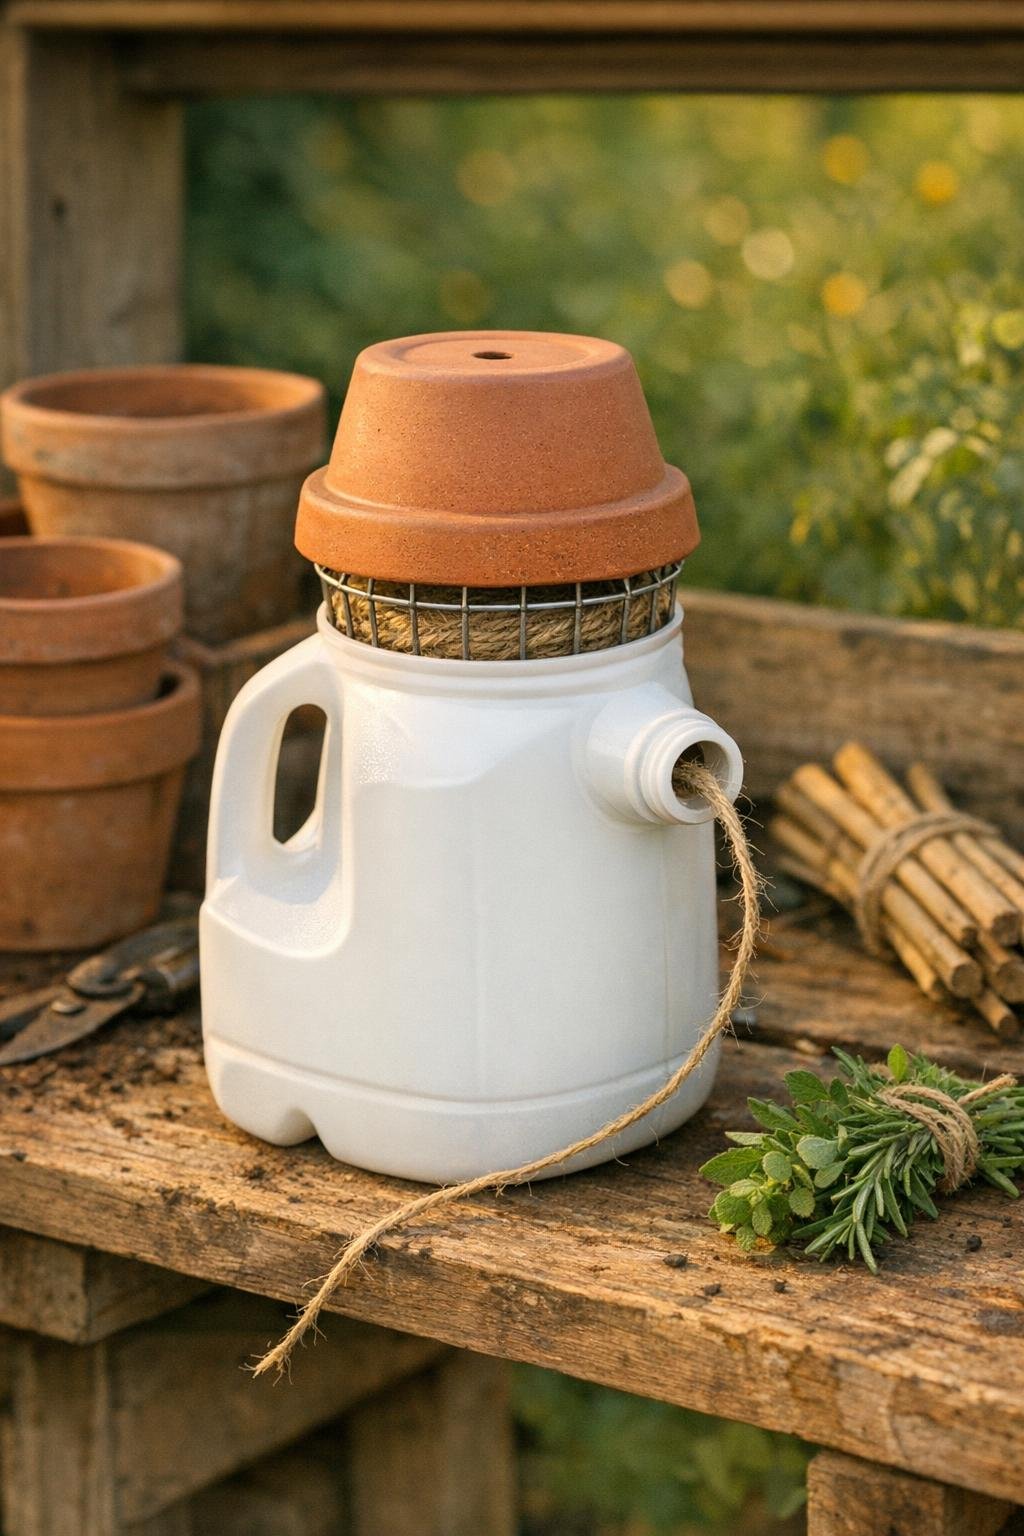
5. Feed the milk jug neck down through the pot’s drainage hole so the jug body sits above the upside-down pot and the handle stays accessible on one side.
6. Set the wire basket insert or wire ring over the open cut end of the jug and press it down until it rests securely against the jug rim or catches under the handle area to act as a sturdy retaining top.
7. Place the roll of jute twine inside the jug body, pulling the loose end down through the jug opening and out through the spout so the cap area becomes the dispenser point.
8. Test the pull by drawing out 2 to 3 feet of twine through the spout; the ball should unwind smoothly inside the jug without jumping out because the wire top keeps it contained.
9. If you want to hang it, tie the ribbon or jute cord securely around the wire top or through the wire frame and make a loop long enough for a shed hook or potting bench peg.
10. Set the dispenser on your potting bench or hang it near your tomato stakes, then trim the twine end so 4 to 6 inches remain outside the spout for easy grabbing next time.
Variations & Tips
For larger twine rolls: Use a bigger plastic jug, like a 2-gallon water jug, and pair it with a wider wire basket insert so the twine has enough room to spin freely.
For a cleaner finish: If the jug still looks obviously recycled in a not-cute way, give the outside a light scrub and remove every bit of label adhesive before assembling; that tiny extra effort makes it look much more polished on a bench.
For weather protection: Keep the dispenser in a shed, covered porch, or under a bench overhang so the jute twine stays dry and strong through the season.
For smoother dispensing: Pull the twine from the center of the ball before you load it into the jug; in my experience that cuts down on jerky tangles a lot.
For wall storage: Hang the finished dispenser from a sturdy hook by the wire top so it stays off the work surface and the twine is always right where you need it.
For a prettier garden station: Group it with your pruners, plant labels, and a small crock of markers on the potting bench; practical projects always feel more satisfying to me when they also make the whole setup look a little more put together.