
I love a craft that looks far fussier than it really is, especially when the supply list can come straight from the dollar store aisle. This project starts with plain paper doilies, glue water, and a few simple shaping pieces, then dries into something delicate-looking with that sweet, vintage charm that makes people assume you spent all afternoon on it.
It’s a great weekend or evening project if you want a low-mess craft that still feels special. I’m always drawn to projects like this during busy seasons because I can set everything up on my kitchen counter, work in batches, and let the pieces dry while I answer emails or start dinner.
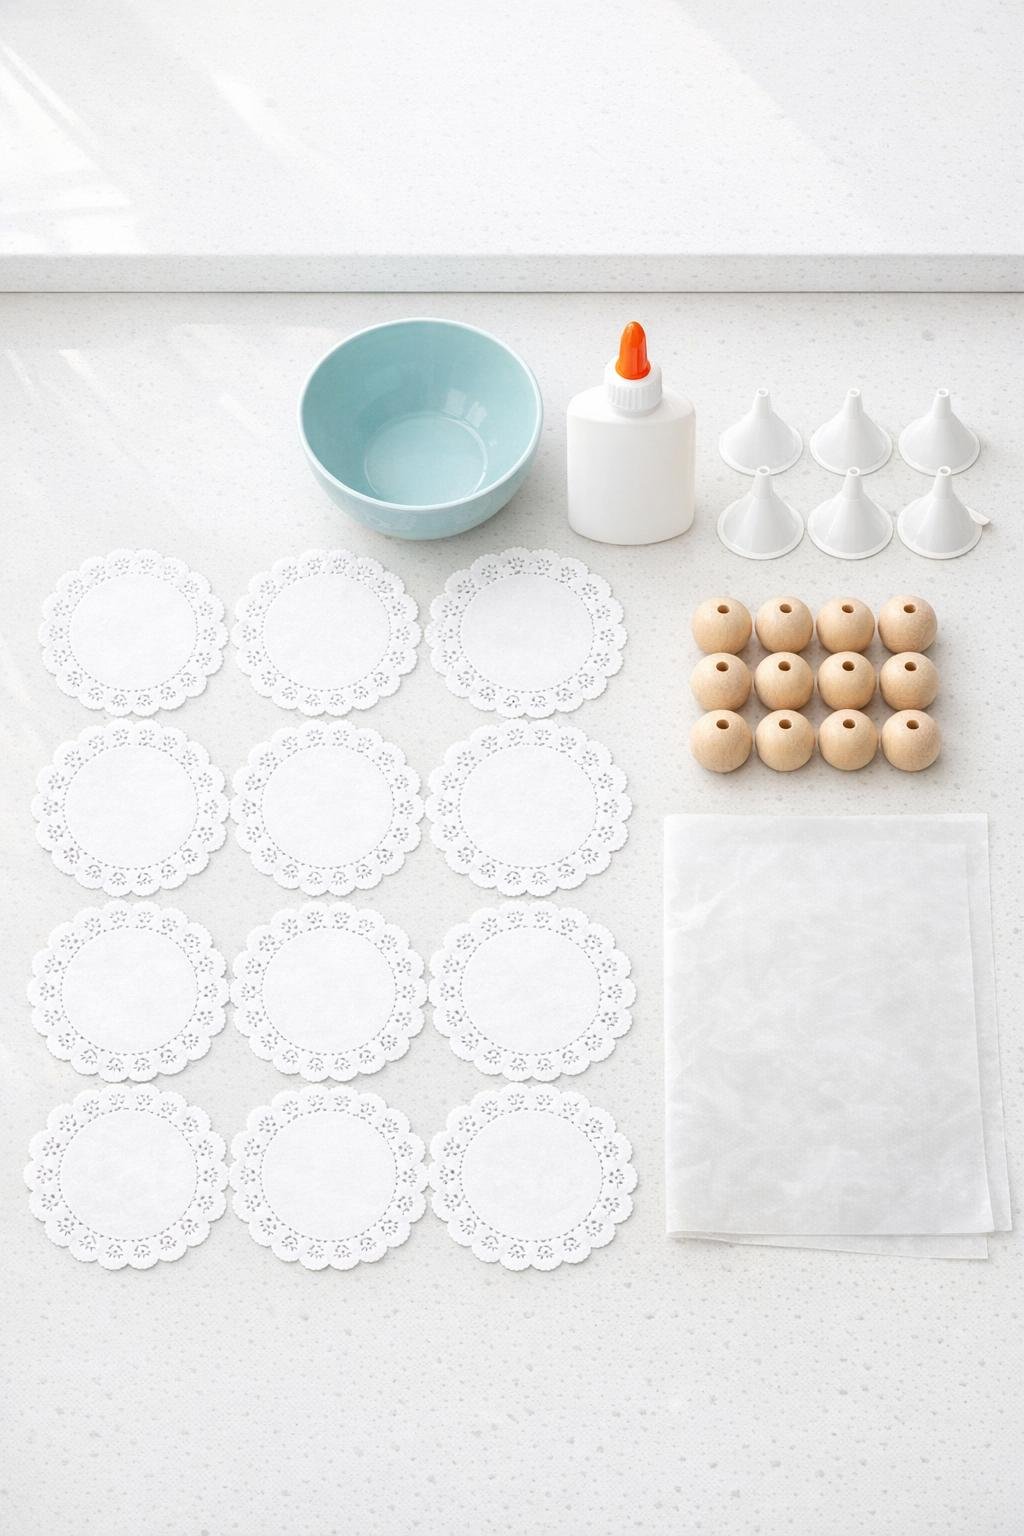
Materials
12 white paper doilies, 8 to 10 inches wide
Instructions
1. Cover your counter or table with wax paper and set out the funnels upright so they’re ready to use as forms. Mix the glue and water in the bowl until completely smooth and milky.
2. Dip one paper doily fully into the glue water, turning it gently so every section gets saturated without tearing. Lift it out and let the extra mixture drip back into the bowl for a few seconds.
3. Drape the wet doily evenly over an upside-down funnel, centering it so the lace edges fall all around like a full skirt. Smooth the top lightly with your fingers and pull any stuck sections apart so the cutwork pattern stays open and pretty.
4. Place a wooden bead on top of the center opening to form the head, pressing it just enough so it sits snugly without collapsing the doily shape. If needed, use a pearl-head pin through the bead hole into the funnel opening to keep it from shifting while it dries.
5. Repeat with the remaining doilies, working in batches so you don’t rush the shaping. If a doily starts to dry before you center it, dip just that piece back into the glue water for a quick refresh.
6. Let the shaped pieces dry completely for 12 to 24 hours until stiff all the way through. Don’t remove them early; the crisp porcelain-like finish happens when the glue fully cures.
7. Once dry, slide each piece gently off its funnel and check the edges; if any section feels soft, set it back on the form for a few more hours. The shape should hold firmly on its own with a smooth dome top and full lace skirt.
8. Add a hanging loop if you want to display them on a tree, garland, or hook by threading a 6-inch ribbon piece through the bead hole and tying a small knot. For extra polish, brush on a tiny bit of pearl shimmer glue or dust with fine iridescent glitter while the surface is still slightly tacky from the embellishment.
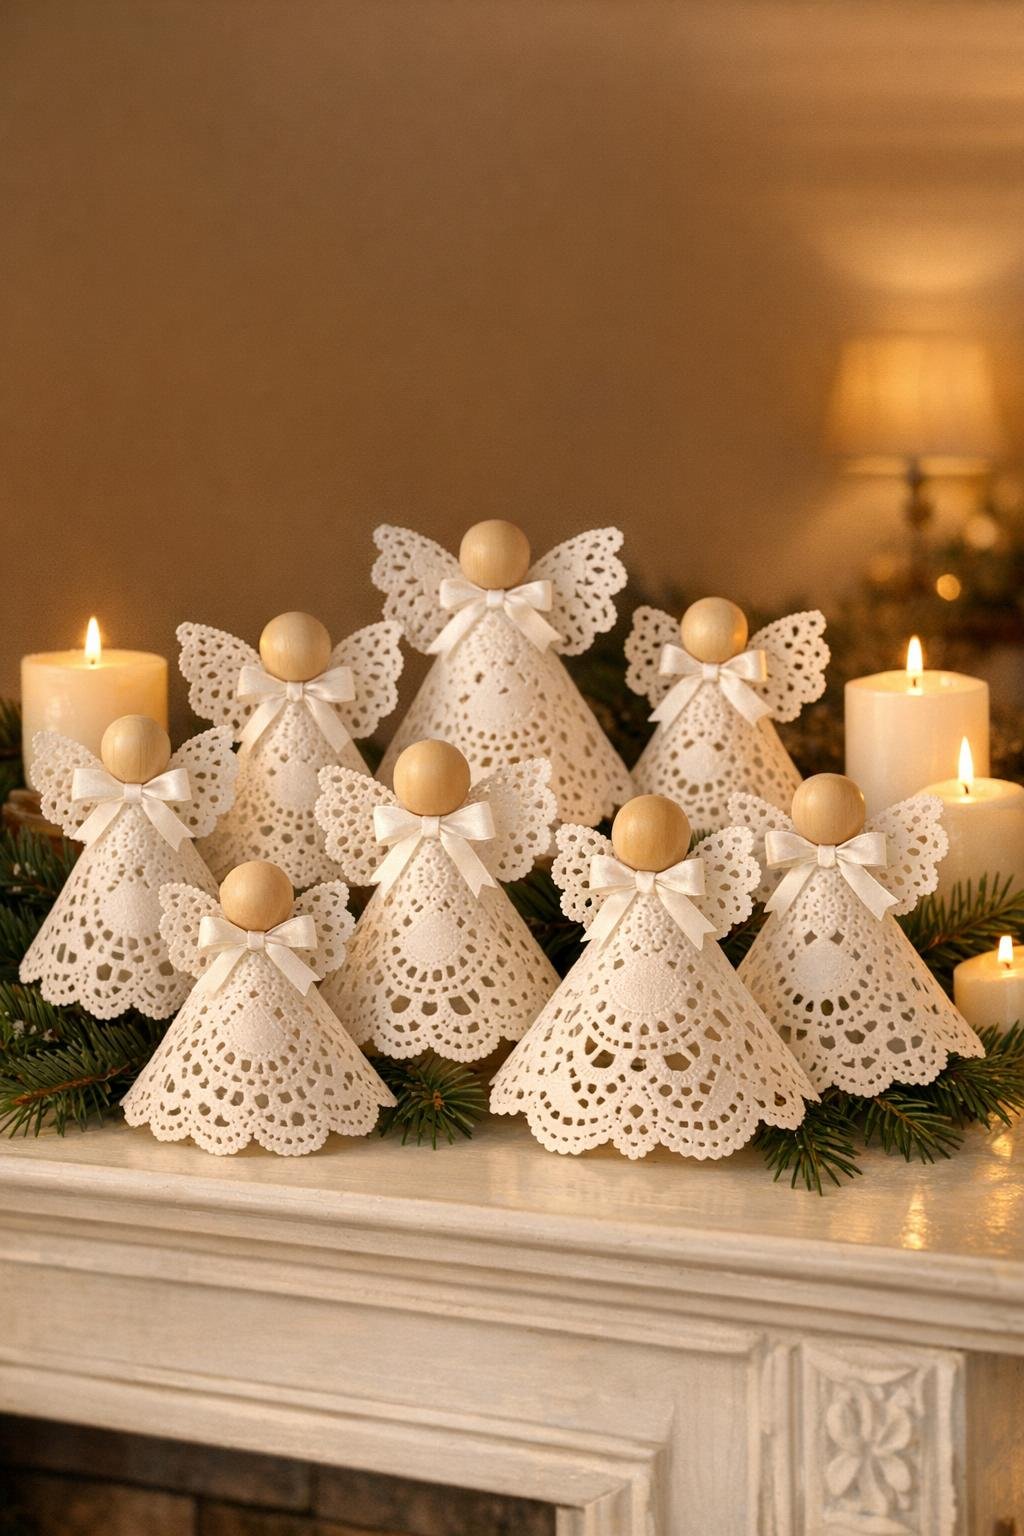
9. Arrange the finished pieces in a grouped display so the set feels generous and special rather than scattered. A cluster of several together really shows off the lace detail and makes the whole project feel more elevated.
Variations & Tips
For fuller angels: Use larger 10-inch doilies for the outer layer and add a second smaller doily over the same funnel before drying. I love this if you want a more dramatic skirt without making the process any harder.
For a softer antique look: Swap bright white doilies for ivory ones or lightly brush the dry bead heads with diluted beige paint. That tiny color shift gives them a more heirloom feel.
For easier batch crafting: Work with 6 funnels at a time, then reuse them once the first set is dry enough to hold shape. If you’re like me and crafting between other chores, this makes the project much more manageable.
To prevent tearing: Support each soaked doily with both hands when lifting it from the bowl. Paper doilies are strongest when fully supported, especially around the center cutwork.
For gift-ready finishing: Tie a tiny satin bow at the neck just below the bead head or attach a loop of ribbon in a color that matches your holiday decor. Those little extras make them look surprisingly polished.
For display options: These are lovely on a mantel, tucked into a wreath, hung on a tree, or grouped in a shallow bowl with greenery. I think they look best when displayed in a small collection so all that lace detail gets the attention it deserves.