
There’s something deeply satisfying about taking the humblest little household item and turning it into something that looks like it came from a Christmas box tucked away in the attic for years. This project starts with a plain dollar store ice cube tray and a simple batch of plaster of Paris, and from there you get a whole set of sweet, sturdy holiday pieces with a handmade charm that feels old-fashioned in the best way.
I’m especially fond of crafts like this because they don’t ask much of you—just a little mixing, a little painting, and a little patience while things dry. If you enjoy easy holiday making, want ornaments that look far more special than they cost, or need a craft that gives you a nice little pile of finished pieces by the end of the afternoon, this one is a dandy.
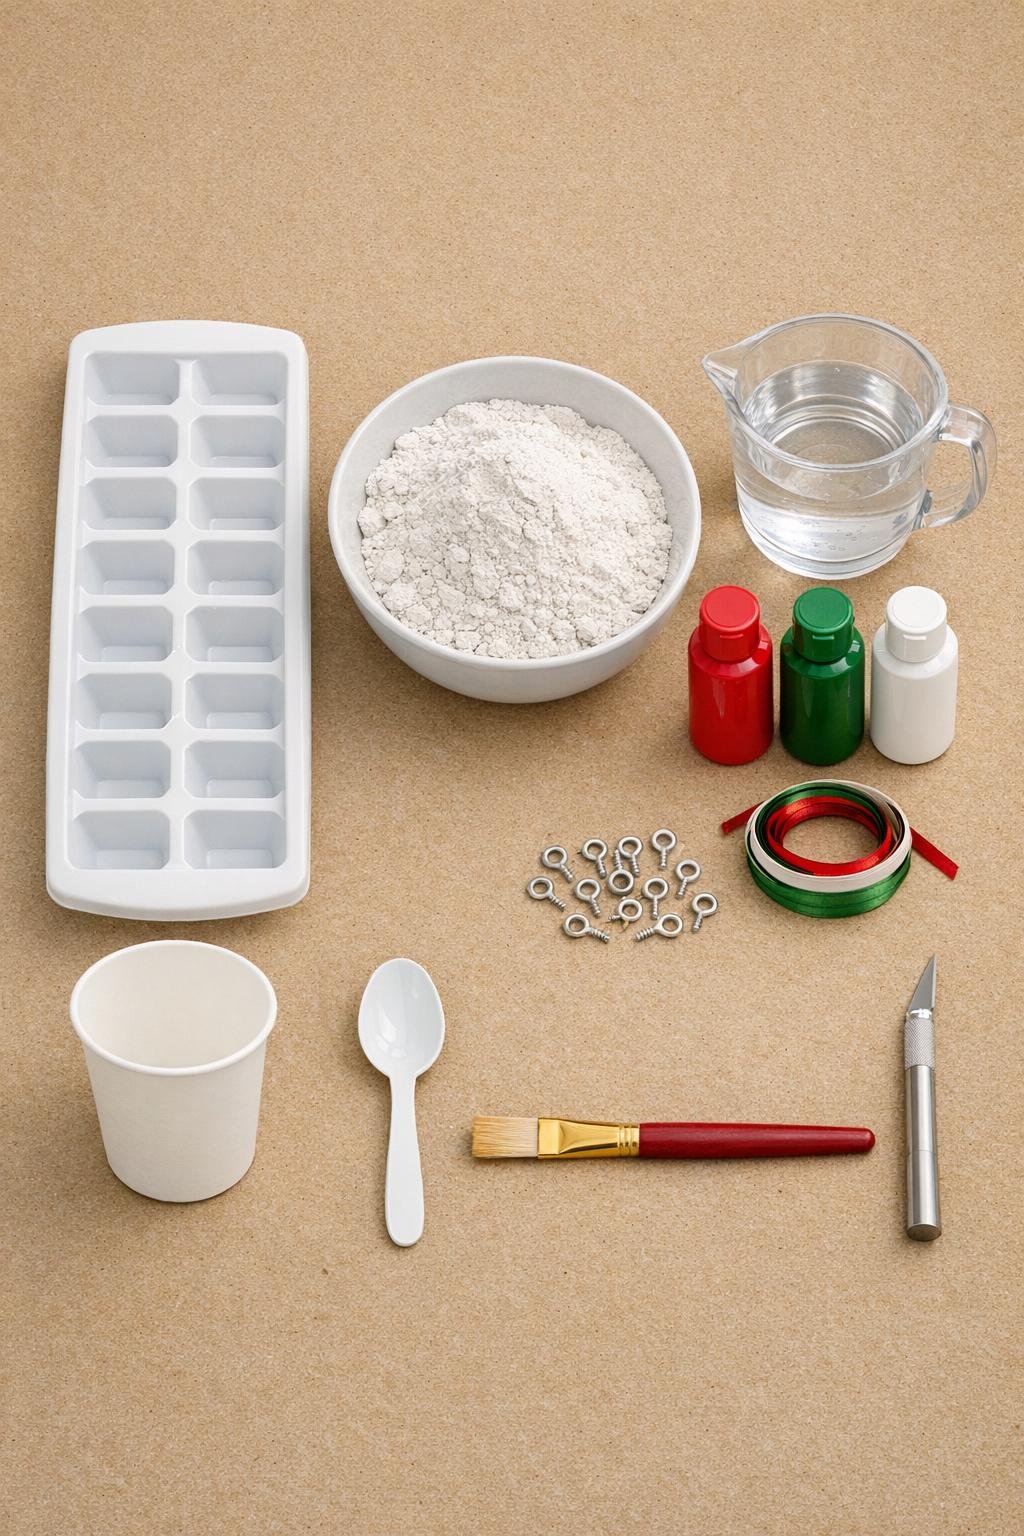
Materials
1 white plastic dollar store ice cube tray with 12 cube-shaped wells
Instructions
1. Set the ice cube tray on a flat work surface and make sure it’s clean and dry so the plaster settles evenly in each well.
2. Pour 2 cups of plaster of Paris into the paper cup, add 1 cup of water, and stir with the plastic spoon until the mixture is smooth and about as thick as pancake batter.
3. Pour the wet plaster into all 12 wells, filling each one nearly to the top, then tap the tray gently on the table a few times to release air bubbles and level the surfaces.
4. Let the plaster harden fully according to the package timing, usually about 30 minutes to 1 hour, until the cubes feel firm and cool but no longer soft in the center.
5. Flex the tray gently and pop out the plaster cubes one at a time, handling them carefully so the corners stay crisp.
6. Use the craft knife to shave away any thin ridges or rough edges, then let the cubes dry another several hours or overnight so they’re light and fully cured before painting.
7. Paint 4 cubes red, 4 cubes green, and 4 cubes white, covering the tops and sides evenly; set them aside until the paint is dry, then add a second coat for a solid, gift-like finish.
8. Cut 12 lengths of thin ribbon, each about 18 inches long, and wrap one ribbon around each cube in both directions like package string, tying a neat knot or bow on the top side.
9. Twist one small screw eye into the top center of each cube, placing it just beside or under the ribbon knot so it looks tidy and holds securely.
10. Tie a small hanging loop with extra ribbon through each screw eye, trim the ends neatly, and fluff any bows so the finished ornaments look full and polished.

Variations & Tips
Ribbon color swap: If you want a more old-fashioned look, use white ribbon on the red and green cubes and red ribbon on the white cubes for stronger contrast.
Candy-cane detail: Paint thin stripes or tiny dots over the dried base coat if you’d like each little present to feel a bit more playful and dressed up.
Easier screw-eye insertion: If the plaster feels very hard, start the hole gently with the tip of the craft knife before twisting in the screw eye to help prevent chipping.
Drying patience: I always let plaster sit overnight before painting if I can; that extra time makes the finish go on cleaner and keeps the color from turning chalky.
Tree and package use: These aren’t just for branches; they’re lovely tied onto gift packages, tucked into a wreath, or hung from cabinet knobs during the holidays.
Make them look fuller: Don’t skimp on the ribbon length—an extra little bow and longer tails make these tiny ornaments read much richer and more festive.