
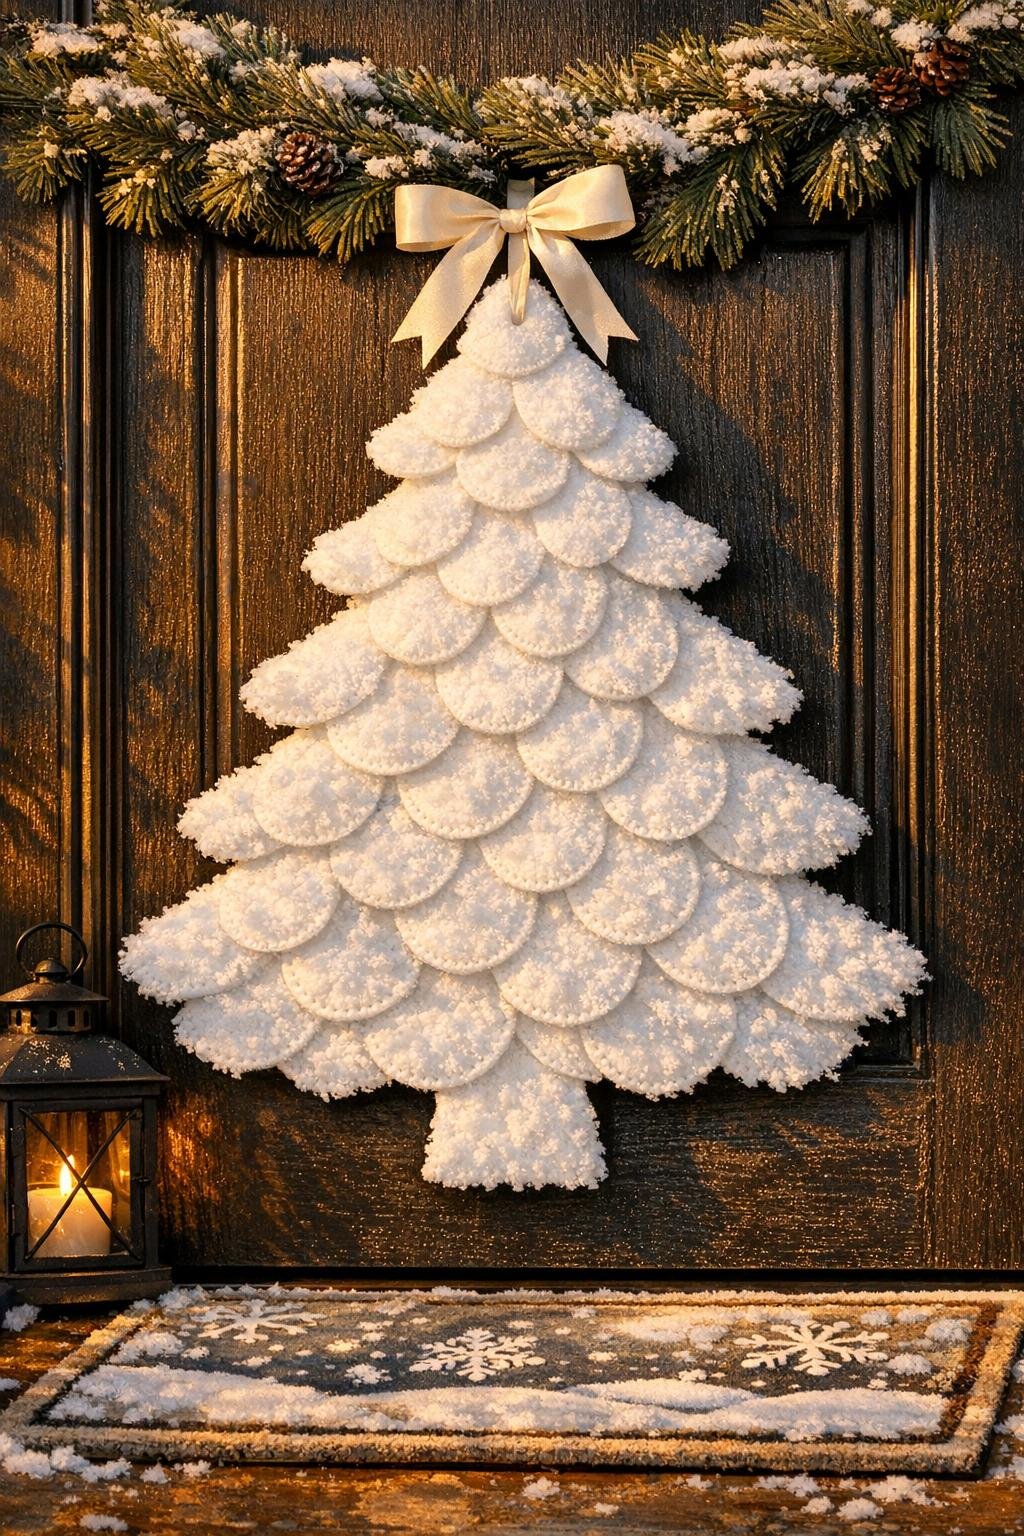
Some projects are perfect for those evenings when I want something relaxing, a little repetitive in the best way, and impressive enough to make people ask where I bought it. This one absolutely fits that category. With a plain sheet of foam board, a stack of makeup remover pads, and a glue gun, you can turn very ordinary supplies into a soft, snowy decoration that looks much fancier than it is.
I especially love projects like this during the holiday season because they don’t require a workshop, a sewing machine, or a huge block of free time. If you can trace, cut, and glue in rows while listening to a podcast or letting dinner simmer, you can make this. It’s beginner-friendly, budget-friendly, and the texture at the end is the part that makes it feel so special.
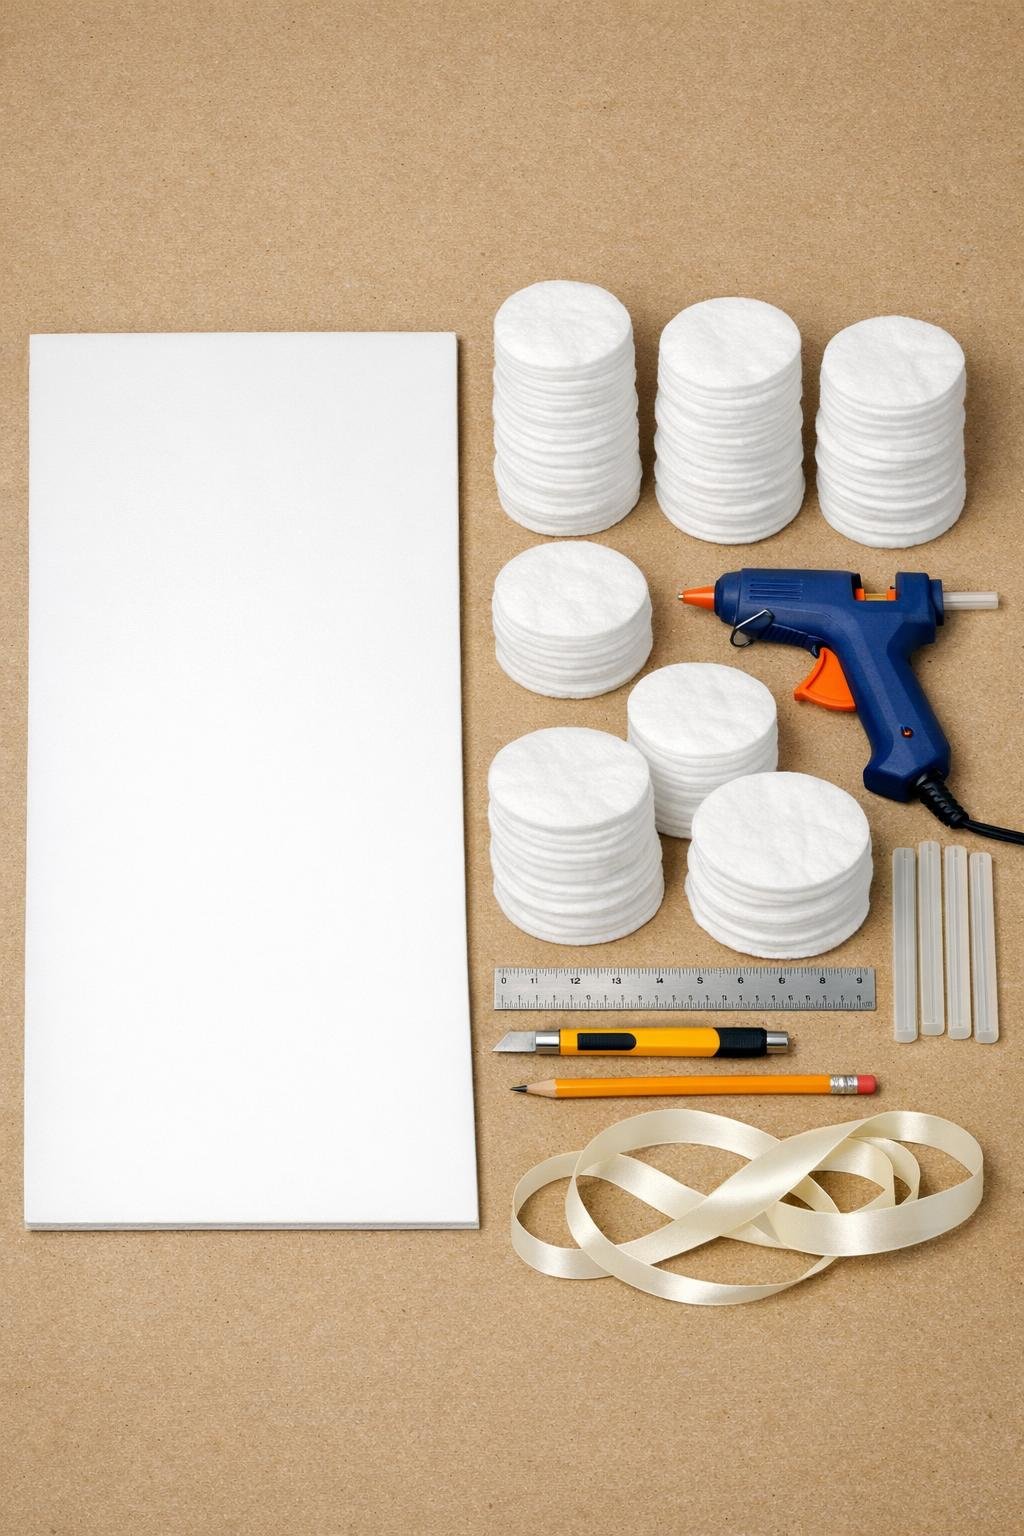
Materials
1 white foam board sheet, 20 x 30 inches
Instructions
1. Lay the foam board flat and draw a centered tree shape about 18 inches tall and 14 inches wide at the bottom, leaving a 1-inch margin around the outside for easier cutting and handling.
2. Use the craft knife and ruler to cut out the tree shape in smooth passes, then trim any uneven edges so the silhouette looks crisp.
3. Turn the tree over and hot glue the 8-inch hanging loop to the back near the top point, then reinforce it with a small scrap of foam board or a folded piece of ribbon glued over the ends.
4. Starting along the bottom edge on the front, glue the first row of makeup remover pads so they overlap by about one-third, letting the rounded edges create a soft scalloped border.
5. Continue adding rows upward, staggering the pads so the seams don’t line up and keeping each new row overlapping the one below by about half its height.
6. Angle the pads slightly outward near the lower corners and slightly upward as you move toward the center so the finished surface has a fuller, feathered look instead of looking flat.
7. Fill the middle section of the tree with dense overlapping rows, pressing each pad into a small dot of hot glue at its center so the edges stay loose and fluffy.
8. As you get closer to the top, use fewer pads per row and tuck them in tightly so the tree narrows naturally while still looking full.
9. Cover the top point with 3 to 5 pads folded slightly in half before gluing, which helps create a neat tapered tip without exposing the foam board.
10. Step back and check for thin spots, then fill gaps with extra pads or half pads trimmed with scissors or the craft knife for a smooth, snowy outline.
11. Glue the 24-inch ribbon into a simple loop or soft bow and attach it at the top of the tree, placing it just below the point so it looks finished without covering too much texture.
12. If you want a little extra polish, add a few pearl-head pins or tiny clear rhinestones scattered lightly across the pads, then let everything cool fully before hanging it on a door, wall, or narrow entry space.
Variations & Tips
For a fuller look: If you want the tree to look extra lush, overlap the pads a little more heavily through the center and bottom third. That’s the area that gives the whole project its “wow” factor from across the room.
For a larger version: Use a bigger foam board or join two boards from the back, then increase the pad count to 350 to 450. I’d keep the same method and just work in patient, even rows.
For subtle sparkle: Tiny clear rhinestones or pearl pins look prettier than chunky glitter here. They catch the light without taking away from the snowy texture.
For easier hanging: If your door is exposed to weather, use a removable over-the-door wreath hanger instead of adhesive hooks. It’s more secure, especially with all the layered pads adding dimension.
For cleaner gluing: Work in short rows of 6 to 8 pads at a time so the hot glue stays tacky. I’ve learned the hard way that rushing too far ahead with glue usually means strings everywhere.
For storage: Store the finished piece flat in a large plastic bag or under a bed in a shallow box. That keeps the pads from getting crushed and makes next season ridiculously easy.
For a softer top finish: A small velvet, satin, or grosgrain bow in white, champagne, or silver gives it that finished decorating touch without making it fussy. I’m always a fan of one last simple detail that makes a handmade project feel intentional.