
I love a project that solves a real bedroom problem and ends up looking like boutique décor, and this jewelry organizer does exactly that. By filling a small picture frame with wire mesh and wrapping the outer edge in velvet ribbon, you get a soft, polished piece that holds earrings, lightweight necklaces, and bracelets while still looking pretty enough to leave out on a dresser.
This is especially good for anyone who wants their everyday jewelry visible instead of tangled in a dish or lost in a drawer. The frame keeps the structure crisp, the mesh does the hard-working organizing, and the velvet ribbon adds that finished touch that makes people assume you bought it somewhere charming and expensive.
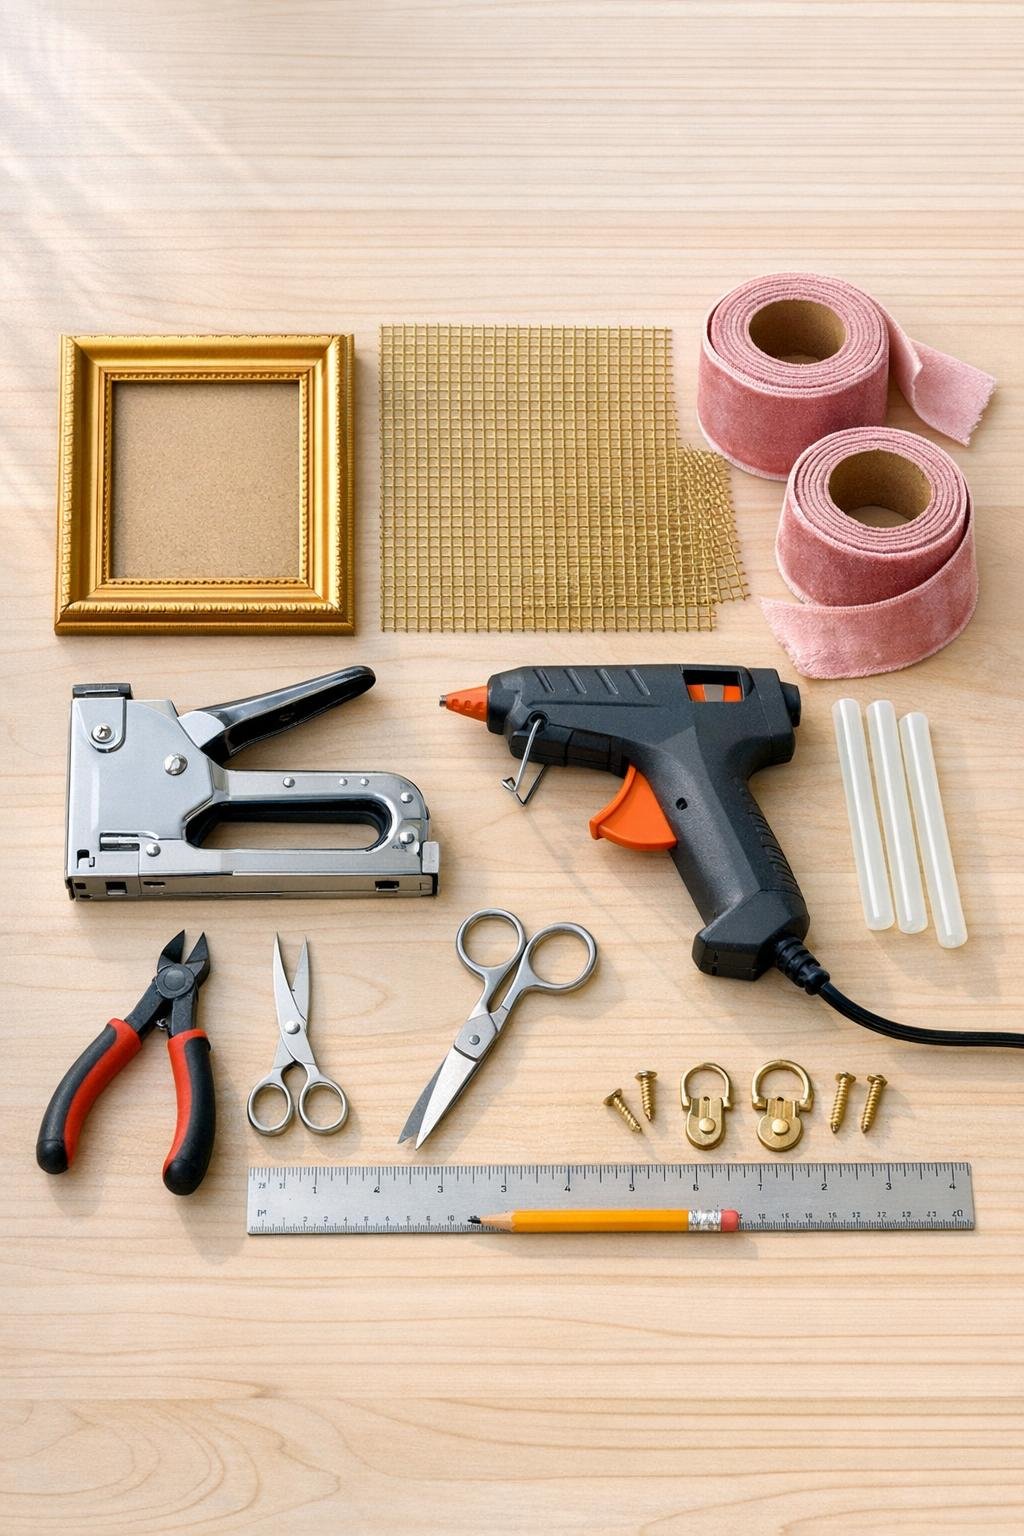
Materials
1 small gold picture frame, 8 x 10 inches, with backing removed
Instructions
1. Remove the glass, insert, and backing from the 8 x 10 frame so you are left with the empty gold frame and its rear channel for holding the mesh.
2. Lay the brass wire mesh over the back of the frame opening and mark it so it extends about 1 inch beyond all four sides.
3. Cut the mesh with wire cutters, trimming any sharp points so the edges are tidy and easier to handle.
4. Center the cut mesh over the back of the frame, pull it taut, and staple it to the wooden back edge or inner rear lip, placing staples every 1 1/2 to 2 inches.
5. Fold any extra mesh inward or trim it closer to the staples so the back sits flat and no sharp ends stick out.
6. Add a thin line of hot glue or clear craft glue over the stapled edges to keep the mesh from shifting and to cover rough spots.
7. Starting at the back lower corner of the frame, glue the end of the 1 1/2-inch dusty rose velvet ribbon in place and begin wrapping it around the outer frame, slightly overlapping each pass for full coverage.
8. Work one side at a time, adding a dab of hot glue every few inches and pressing the ribbon smooth so the wrap stays snug without twisting.
9. Miter the ribbon gently at the corners by folding it neatly around each edge, then secure those folds with extra glue so the corners look soft and tailored instead of bulky.
10. Finish the wrap at the back of the frame, trim the ribbon cleanly, and glue down the end so the seam is hidden on the reverse side.
11. Use the 3/8-inch dusty rose velvet ribbon to cover any visible raw edges on the back by gluing a clean border around the inside rear edge of the frame.
12. Attach the two D-ring hangers to the back sides of the frame, about 2 inches down from the top, and string the picture wire between them.
13. Add the felt pads to the lower back corners so the organizer hangs straight and does not scuff the wall.
14. Hang the organizer in the bedroom or lean it on a dresser, then slip earrings through the brass wire mesh and drape lightweight necklaces and bracelets across the openings.
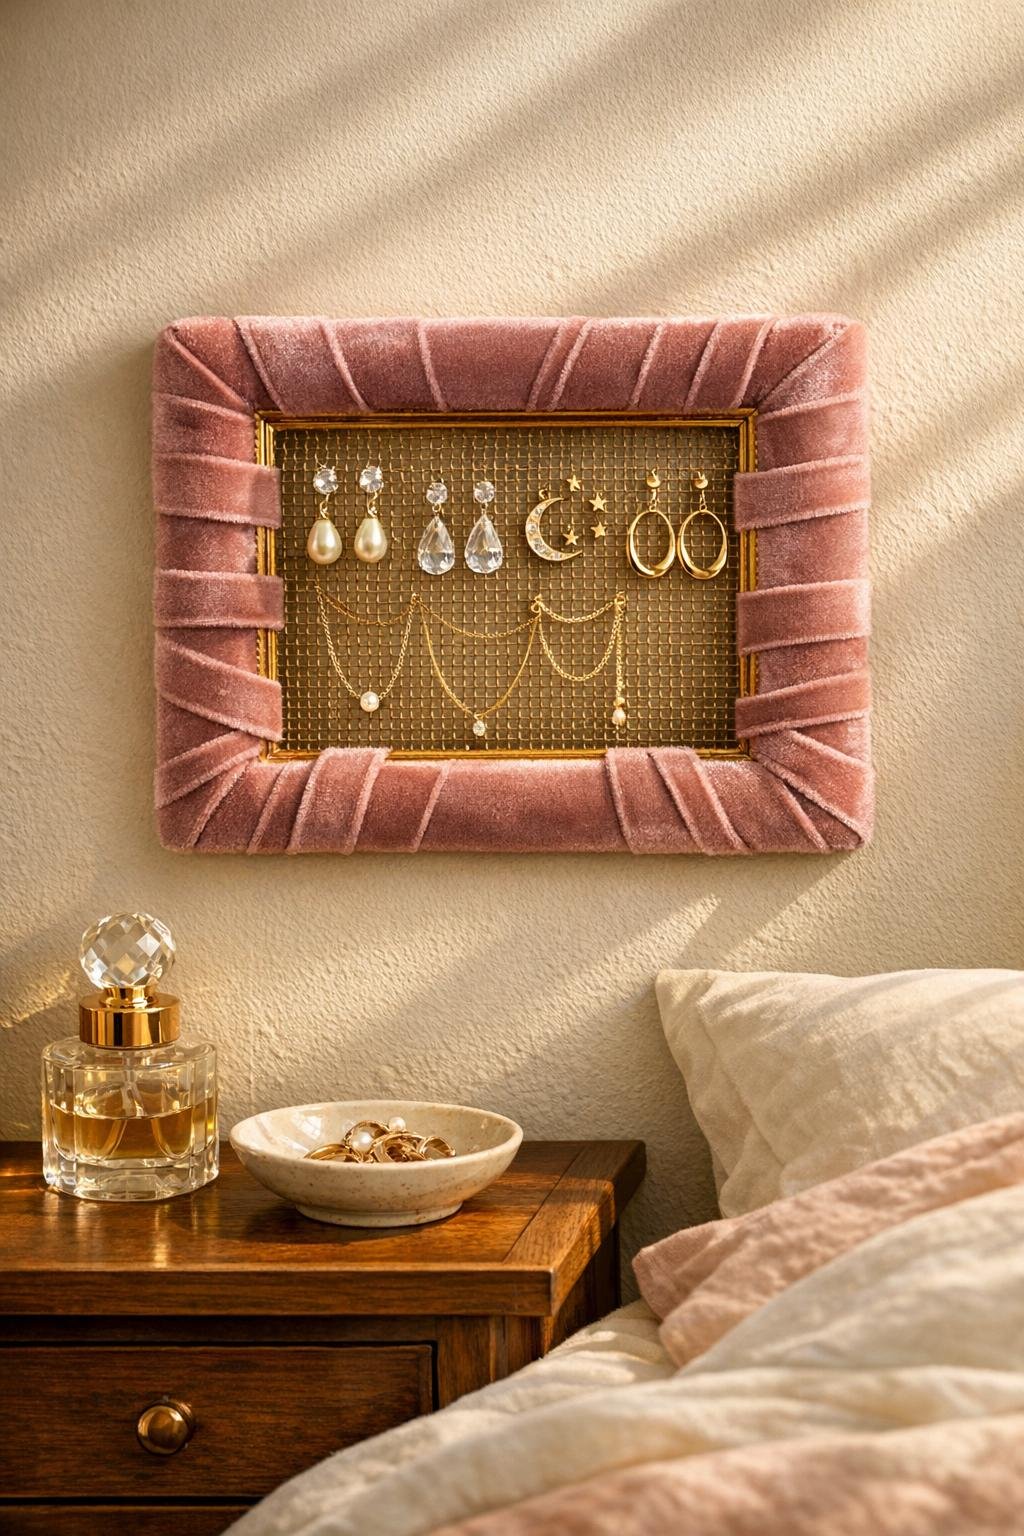
Variations & Tips
For more storage: Use an 11 x 14-inch frame instead of an 8 x 10 and keep the same method; that extra space makes a surprising difference if you wear lots of earrings.
For heavier jewelry: Choose a slightly sturdier hardware cloth or tighter welded wire mesh, and keep necklaces to shorter, lighter pieces so the frame does not bow over time.
For a softer look: Add a small velvet bow at the top corner or centered at the top edge using the narrow ribbon; it gives the organizer a finished bedroom-dressing-area feel without making it fussy.
For cleaner wrapping: Cut the velvet ribbon on a slight angle at the starting and ending points so the overlap lies flatter on the back.
If your frame is metal: Skip the staples and secure the mesh with strong hot glue followed by narrow ribbon glued over the back edges to lock everything in place.
To keep it useful: Leave a little open mesh space between earrings instead of filling every opening at once; I’ve learned in my own kitchen and bedroom alike that a beautiful system only stays beautiful if you give it room to work.