
There are some projects that feel almost too simple when you first start them, and this is one of those. A handful of old wooden frames, a little twine, and a few easy finishing touches can turn castoffs into something with real presence on a porch or by a front door. I love a project like this because it uses what you already have, doesn’t ask for fancy tools, and still looks like something you’d spot in a cute little shop downtown.
If you’ve got mismatched frames tucked in a closet or stacked in the garage, this is such a good way to give them a second life. It’s beginner-friendly, easy to customize for the season, and big enough to make a statement without being difficult to build. I’m always drawn to projects that feel welcoming and homey, and this one has that same cozy charm.
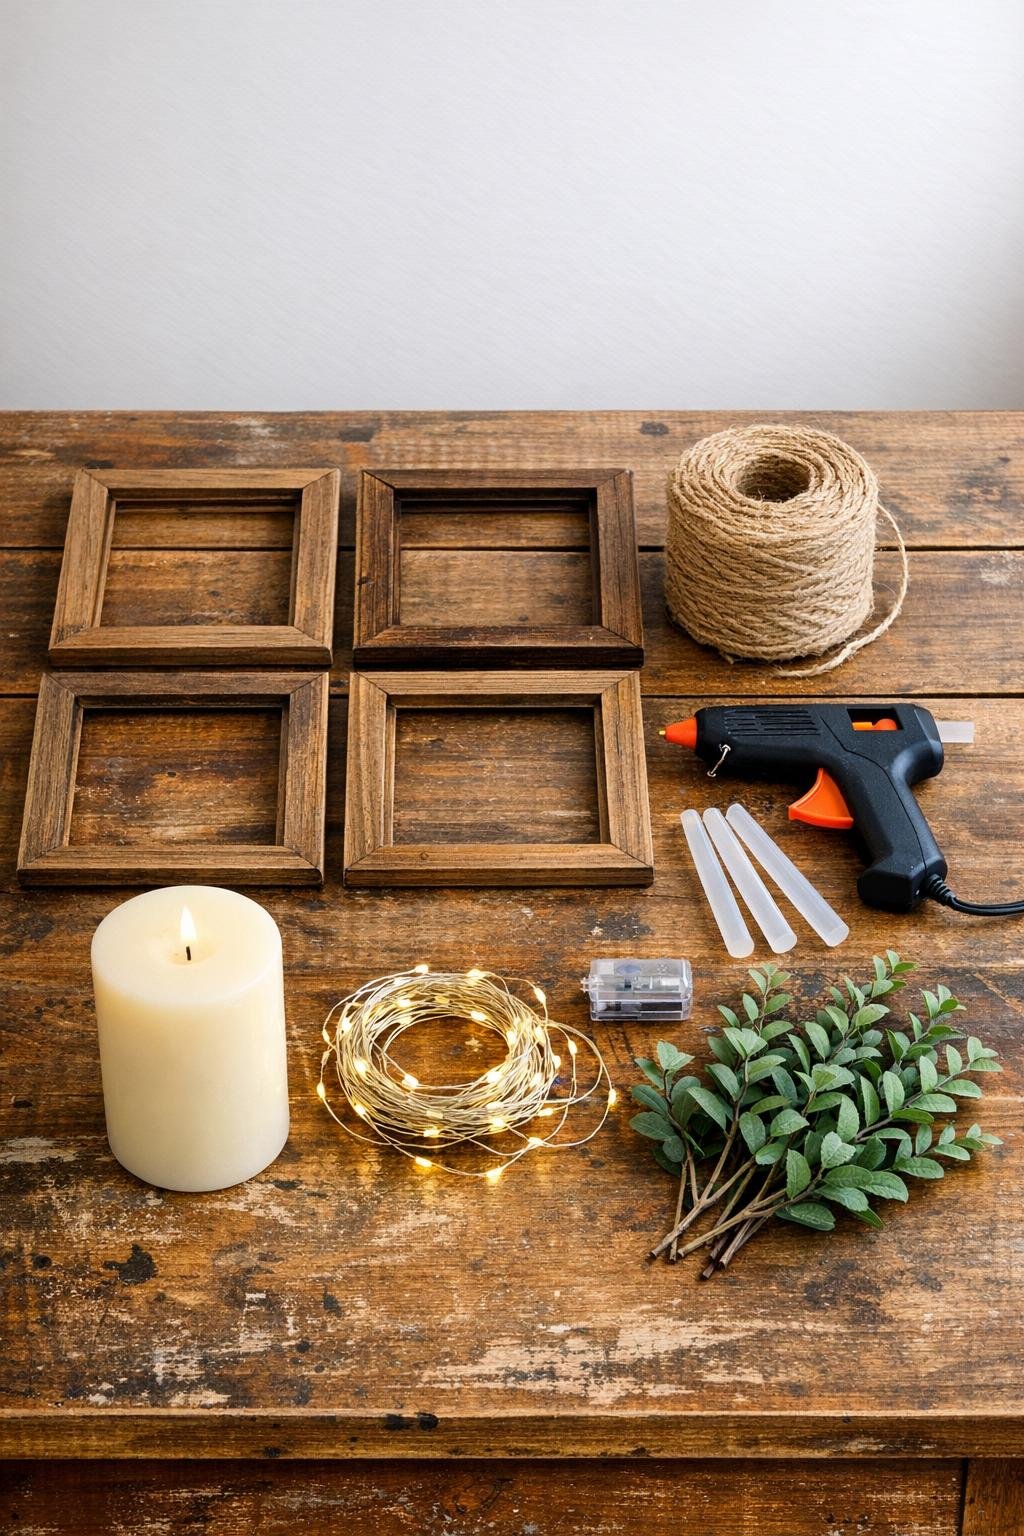
Materials
4 old wooden picture frames, 11 x 14 inches each, with glass and backing removed
Instructions
1. Remove any remaining glass, backing, staples, and hanging hardware from the frames so each one is just a clean wooden rectangle.
2. Wipe the frames down well and trim away any loose paper or splinters so the edges sit flat when they meet at the corners.
3. Stand two frames upright on their long edges and bring one side of each frame together to form a right angle, like the corner of a box.
4. Wrap jute twine tightly around the top of that joined corner 8 to 10 times, knot it firmly, then add a small bead of hot glue under the wrap to keep it from slipping.
5. Repeat at the bottom of the same corner, keeping the frames aligned so the edges stay straight and the opening remains square.
6. Add a third frame and tie it to the next free edge at the top and bottom, then do the same with the fourth frame until you have an open four-sided tower.
7. Reinforce each tied corner with a tiny line of hot glue tucked beneath the twine wraps, using just enough to stabilize the joints without making the glue visible.
8. Set the frame structure upright and gently adjust it until all four sides look even, with the bottom edges sitting flat on the table or floor.
9. If the lantern will sit on a painted porch or indoor floor, stick a felt pad or rubber bumper under each bottom corner to keep the wood from scratching the surface.
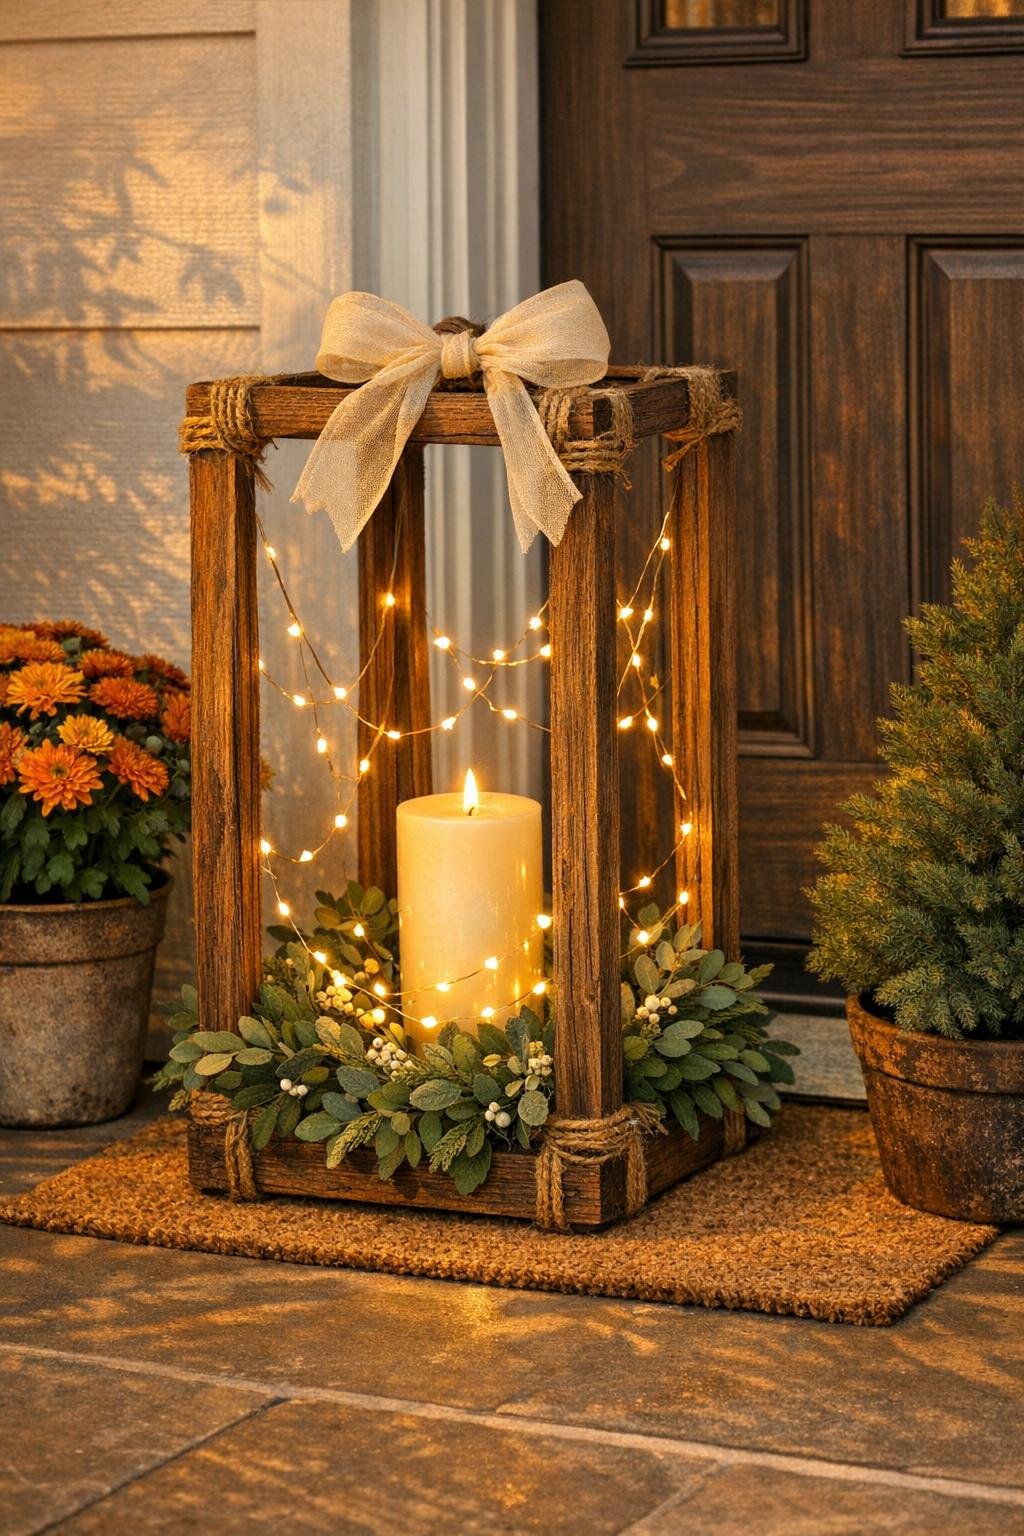
10. Coil the fairy lights loosely inside the frame base, tucking the battery pack behind a lower rail or under greenery where it stays hidden but reachable.
11. Place the pillar candle in the center, then weave faux greenery around the base so it looks full and generous without crowding the middle opening.
12. Wind a little extra greenery or a short length of garland around one upper corner or along the top edge, and tie on a simple ribbon bow if you want a softer finished look.
13. Check the twine knots one last time, trim any stray fibers, and fluff the greenery so the piece looks balanced from every side before moving it to the porch.
Variations & Tips
For mismatched frames: Frames do not have to be identical, but they should be the same size for the easiest build. If they’re only slightly different in style, that actually adds a lot of character.
For a fuller look: Use both loose greenery stems and a short garland together instead of one or the other. I like this because it fills the base beautifully and makes the whole project look more finished and generous.
For picky decorators: If your family members all like different styles the way mine do with holiday décor, keep the lantern base neutral and swap only the greenery and ribbon for each season. Eucalyptus looks fresh for spring, ferns are pretty in summer, warm leaves work for fall, and cedar or pine is lovely in winter.
For candle safety: A battery-operated pillar candle is my favorite option, especially on a busy porch. You still get the cozy glow without worrying about an open flame near twine or greenery.
For extra stability: If your frames are very lightweight, add a dab of hot glue where the bottom corners meet after tying them. It’s a small step, but it helps the lantern stay square when you move it.
For a weathered finish: If the frames are different wood tones, dry-brush them all with a little white, black, or soft gray craft paint before assembly. Just let the paint dry fully so the twine grips well when you tie the corners.
For porch styling: These look best in pairs or layered beside planters, baskets, or a bench. One lantern makes a nice statement, but two in different heights really give that cozy, pulled-together front porch look.