
I love a project that solves two problems at once: it uses up something inexpensive and a little awkward-looking, and it turns it into something you’d actually be happy to leave out on the counter. This crochet storage basket starts with one of those white dollar store wire utensil caddies and uses chunky amber yarn worked right through the grid openings, so the structure is already there and the crochet becomes the soft, polished finish.
If you’ve got basic crochet experience and can do a single crochet stitch, you can make this. I’m a big fan of projects like this because they feel substantial without eating up an entire weekend, which is exactly my speed after a long workday when I still want that satisfying “I made this” moment.
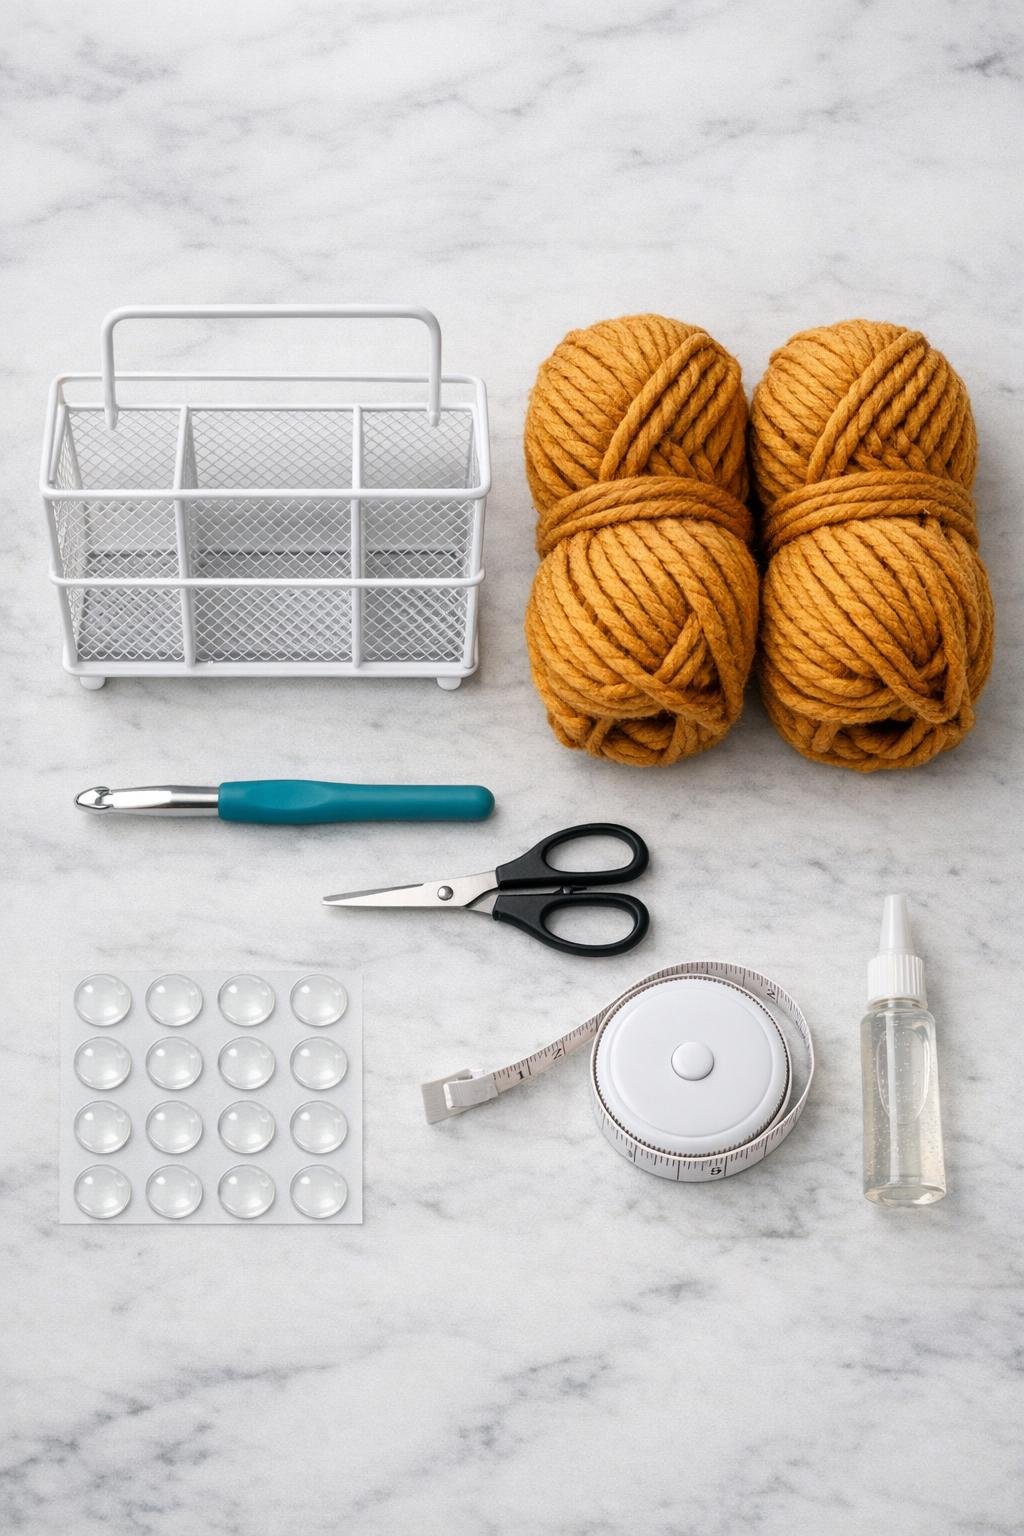
Materials
1 white dollar store wire utensil caddy, approximately 6 inches x 6 inches x 7 inches tall
Instructions
1. Cut a 12-inch tail of yarn and tie it securely around one lower corner of the utensil caddy, then hide the knot toward the inside so it won’t show on the finished basket.
2. Work single crochet stitches through each opening around the bottom edge of the caddy, pulling the yarn from outside to inside and back through the next opening so the first row anchors directly to the wire grid.
3. Continue working around the caddy one horizontal row at a time, placing one single crochet stitch into each grid opening and stacking the rows closely so the white frame starts disappearing under dense amber coverage.
4. At each corner, add one extra single crochet in the corner opening every other row so the stitches wrap smoothly without pulling the caddy out of shape.
5. Crochet upward until the entire outside wall is covered, checking every few rows that the stitches stay snug and even so the basket looks full and tailored instead of loose.
6. Work one final row through the top grid openings, then add a simple edging by making one single crochet in each top opening and one chain between openings for a finished rim.
7. Fasten off with a 10-inch tail, weave the tail through several nearby stitches, and trim the excess yarn close so the ending disappears into the texture.
8. Cut four short 8-inch strands of yarn, wrap them tightly around any areas where the white frame still peeks through near the handle posts or corners, and secure the ends on the inside with glue dots or tiny dabs of clear glue.
9. Gently shape the basket with your hands, pressing the sides straight and evening out the stitches so it sits square and stable on the counter.
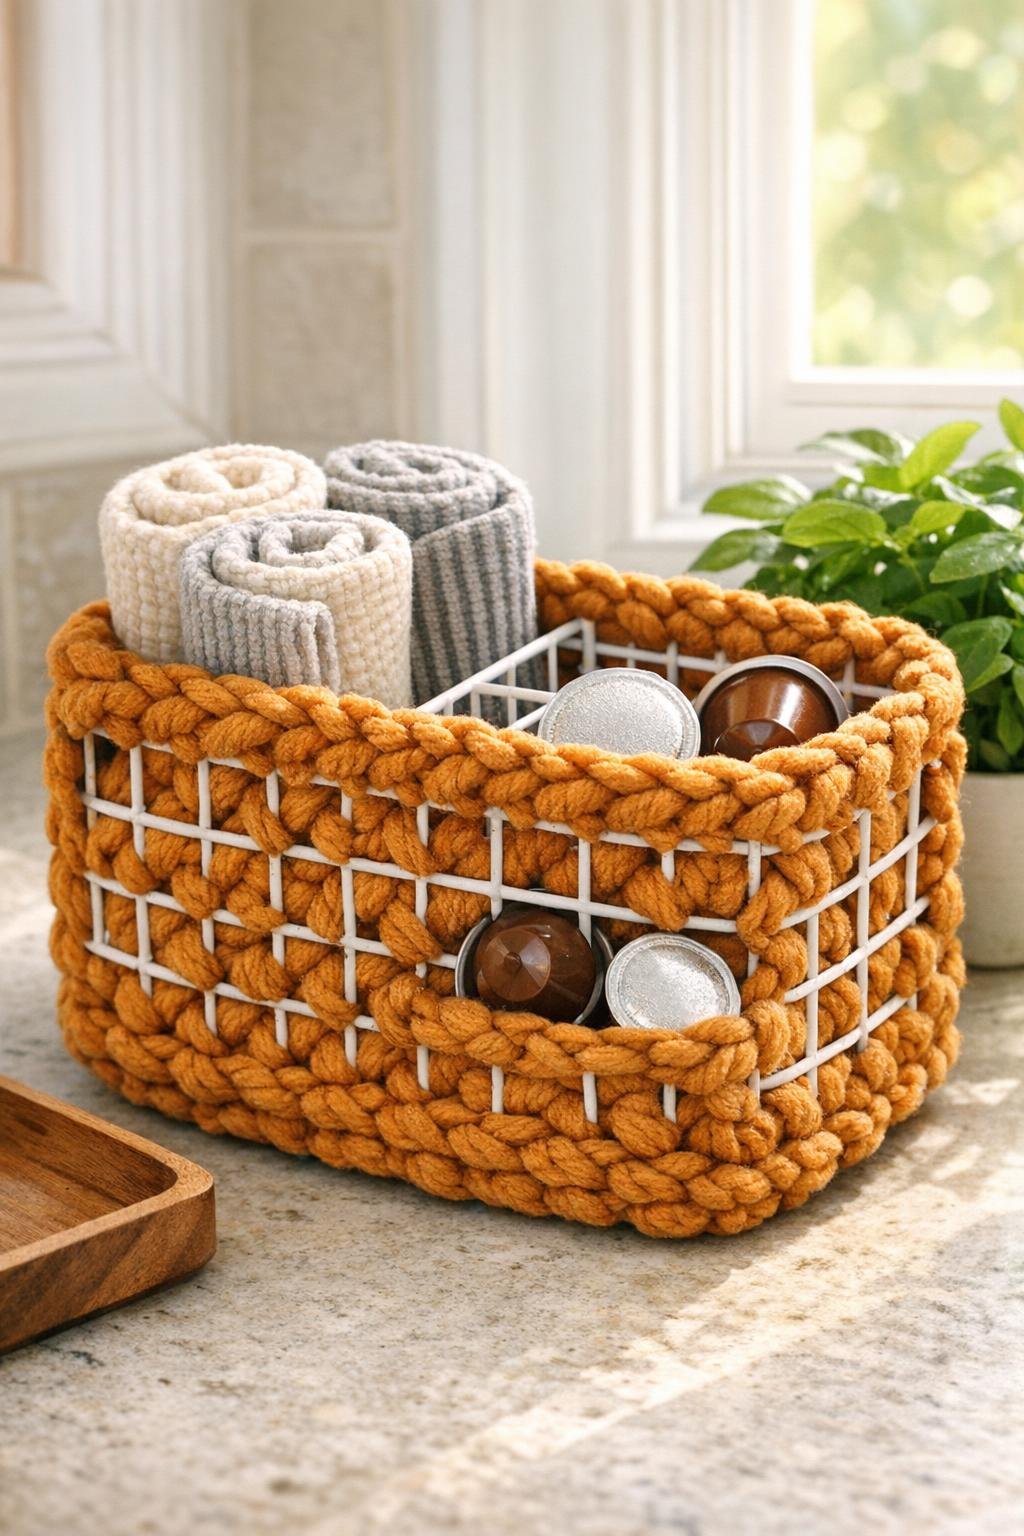
10. Fill the finished basket with kitchen towels, snack pouches, coffee pods, or mail to help it settle into shape and show off the roomy structure.
Variations & Tips
For a tighter look: If your stitches seem loose, go down to a 7 mm hook. I usually do this when I want less of the white frame peeking through and a more chunky woven look.
Best yarn choice: A smooth chunky yarn works better than a fluffy one because it slides through the grid openings more easily and shows off the stitch pattern. Super fuzzy yarn can make this feel harder than it needs to be.
Use it beyond the kitchen: This basket is great in a bathroom for washcloths, on an entry table for mail, or in a pantry for snack bags. I love projects that can migrate around the house depending on what area is currently driving me crazy.
Hide the frame more fully: If your caddy has thicker vertical posts, wrap those first with yarn before you start crocheting the body. That gives you a warmer all-over amber finish with almost no white showing.
Keep it easy to clean: Choose machine-washable yarn if you’re using this in the kitchen. You can spot-clean the basket and let it air-dry while the wire frame helps it keep its shape.
Make it gift-worthy: Add a simple leather-look tag, a tied yarn bow, or a folded tea towel inside for a polished finish. That little extra touch makes it look much more intentional, which is honestly my favorite kind of shortcut.