
There are a few projects I love because they feel a little bit like kitchen magic, and this is one of them. You start with a bag of simple peppermint candies and a bundt pan from the dollar store, and with just a little oven time, they turn into something glossy, festive, and far prettier than you’d expect from such humble ingredients.
I especially like this project for busy families, holiday hosts, teachers, or anyone who wants a decoration that looks impressive without a long supply list. It’s easy enough to make in one afternoon, and because the candies do all the hard work visually, the finished piece has that bright, cheerful sparkle that makes a room feel instantly dressed for the season.
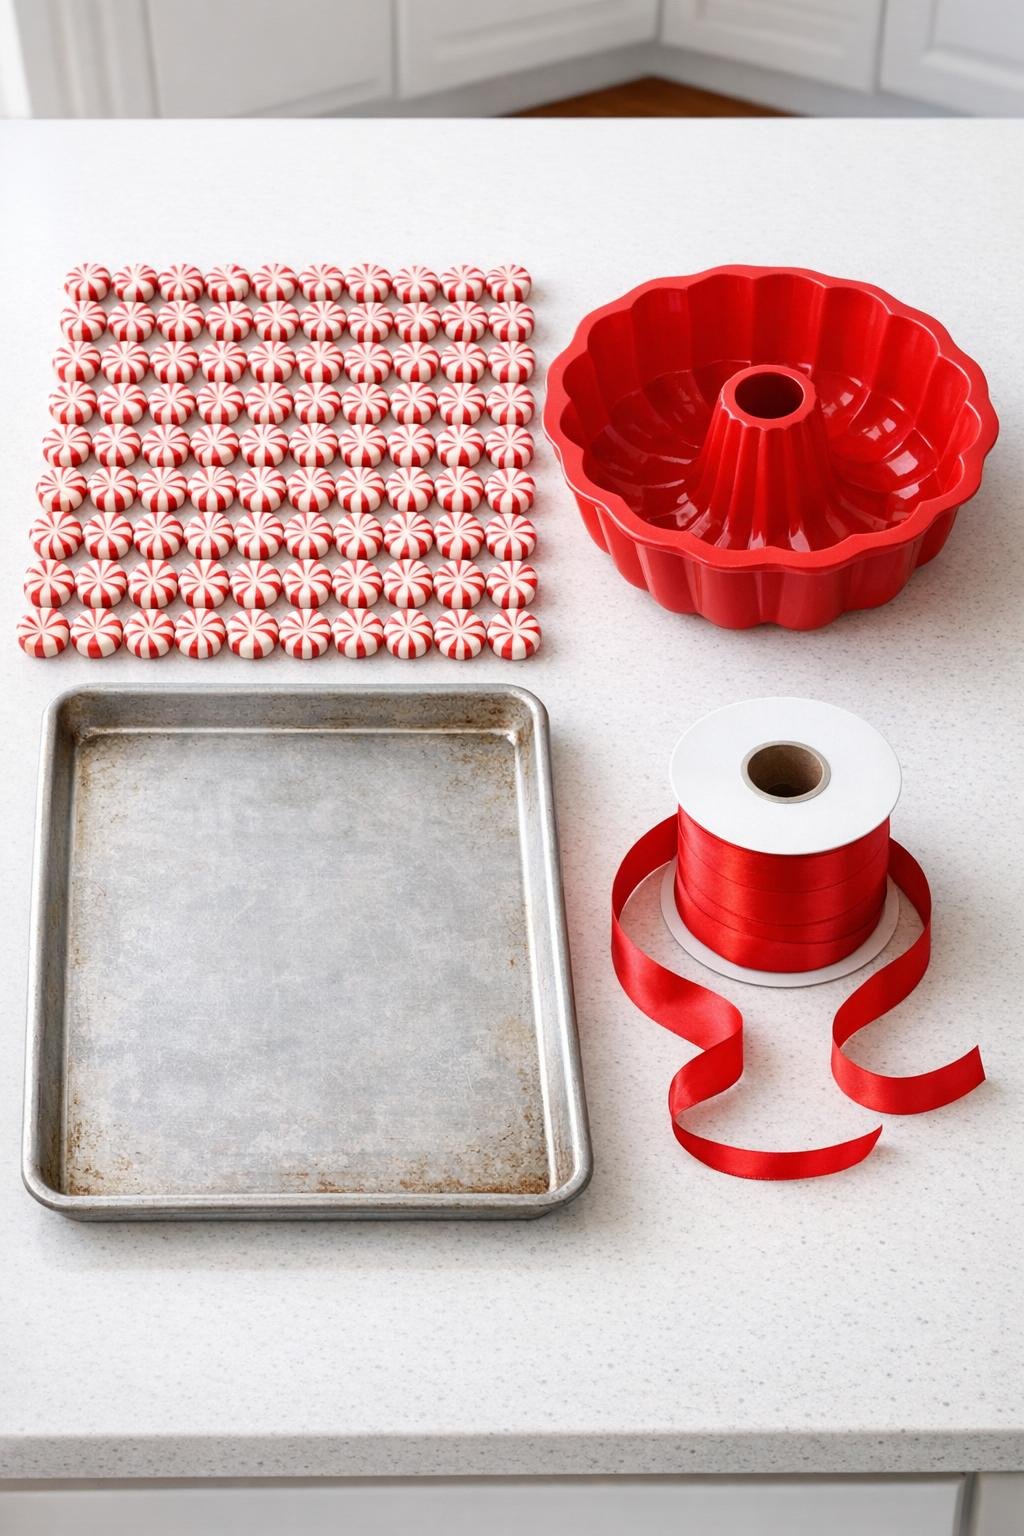
Materials
100 round red and white peppermint hard candies, unwrapped
Instructions
1. Preheat your oven to 350°F and place the silicone bundt pan on a rimmed baking sheet so it stays level and easy to move.
2. Unwrap all 100 peppermint candies and sort out any broken pieces; I save those for hot cocoa and use the whole candies for the prettiest finish.
3. Press the candies tightly into the ring of the bundt pan, standing them flat in a single packed layer and filling every gap as evenly as you can.
4. Add a second candy anywhere the ring looks thin so the whole shape bakes up sturdy; the candies should be touching edge to edge with no large open spaces.
5. Bake for 7 to 9 minutes, just until the candies soften and melt together into one connected ring; watch closely, because you want them fused, not browned.
6. Remove the pan from the oven and let it cool completely on a rack or heat-safe surface for 30 to 45 minutes, until the candy is hard again.
7. Gently peel the silicone pan away from the candy ring and ease the shape out with both hands so it doesn’t crack.
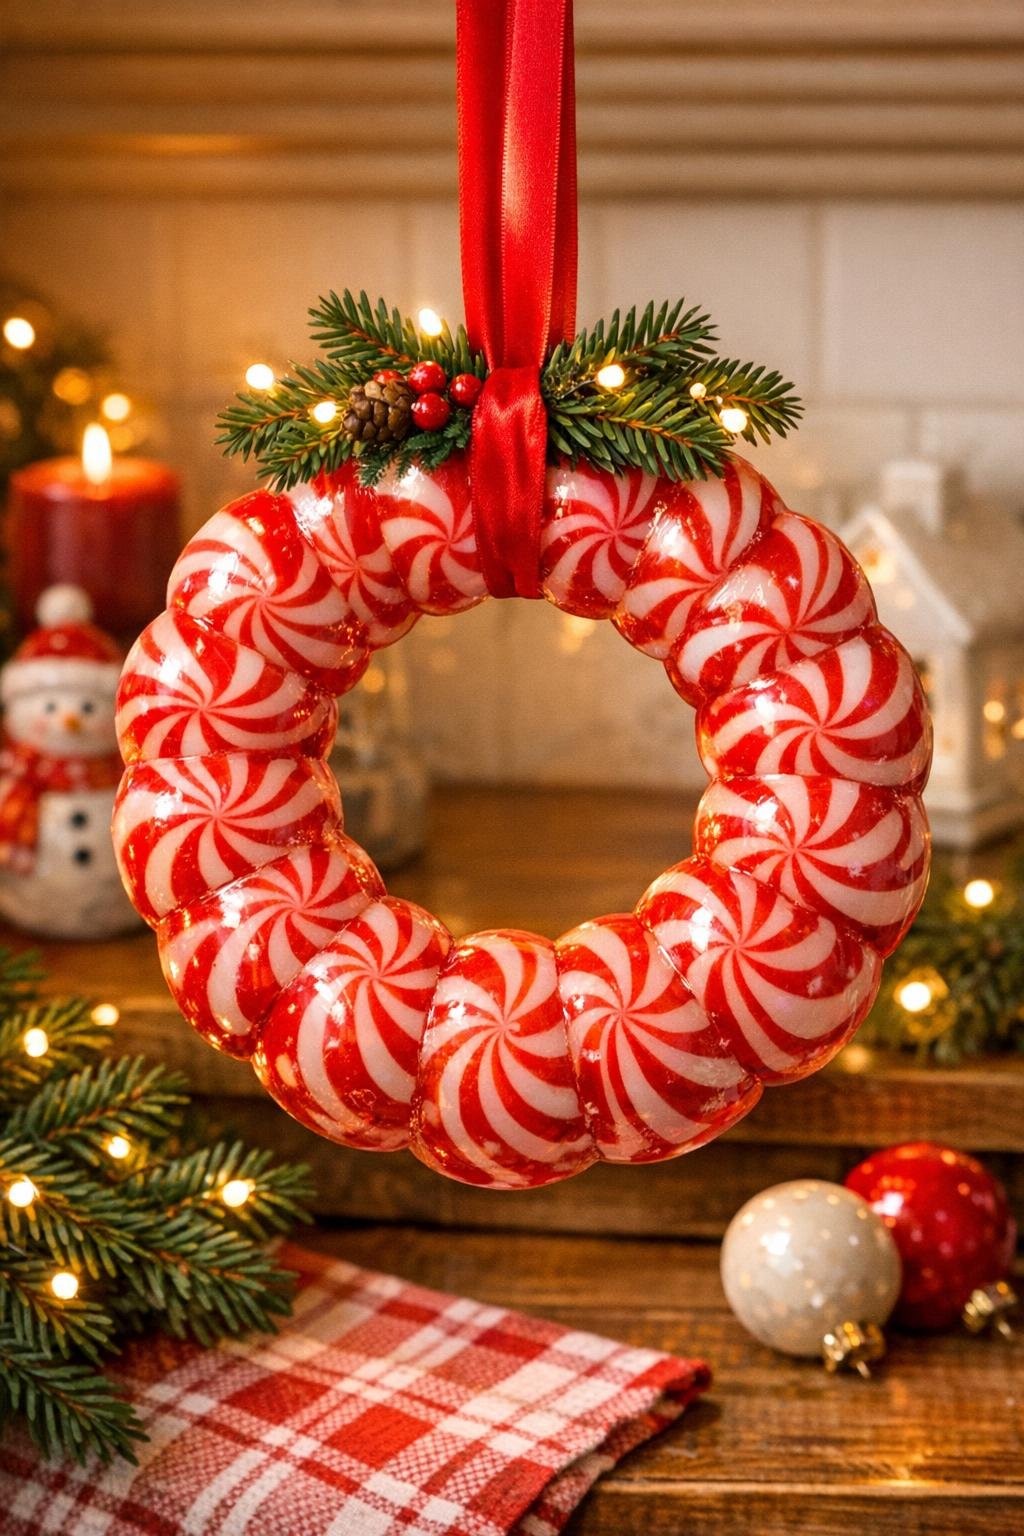
8. Thread the ribbon through the center opening and tie a full bow at the top for a polished hanging loop and a simple finishing touch.
Variations & Tips
For extra strength: If your candies are on the smaller side, use a few extra to double up thin spots before baking. A thicker ring is less likely to crack when unmolding.
For a cleaner finish: Keep the candies in an even single layer as much as possible. When they melt at the same height, the finished ring looks smoother and more polished.
For hanging safely: I like to use this as indoor decor rather than an edible treat once it’s been handled and displayed. Hang it somewhere cool and dry, away from direct sun or a warm vent.
For color changes: You can make the same project with green-and-white striped mint candies or a mix of red, white, and pink mints for a softer holiday look.
For family crafting: Let kids help unwrap and arrange the candies, then handle the oven step yourself. It’s one of those wonderfully simple projects where even little helpers can feel proud of the result.
For storing: Wrap the cooled piece loosely in parchment and keep it flat in a sturdy box. If your house runs warm like mine when I’m cooking for a crowd, store it in the coolest room to prevent stickiness.