
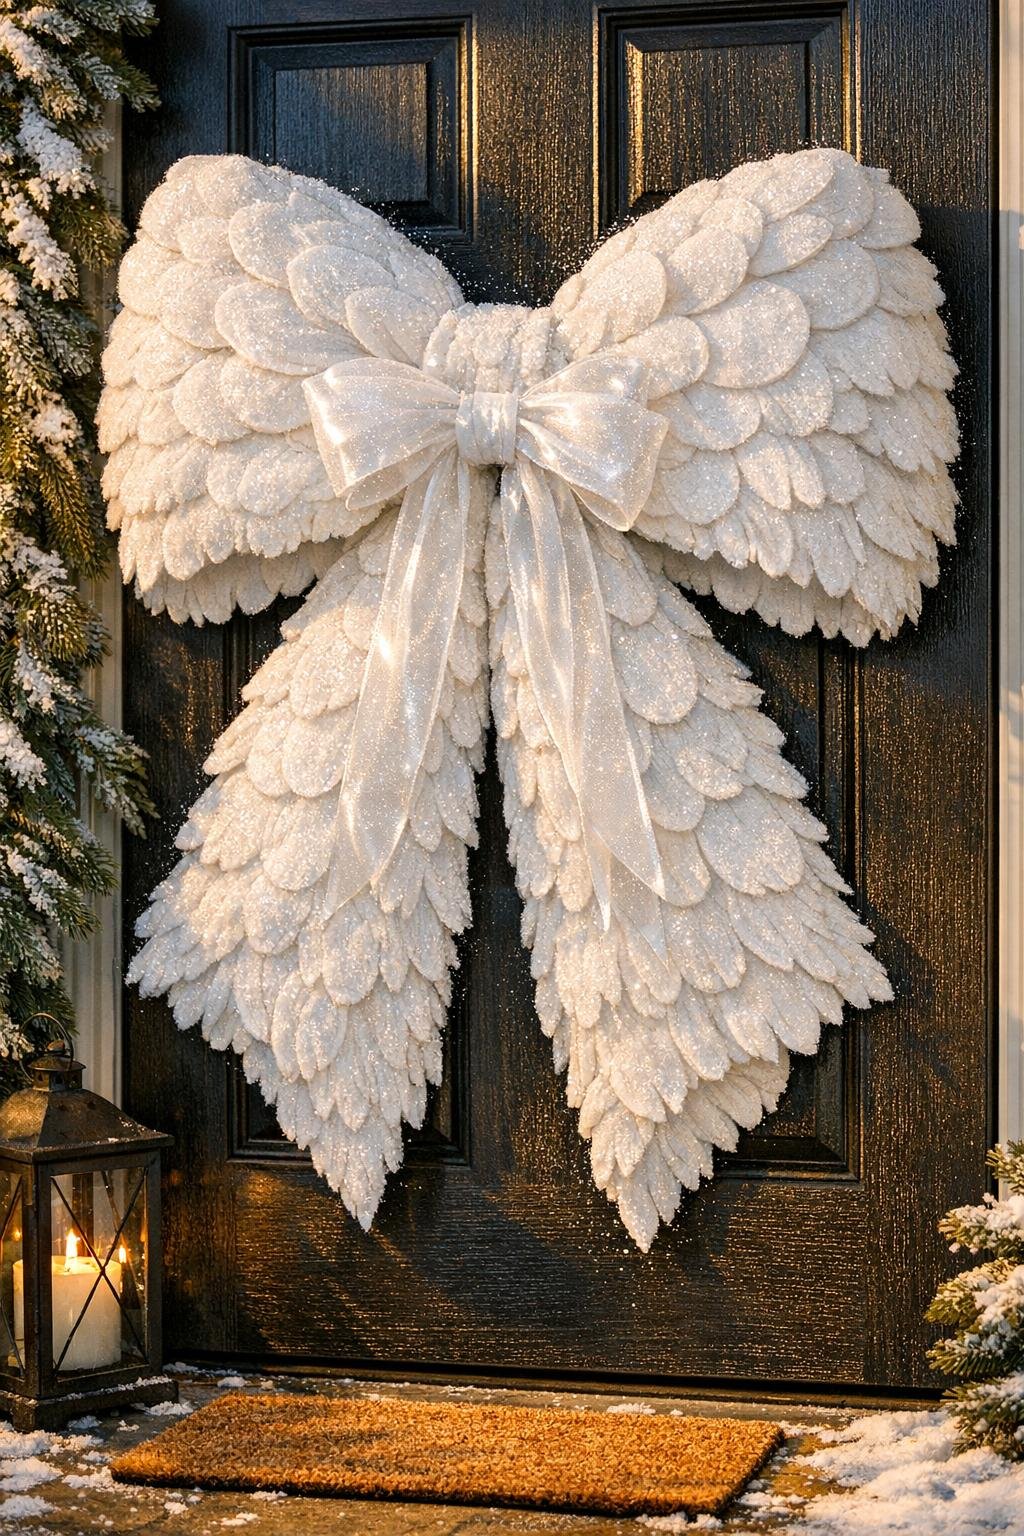
There are some projects that look like they ought to take a whole craft store and a week of fussing, and then there are the happy little surprises that come from the plainest things in the house. This one begins with a cardboard box and a big stack of makeup remover pads, and by the time you're done, you’ll have something wintry, soft, and wonderfully full that looks far more expensive than it is.
I’m especially fond of projects like this in the colder months, when the porch starts asking for a bit of cheer and the house feels better with something pretty at the door. If you enjoy easy seasonal decorating, don’t mind a little hot glue, and want a project with a generous, dramatic finish, this is a lovely one to make in an afternoon.
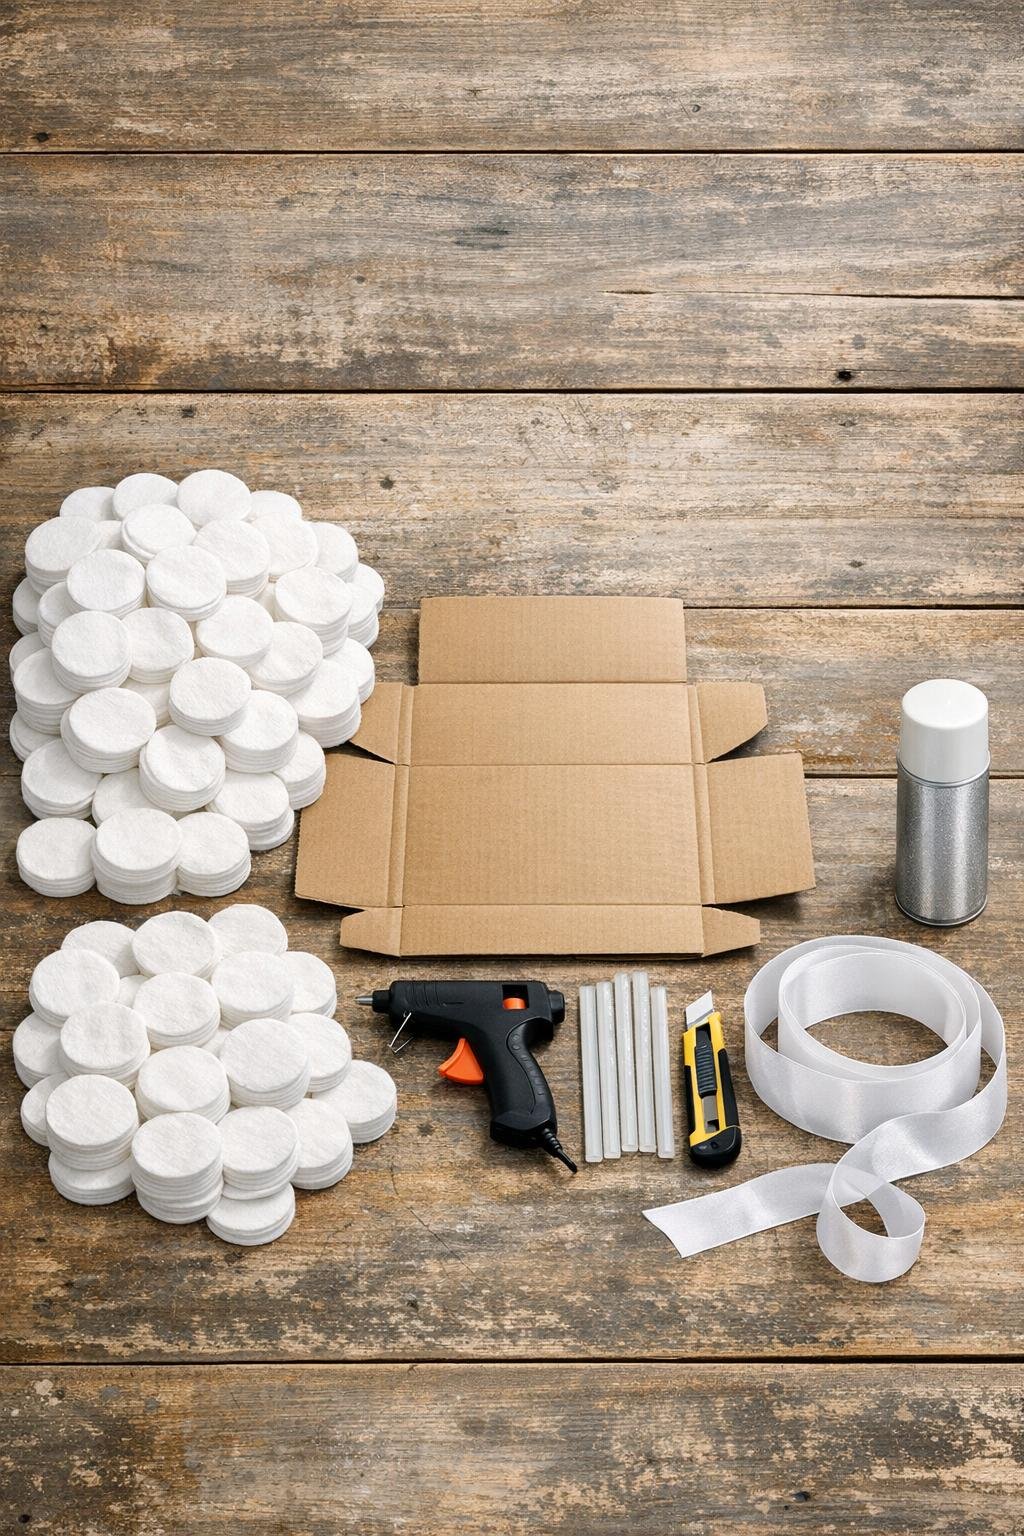
Materials
Instructions
1. Flatten the cardboard box completely and trim away any flaps or crushed corners so you have a smooth working surface at least 24 inches square.
2. On the cardboard, draw a large bow pattern: two loops about 10 inches wide each, two tails about 12 inches long, and a 3 x 8-inch center band; keep the pieces connected as one shape if possible for a sturdier base.
3. Cut out the bow shape with the box cutter, then lightly bend the loop sections upward with your hands so the finished piece won’t look flat on the door.
4. Starting at one outer edge, hot-glue the makeup remover pads onto the cardboard in overlapping rows, letting each pad cover about one-third of the previous one like soft feathers.
5. Continue gluing until the entire front is covered, following the curve of the loops and laying the rows downward on the tails so the finished texture looks full and flowing.
6. Fill any thin spots with extra pads from trimmed pieces or by slightly tucking pads under the first layer until no cardboard shows from the front.
7. Wrap the center section with the 3 x 8-inch cardboard band or a short folded strip cut from scrap cardboard, glue it in place tightly, and cover that center area with a few more pads pinched slightly in the middle for a gathered look.
8. Turn the bow over and glue the 12-inch hanging ribbon or twine to the back top center, then cover the attachment point with a scrap of cardboard for strength.
9. Take the bow outside or into a well-ventilated area and mist the entire front lightly with white glitter spray, keeping the coat even so the pads stay soft-looking rather than stiff.
10. Let the finish dry fully, then fluff and separate the pad edges with your fingertips so the surface looks snowy, airy, and generous.
11. Cut 2 yards of the white ribbon into two long lengths and one shorter piece, then tie or glue them behind and around the center so soft ribbon tails peek out beneath the feathered tails.
12. Hang the finished piece on your front door and make any last tiny adjustments to the loops and tails so it sits balanced and full.
Variations & Tips
For a fuller look: If your pads are on the thinner side, overlap them by half instead of one-third and concentrate extra layers around the loop edges and center knot. That little bit of crowding makes the whole piece look plush and finished.
If your cardboard is flimsy: Glue a second bow shape to the back before adding the pads. I’ve done this with softer shipping boxes, and it helps the bow hold its shape nicely on a windy porch.
Add icy sparkle carefully: A light hand with the glitter spray is best. You want a frosty dusting, not a wet coating, or the pads can flatten more than you’d like.
Use ribbon for polish: The soft white ribbon tails are what make this feel decorated instead of merely assembled. Satin, grosgrain, or even a sheer wired ribbon all work beautifully if you keep the color wintery and simple.
Try a cream or farmhouse version: Off-white pads paired with natural linen ribbon give this a gentler, old-house look that reminds me of snowy church socials and winter weddings out here in the country.
Store it flat: After the season, tuck the bow into a large clean trash bag or shallow box and lay it flat under a bed or on a closet shelf. It will keep its shape much better than if it’s squeezed into a crowded bin.