
When my raised beds are still half-asleep at the end of winter, I’m always looking for the easiest possible way to steal a little extra warmth for my seedlings. This simple soil-warming disc is one of those old-school garden hacks that looks almost too basic to matter, but it really does help warm the top layer of soil faster while also shielding it from cold spring wind and pounding rain. If you’re impatient to get lettuce, radishes, spinach, or early flowers going, this is such a satisfying little project.
What I love most is that it uses just two main items: aluminum pie tins and a common yard staple, landscape pins. You’re basically making small vented cloches that sit low over the soil, trapping warmth while still letting in a bit of air and water. I’m all for big ambitious garden projects, but on a busy weeknight after work, this is exactly the kind of quick win I can actually pull off.
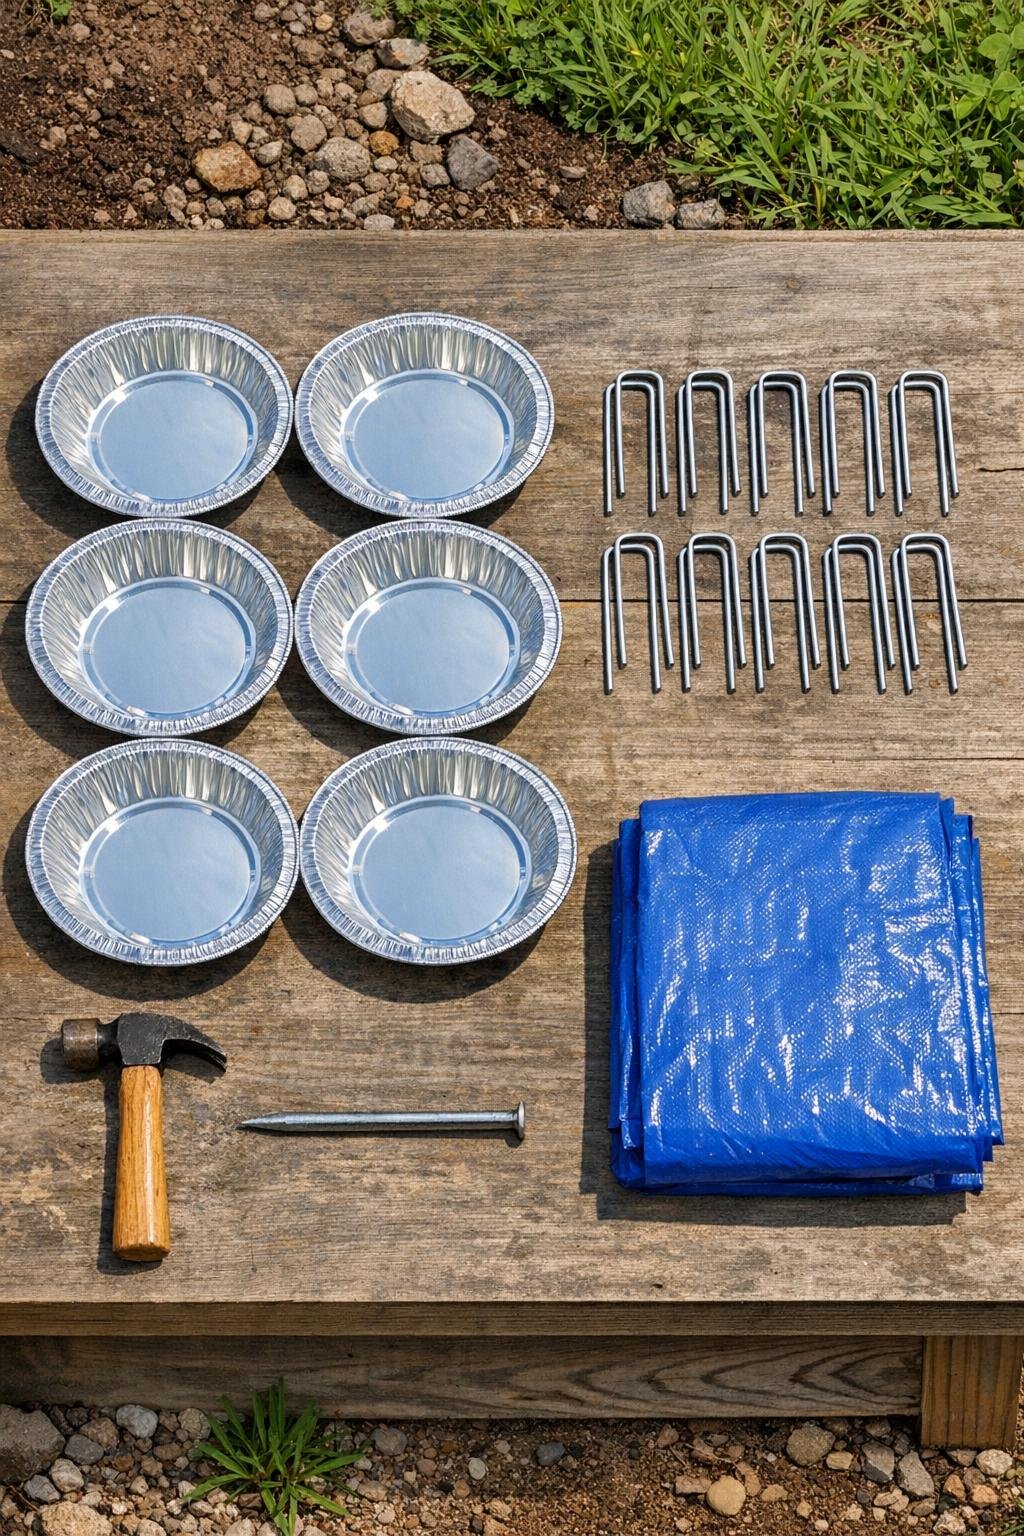
Materials
6 disposable aluminum pie tins, 9-inch diameter each
Instructions
1. Choose the section of raised bed you want to warm first, and smooth the soil surface so each disc can sit flat and close to the ground.
2. Set the blue tarp or folded cardboard on a sturdy surface, then place one aluminum pie tin upside down so the raised center is facing up.
3. Punch 8 to 12 holes in the center area of the upside-down pie tin using the nail and hammer, spacing them about 1 inch apart to create a vented warming zone without collapsing the tin.
4. Add 4 more holes evenly around the sloped sides of the tin, about halfway between the center and the rim, so heat can build while fresh air still moves through.
5. Repeat the hole-punching pattern on the remaining pie tins, keeping the holes fairly even so all of the discs warm the bed at a similar rate.
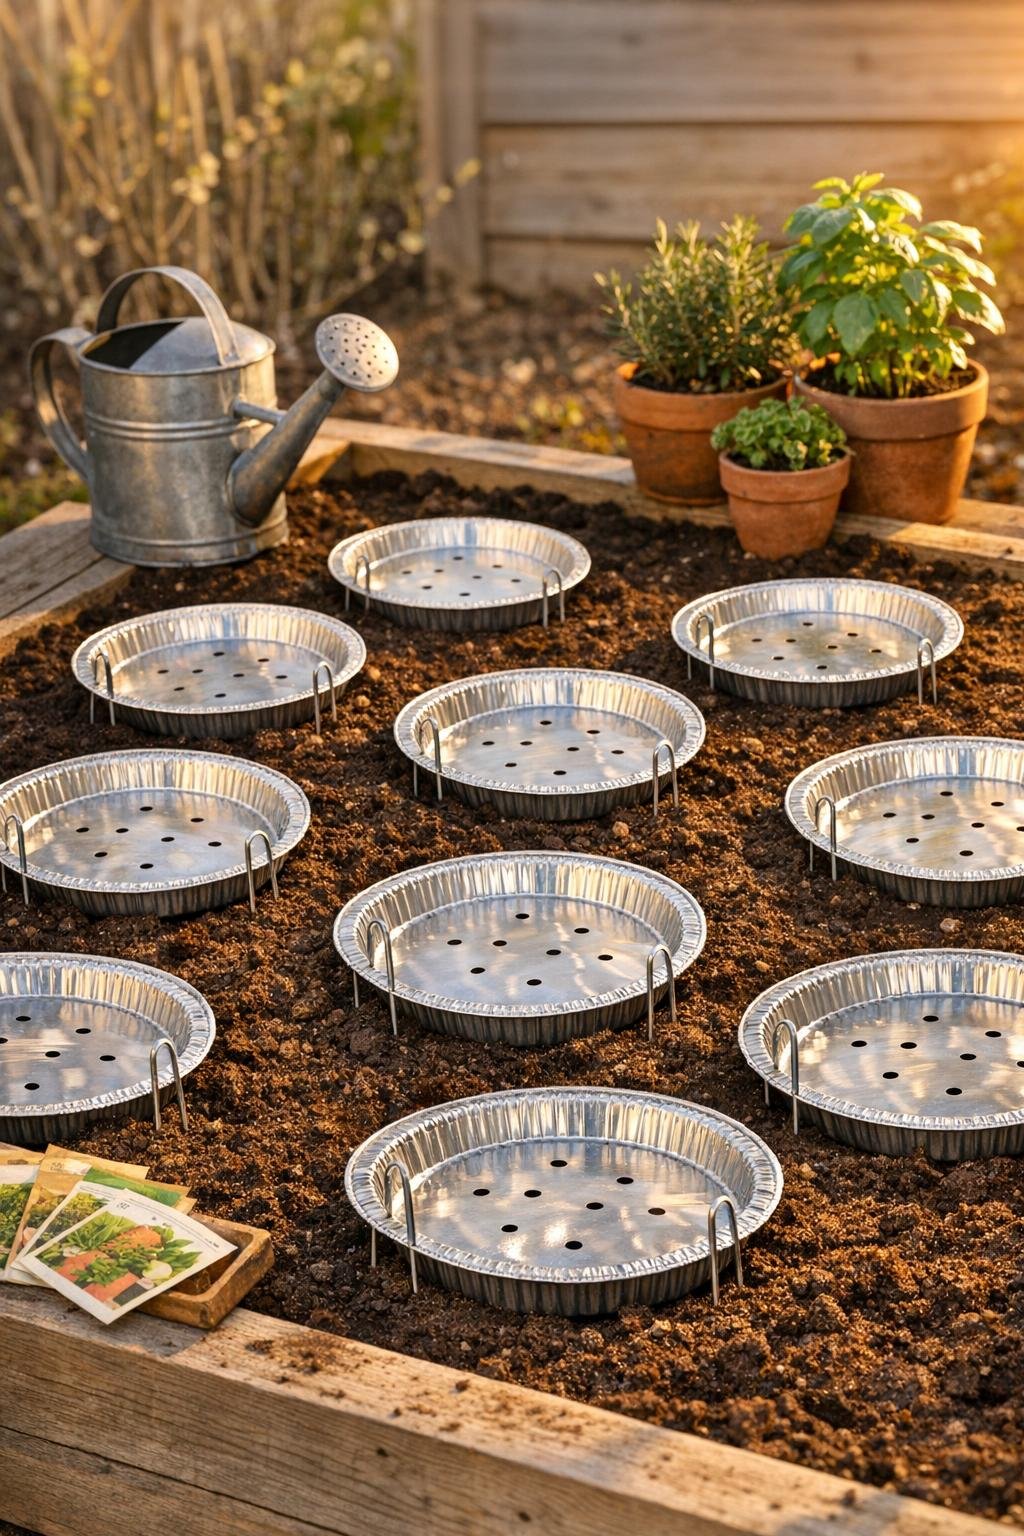
6. Carry the finished tins to the raised bed and place them upside down over the spots you want to pre-warm, leaving 2 to 3 inches between discs if you’re covering a larger area.
7. Push 2 landscape pins over opposite edges of each pie tin, anchoring them snugly into the soil so wind can’t flip them and the rims stay close to the bed surface.
8. Leave the discs in place for 5 to 10 days before sowing, or set them over freshly seeded cold-tolerant crops at night and remove or tilt them during warm afternoons if temperatures spike.
9. Check under one disc every couple of days; when the soil feels noticeably warmer and slightly more crumbly on top, the bed is ready for earlier planting.
Variations & Tips
For bigger beds: Make a full batch of 8 to 12 discs and cluster them over the planting rows instead of scattering them randomly; that gives you a much more even warm-up across the space.
Best crops for this trick: I use these most for spinach, leaf lettuce, radishes, arugula, beets, and hardy flower seeds that don’t mind cool weather but appreciate warmer soil.
Watch sunny afternoons: On bright spring days, the space under the tins can heat up quickly, so I like to lift one edge or remove them for a few hours if the weather suddenly turns warm.
Use them after sowing too: These work nicely as mini overnight covers for newly seeded spots, especially when you’re trying to beat one last cold snap.
Anchor well in windy yards: If your yard gets gusty like mine does every single March, use longer 8-inch landscape pins and press the tin rims slightly into the soil before staking them down.
Store and reuse: Brush off the dirt, flatten any bent edges by hand, and stack the tins in a shed or garage; they’re lightweight, easy to reuse, and surprisingly durable for such a simple little garden helper.