
When a raised bed starts holding water at the end of the season, I’m never excited about digging a whole new trench or buying a pricey drain kit. This little drainage channel is one of those practical fixes that looks surprisingly tidy once it’s in place, and it uses up those old garden hose pieces most of us have tucked behind the shed. With just two easy dollar store add-ons, you can make a flexible, low-profile channel that helps move water away from the bed edge and keeps soggy soil from hanging around longer than it should.
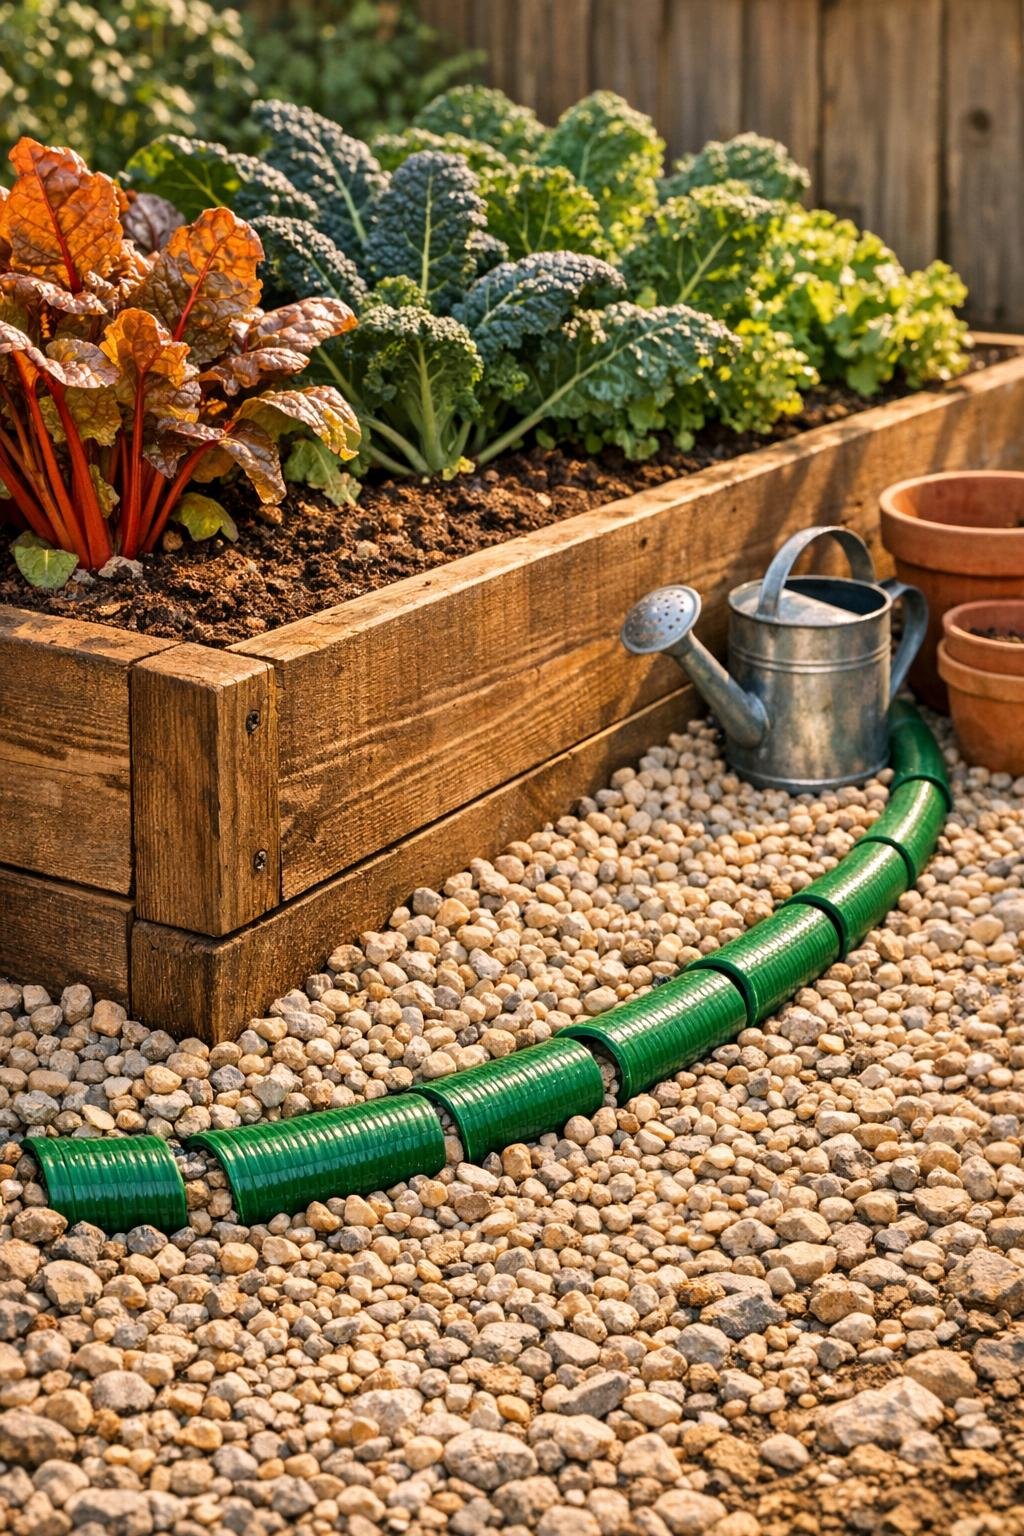
I like this project for gardeners who want a quick, budget-friendly solution without hauling out power tools or committing to a permanent hardscape change. The sliced hose acts like a sturdy curved trough, and with landscape pins and gravel, it stays put and blends right into the garden. It’s simple, useful, and polished enough that it really does look like something you picked up at a garden center.
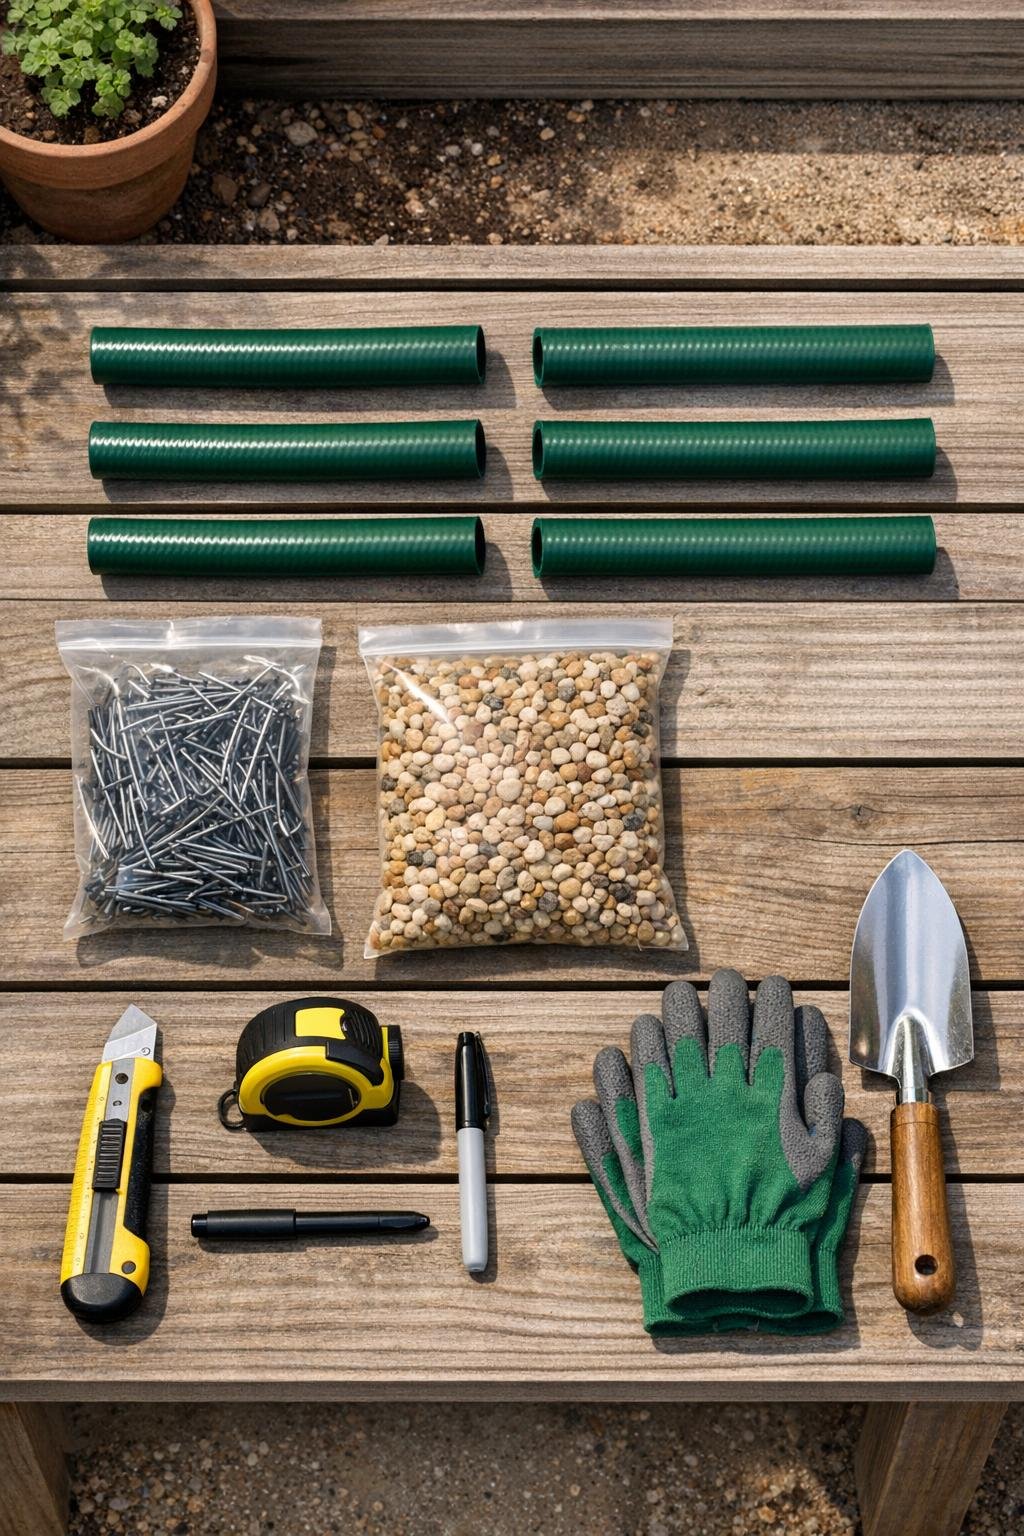
Materials
Instructions
1. Measure and cut the old garden hose into six 18-inch sections so you have enough pieces to create a drainage run about 9 feet long with slight overlaps.
2. Put on gloves, set one hose section on a scrap board, and mark a straight cutting line from end to end.
3. Slice each hose section lengthwise with a utility knife to open it into a curved channel; cut slowly and keep the blade shallow so the piece holds its rounded shape.
4. Choose the wet edge of the raised bed and use a hand trowel to make a shallow trench about 2 inches deep and just wide enough for the opened hose pieces to nest together.
5. Pour a 1-inch layer of pea gravel into the trench and smooth it level so water can move evenly through the whole channel.
6. Set the opened hose pieces cut-side up in the trench, overlapping each end by about 1 inch to form one continuous drainage channel that follows the bed.
7. Push two landscape pins over each hose piece, one near each end, to hold the channel firmly against the gravel base.
8. Add more pea gravel around and lightly into the hose channels, leaving the top edges visible so water can easily drop in while the whole run looks finished and anchored.
9. Slope the last 6 to 12 inches of the channel slightly away from the bed toward a low spot, path edge, or planting area where extra water can safely disperse.
10. Water the bed gently with a hose or watering can and watch the flow; adjust any section that pools by lifting it, adding a little gravel underneath, and resetting the slope.
Variations & Tips
For longer beds: Cut 8 to 10 hose sections instead of 6 and keep the same 1-inch overlap so the channel still reads as one continuous run.
If your soil is very muddy: Make the gravel base 2 inches deep instead of 1 inch to keep the hose channel from settling after a heavy rain.
For picky-looking garden spaces: Choose washed pea gravel in tan, gray, or white to match your path or bed edging; it gives the whole project that “store-bought” look neighbors notice.
If the hose is stiff: Leave the pieces in the sun for 20 to 30 minutes before slicing and shaping them, which makes the rubber much easier to open neatly.
For extra drainage: Poke a few small holes in the bottom of each hose trough before installing if you want some water to seep down gradually as well as flow outward.
Cold-weather tip: I like to install this before the ground fully cools off for the season, because the trenching is easier and I can still test the flow with one good watering.
Clean finish: Brush loose soil off the visible hose edges once everything is pinned and graveled in; that tiny step makes the channel look intentional instead of improvised.