
There are a few projects I come back to again and again when I want something meaningful, inexpensive, and easy enough to make in one afternoon. This dough recipe is one of them. With just pantry basics and a few simple tools, you can turn an ordinary baking day into a keepsake that feels truly special.
I especially love this kind of project for families, grandparents, classroom gifts, or anyone wanting a sweet handmade decoration with real heart behind it. The steps are simple, the ingredients are familiar, and the finished piece has that homemade charm that always seems to matter more as the years go by.
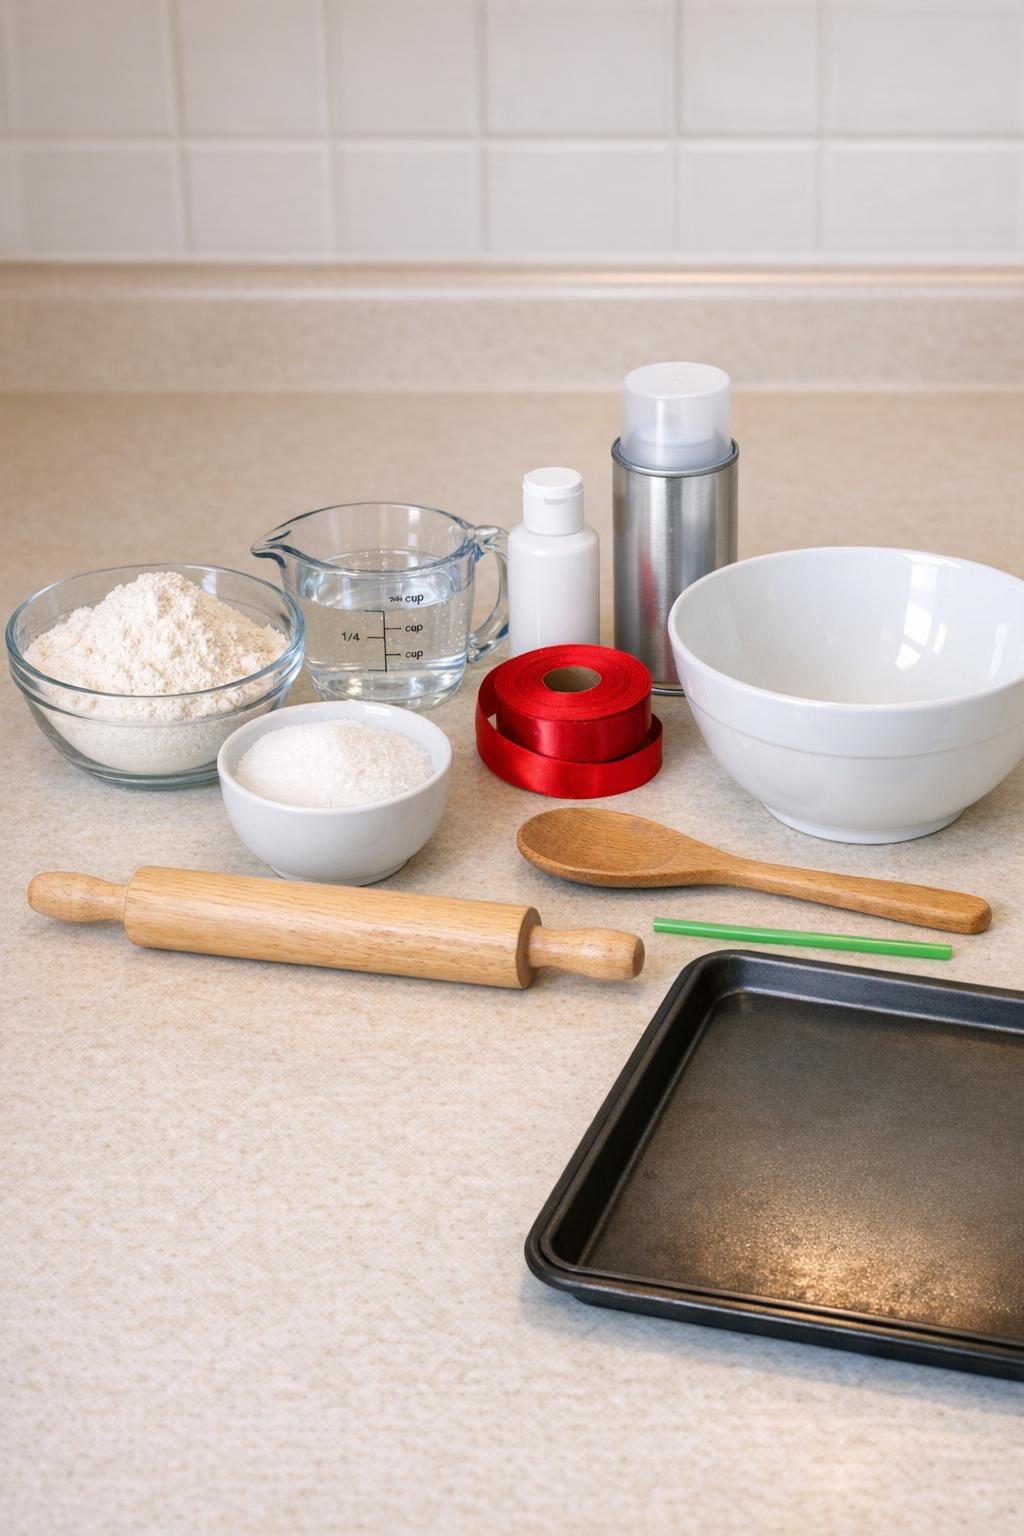
Materials
2 cups all-purpose flour
Instructions
1. Preheat your oven to 250°F and line the baking sheet with parchment paper so the ornaments lift off easily after baking.
2. Stir the flour and table salt together in the mixing bowl until the color looks evenly blended and there are no salty streaks left.
3. Pour in the warm water a little at a time, stirring with the wooden spoon until a shaggy dough forms.
4. Knead the dough for 3 to 5 minutes until it feels smooth and firm, like play dough; if it is sticky, work in 1 tablespoon of flour at a time.
5. Roll the dough out to about 1/2 inch thick so the finished ornaments are sturdy and deep enough to hold a clear handprint.
6. Press a hand firmly into the dough to leave a full impression, then use the rim of a cup or a small knife to cut a neat circle or oval around the print, leaving at least 1/2 inch of border.
7. Use the drinking straw to poke one hole near the top of each ornament for hanging, keeping it about 1/2 inch from the edge so it stays strong.
8. Transfer the ornaments to the lined baking sheet and smooth any rough edges gently with a fingertip dipped in a little water.
9. Bake for 2 1/2 to 3 hours, turning the baking sheet once halfway through, until the ornaments are dry and hard all the way through.
10. Let the ornaments cool completely on the baking sheet before painting so they do not trap heat or moisture under the finish.
11. Paint the front and edges with white acrylic paint, using two thin coats for an even soft finish, and let each coat dry fully.
12. Spray both sides with a light coat of clear sealer in a well-ventilated area, let dry, then add a second light coat for a polished finish that helps the ornaments last.
13. Thread a short piece of red ribbon through each hole and tie a simple knot or bow for hanging.
14. Set them aside for a final hour to cure, then hang them on the tree, tuck them onto a gift, or save them in tissue paper for years to come.

Variations & Tips
For picky little helpers: If a child does not like the feeling of pressing hard into dough, I press the hand gently for them while they sit on my lap. A calm, quick press usually gives the best result anyway.
For cleaner handprints: Dust the palm very lightly with flour before pressing if the dough feels tacky. Too much flour will blur the lines, so use just a whisper.
Shape option: Circles and ovals are the easiest, but hearts look especially sweet for grandparents or Valentine decorations. Just keep the border thick enough so the ornament stays sturdy.
Paint finish: White gives a classic snowy look, but soft cream, pale gray, or light blue also work beautifully. I still like to keep the paint light so the handprint stays the star.
Ribbon choice: Red ribbon is cheerful and traditional, but gingham, velvet, or twine can change the whole feel. For a more rustic look, I often swap in natural jute.
Storage tip: Once fully cured, wrap each ornament in tissue paper and store it in a small box somewhere dry. Salt dough does best when it is kept away from damp basements and steamy bathrooms.
Gift idea: These are lovely tied onto a cookie tin, tucked into a holiday basket, or slipped into a grandparent gift bag. I have found that the simplest handmade gifts are usually the ones people hold onto the longest.