
There are a few holiday projects that feel almost like kitchen-table magic, and this is one of them. When you stir plain baking soda together with inexpensive white hair conditioner, you get a soft, moldable “snow” that looks far fancier than its humble ingredients have any right to. I love a craft like that—simple, thrifty, and just charming enough to make you stop and admire it every time you pass by.
This is a good project for anyone who wants a cozy winter decoration without fussing with paint, power tools, or a long supply list. It comes together quickly, but the finished piece has that storybook holiday feeling I remember from little Christmas displays in old dime stores and church bazaars when I was young.
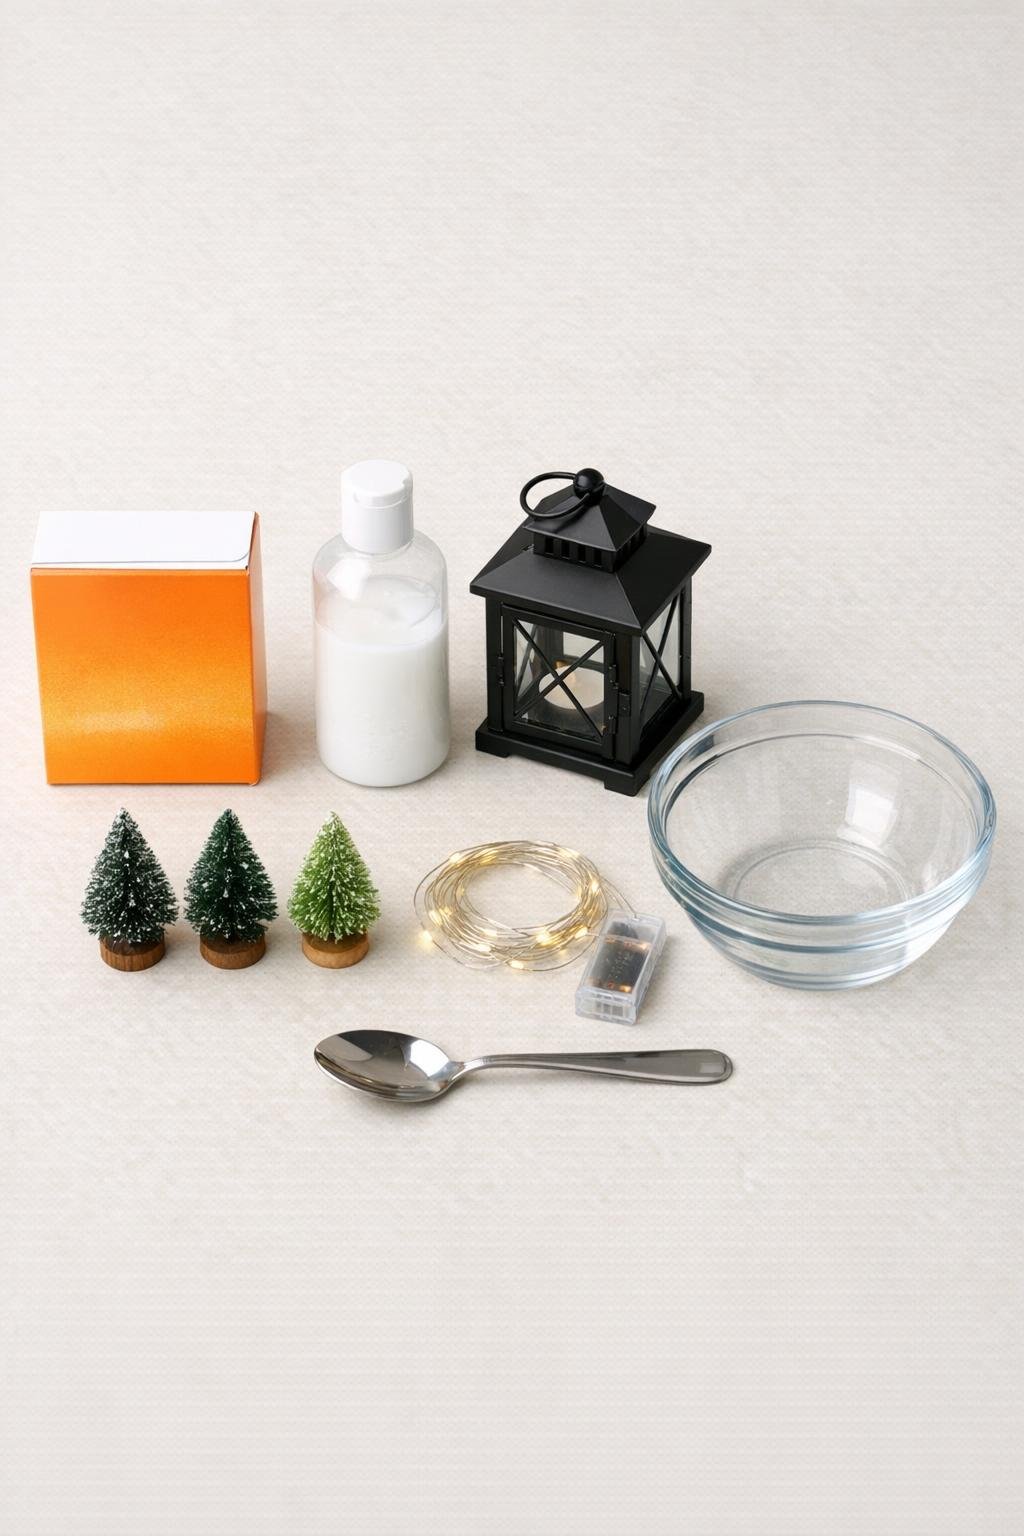
Materials
Instructions
1. Pour the full 16-ounce box of baking soda into the mixing bowl, then add the 1/2 cup of white hair conditioner.
2. Stir slowly with the spoon until the mixture looks evenly white and starts clumping like damp snow; if needed, use the back of the spoon to press out dry pockets.
3. Test the texture by squeezing a spoonful in your hand; it should hold its shape lightly without turning runny, like fresh packed snow.
4. Open the lantern and coil the fairy lights inside, keeping the battery pack tucked neatly at the back or base where it is easy to switch on.
5. Spoon a thick 1 to 1 1/2 inch layer of the snow mixture into the bottom of the lantern and press it down gently to make an even base.
6. Set the tallest bottle brush tree slightly off center in the back, then place the other two trees in front and to the side so the arrangement looks full from the front.
7. Add the remaining snow mixture around the trees, mounding it up over their bases and tucking it around the fairy lights so the lights peek through like a snowy glow.
8. Use the spoon to create soft drifts and little ridges instead of a flat surface, covering the bottom densely so the inside looks like a tiny winter landscape.
9. Close the lantern carefully and wipe away any loose snow from the frame and glass so the scene inside looks crisp and polished.
10. Turn on the fairy lights and fluff the snow drifts one last time with the spoon tip if any spots need a fuller, softer finish.

Variations & Tips
For a fuller look: Use two trees toward the back and angle one smaller tree forward so the arrangement has depth instead of looking lined up flat.
If the snow feels too dry: Add conditioner 1 teaspoon at a time and stir well; a little goes a long way, and too much will make the mixture heavy.
If the snow feels too wet: Sprinkle in extra baking soda a spoonful at a time until it turns fluffy and moldable again.
For a cleaner finish: Keep the snow slightly below the lantern door edge so it closes easily and doesn’t crumble out when moved.
Best display spot: I like this on an entry table, mantel, or kitchen sideboard where the warm lights can glow in the evening; it has that old-fashioned Christmas-window charm in a very small space.
Storage tip: This mixture is best made fresh for the season, so if you want to save the lantern frame and trees, empty and wipe it out after the holidays, then rebuild it next year in just a few minutes.