
There are a handful of holiday projects I come back to when I want something cozy, affordable, and just rustic enough to feel special without turning my kitchen table into a full weekend workshop. This one is exactly that kind of craft. With nothing more than grocery bags, a little color, and some simple shaping, you can make a set of stockings that look rich and timeworn in the prettiest way.
I especially love this project if you enjoy decorating on a budget or you want something handmade that still feels polished when it’s hanging up. The crumpling, warming, and rubbing-in steps are wonderfully forgiving, so this is a great project for casual crafters too. I’ll show you how I build them up so they look full of character instead of flat or flimsy.
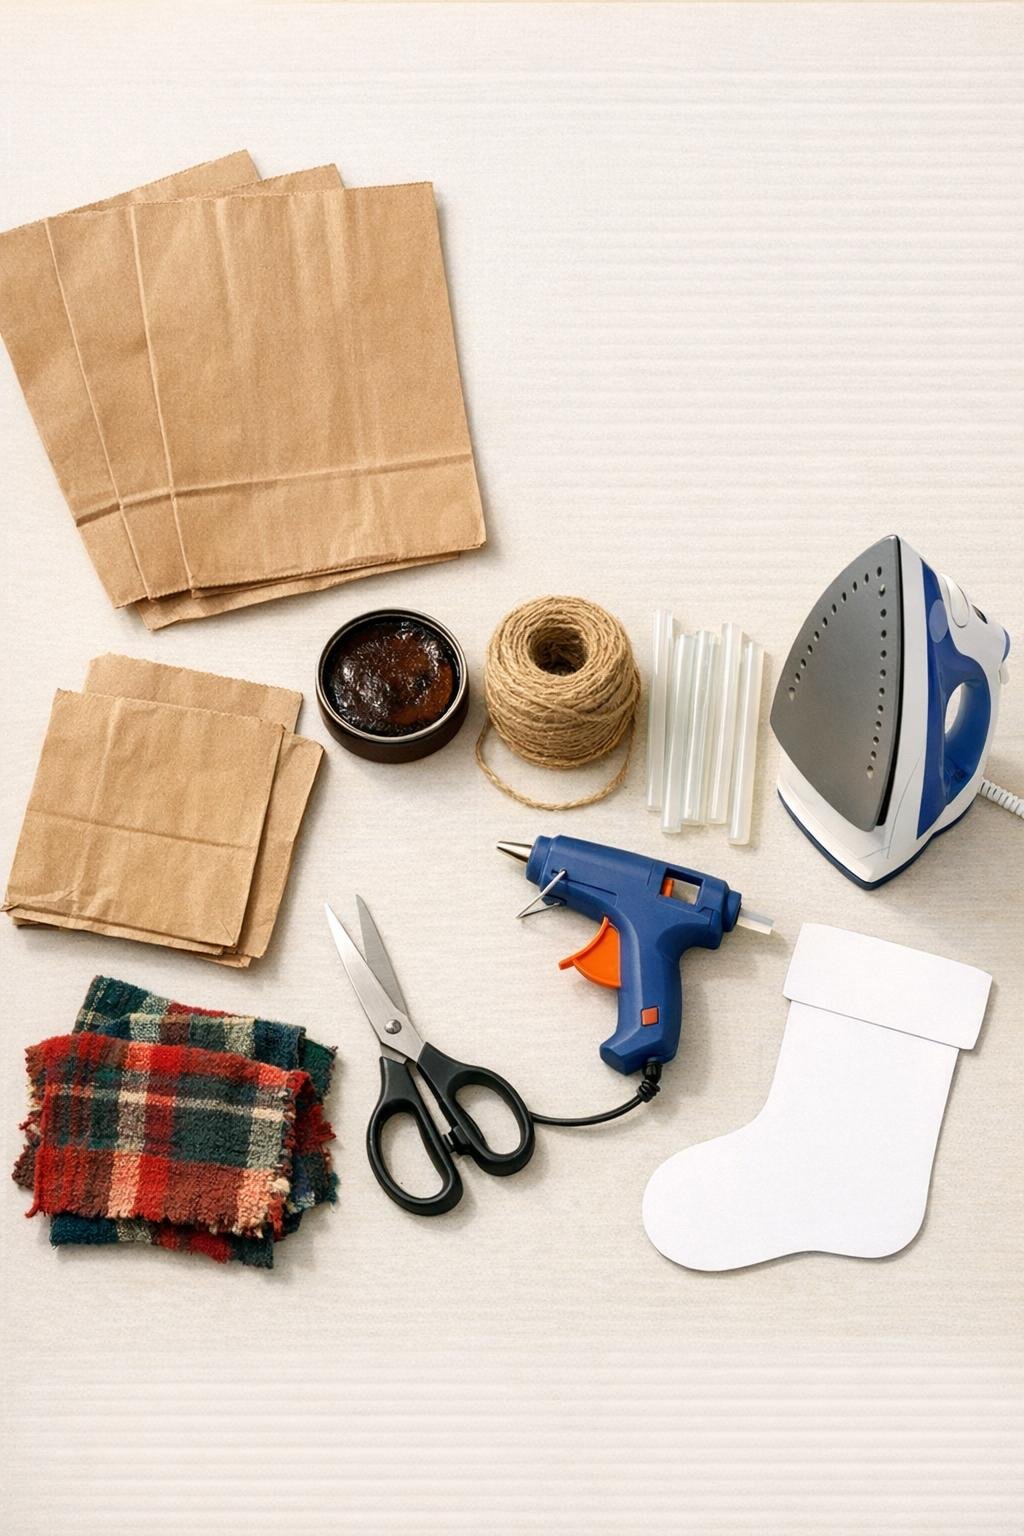
Materials
3 brown paper grocery bags, standard large size, about 12 x 7 x 17 inches each
Instructions
1. Flatten the grocery bags and cut away the bottom seams and side handles so you’re left with large workable sheets of brown paper.
2. Crumple each paper sheet into a very tight ball, then open it back up and repeat once or twice until the paper is deeply wrinkled and soft. This is the step that gives the finished piece its worn, leather-like texture, so don’t worry about making it perfect.
3. Press the crumpled sheets with a low iron and no steam just long enough to flatten the high spots while keeping all the wrinkles in place. The paper should lie mostly flat but still look heavily textured.
4. Trace your stocking template twice onto the paper, flipping the template for the second side so you get a front and back that match. Cut out both stocking shapes carefully.
5. Rub brown shoe polish or dark furniture wax over both paper stocking pieces, working it into the wrinkles with a soft cloth or your fingers. Leave some lighter areas showing so the surface looks naturally aged instead of one flat color.
6. Let the color sit for a few minutes, then buff lightly with a clean cloth so the raised areas catch the light and the deeper creases stay dark. This quick buffing is what makes the paper start reading like aged leather.
7. Cut a strip of sweater knit or flannel for the cuff, then wrap it around the top edge of the front stocking piece to check the fit before gluing. Fold the top edge of the fabric under if you want a cleaner finished look.
8. Hot glue the cuff onto the top of the front stocking piece, keeping the glue close to the upper edge so the lower edge of the cuff stays soft and natural. If you prefer, leave the cuff off for a simpler rustic finish.
9. Place the front and back stocking pieces together and hot glue around the sides and foot, leaving the top open. Work in short sections and press gently so the shape stays neat without flattening all that good texture.
10. Twist or braid three lengths of jute twine, each about 12 inches long, then glue the ends into a loop inside the top corner for a hanger. Add an extra dab of glue over the ends so the loop feels secure.
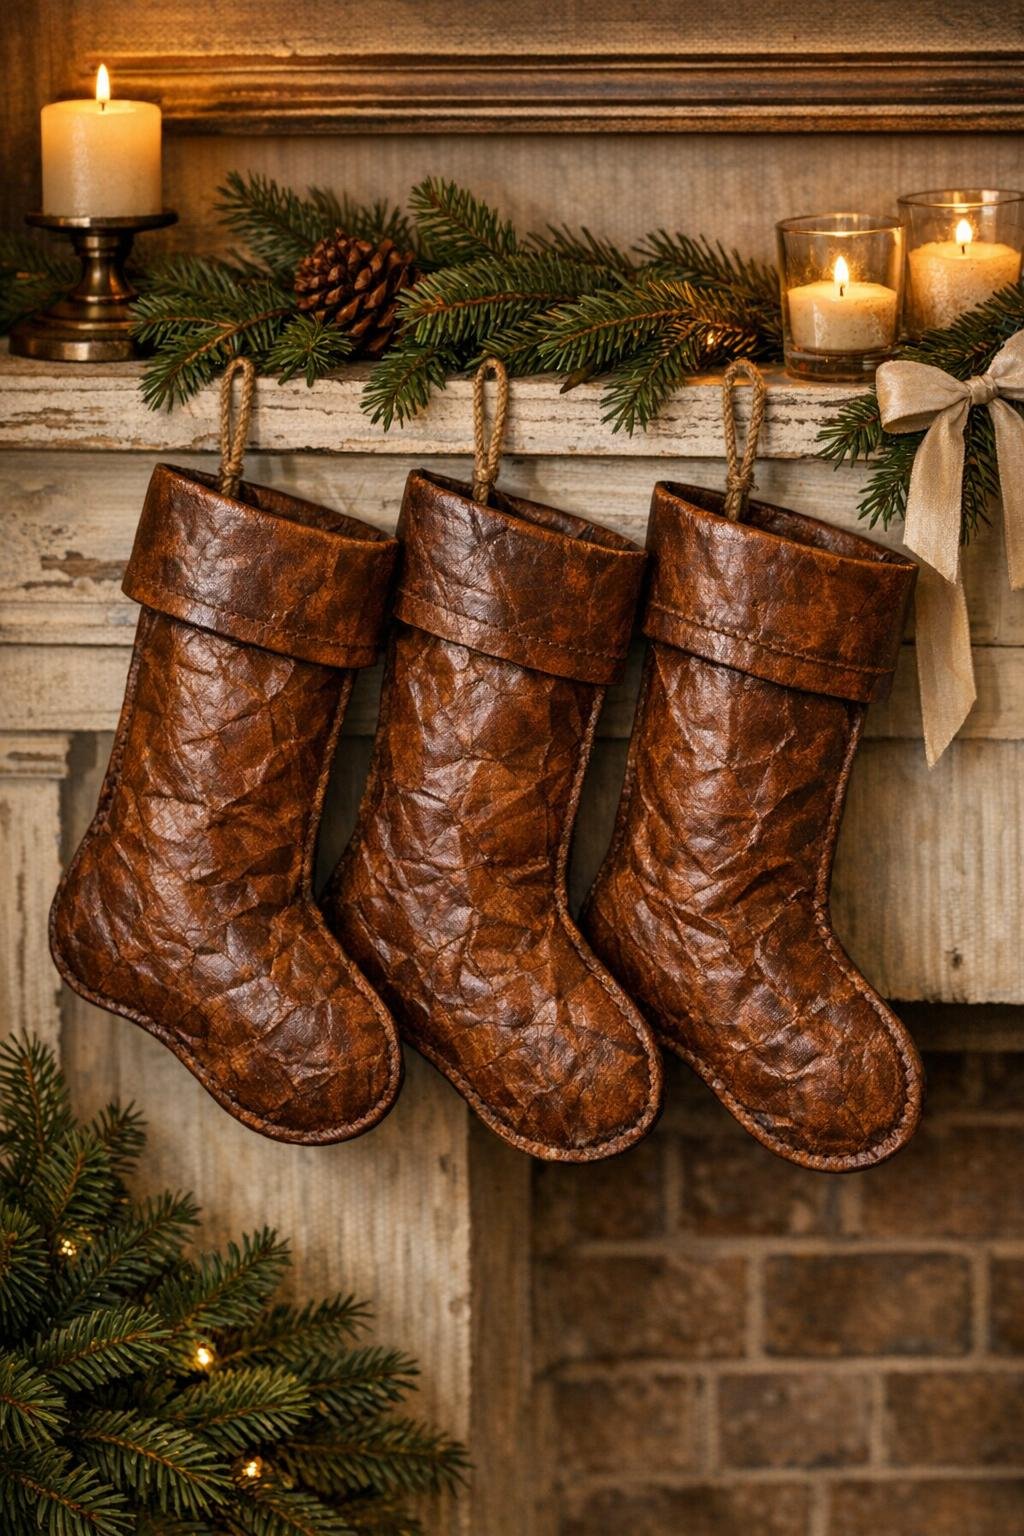
11. Shape the stocking gently with your hands, puffing the front slightly so it doesn’t look flat when hung. If any seams look too clean, rub a tiny bit more wax over the edges to blend everything together.
Variations & Tips
For a fuller look: Stuff the toe lightly with crumpled tissue or extra brown paper before hanging. I like doing this if the stocking will be displayed empty, because it helps the shape read better from across the room.
For picky decorators: If your family likes holiday decor a little less rustic, use flannel cuffs for a cleaner, tidier finish. Sweater scraps look softer and cozier, while flannel gives you a more classic farmhouse style.
Color control: Start with less polish or wax than you think you need. It’s much easier to deepen the color in layers than to fix a piece that turned almost black too quickly.
Template tip: Draw a generously curved toe and a slightly oversized cuff area. A bigger silhouette makes the finished stockings feel more substantial and much more impressive once they’re hanging up.
Make a matching set: Use the same template for all your stockings, but vary the cuff fabric or twine detail a little so each one feels personal. That’s my favorite way to make a group look coordinated without being too uniform.
Storage tip: Store these flat in a dry spot and avoid crushing them under heavy bins. The wrinkles are part of the charm, but keeping the overall shape intact makes next year’s decorating much easier.