
There are a few projects that feel almost like kitchen magic, and this is one of them. You start with the humblest little dollar store supplies, and with a bit of patience at the stove, they turn into something that glows with the kind of soft light that makes a porch, supper table, or holiday corner feel hushed and special. I love crafts like that—the sort our grandmothers would have appreciated because they make beauty out of plain things.
This project is for anyone who wants a cozy handmade accent without fussing with fancy tools or hard-to-find materials. If you can melt wax gently and dip carefully, you can make these, and the finished pieces have such a lovely old-world look that folks will swear they came from a boutique.
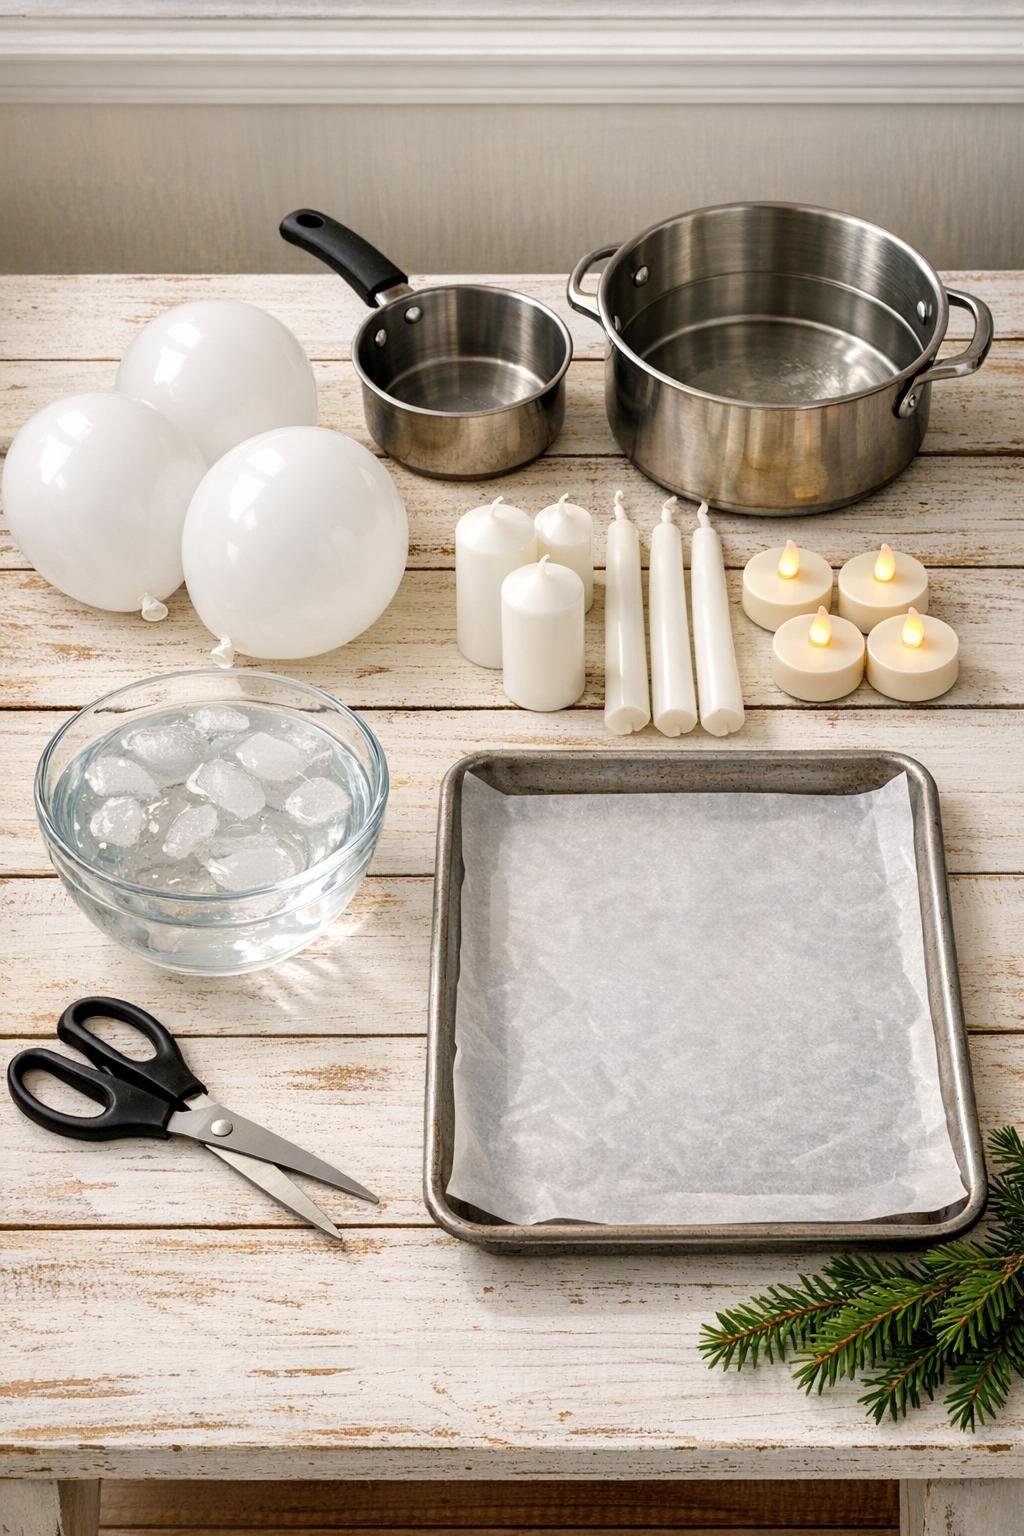
Materials
3 white 12-inch balloons
Instructions
1. Break or cut the candles into smaller pieces, remove any wick tabs if needed, and melt the wax in the small saucepan set inside a larger pot of gently simmering water.
2. Fill each balloon with cold water until it is round and grapefruit-sized, about 4 1/2 to 5 inches wide, then tie it tightly and dry the outside well.
3. Let the melted wax cool slightly so it stays fully liquid but no longer looks fiercely hot; you want it warm enough to coat the balloon, not so hot that it weakens the balloon.
4. Hold one balloon by the knot and dip the bottom half into the wax, lifting it straight back out and letting the extra drip off into the pan.
5. Set the dipped balloon into the bowl of cold water for 5 to 10 seconds to firm the wax, then lift it out and gently pat away any water droplets.
6. Repeat the dipping and chilling process 6 to 8 times per balloon, turning slightly as you work, until the wax shell looks evenly opaque and sturdy, about 1/8 inch thick.
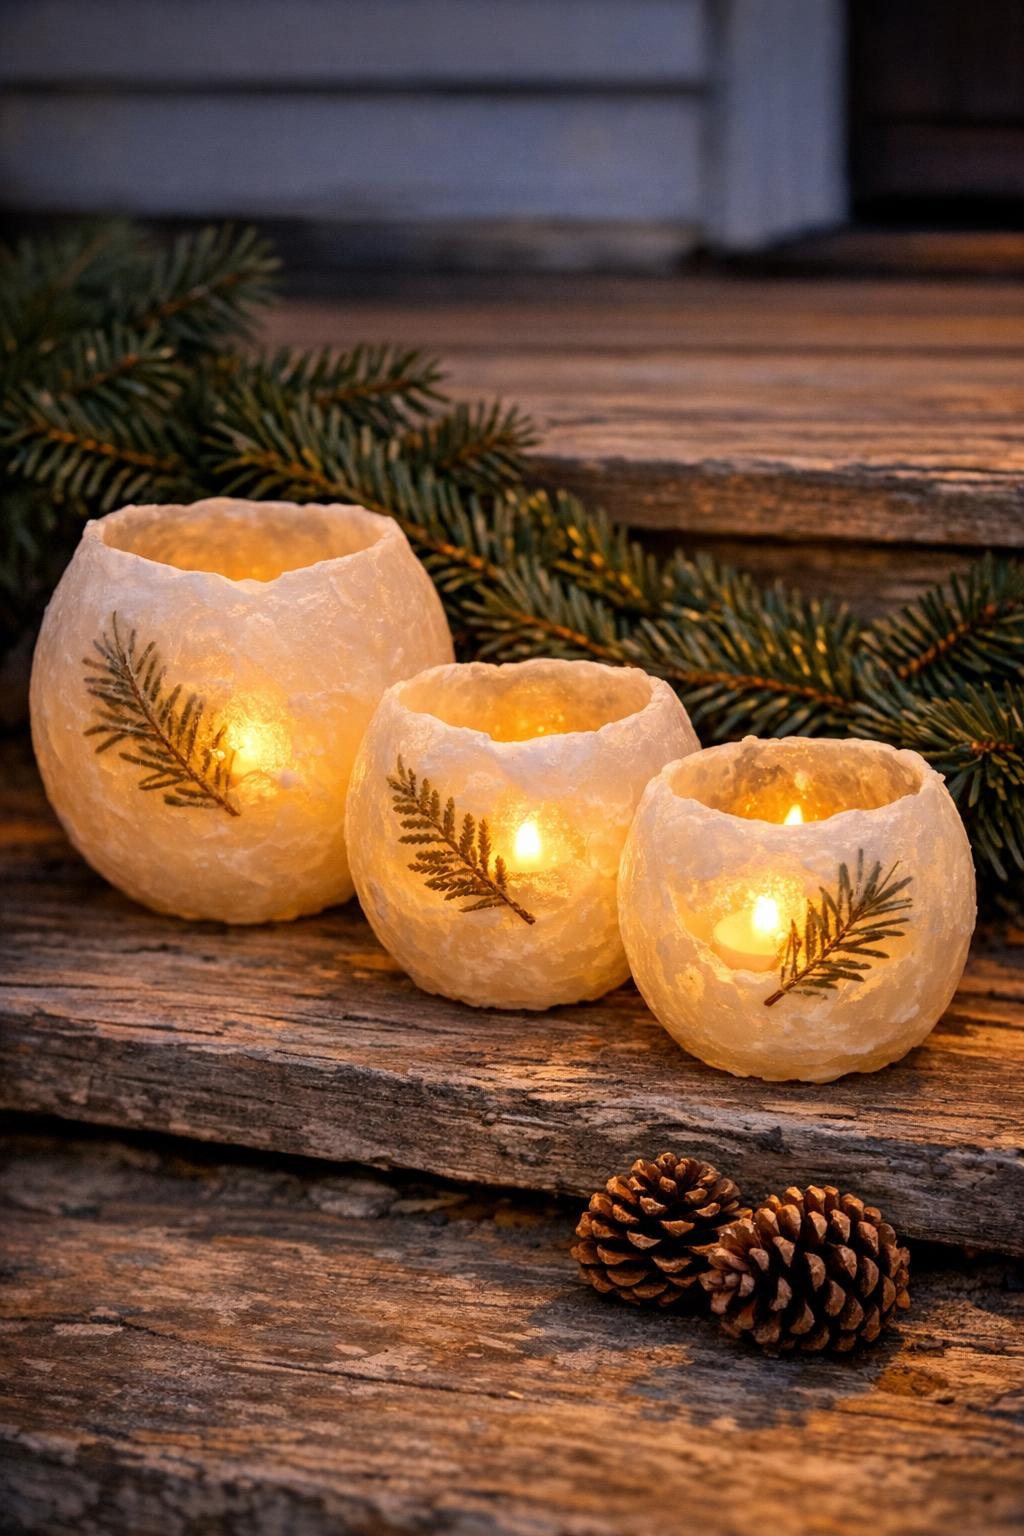
7. If you want a botanical look, press a few tiny evergreen sprigs onto the warm outer wax after the last or second-to-last coat, then quickly seal them with one very light final dip.
8. Stand the balloons upright on the wax paper-lined tray and let them cool completely until the shells feel firm and no longer warm to the touch.
9. Trim the tied knot off one balloon with scissors and let the water drain out slowly, then peel away and discard the deflated balloon from inside the wax shell.
10. Neaten the opening by trimming any ragged wax edge with scissors, or leave it softly uneven if you like that hand-formed look better.
11. Make a flat base by setting the lantern opening-down on the tray for a moment if needed, then warm the bottom edge lightly against the wax paper so it sits steady without wobbling.
12. Place a battery tea light inside each shell and set them where you want their gentle glow to shine after dark.
Variations & Tips
For safer melting: Always melt the candle wax over simmering water instead of direct heat. I treat it just like a gentle custard on the stove—slow and steady gives the prettiest result.
For the best shape: Keep the balloons on the smaller side rather than filling them to their full 12-inch size. A compact round balloon makes a thicker, sturdier lantern and uses the wax more generously.
If the wax cracks: Don’t fret. Just warm a little extra wax and spoon or dip a thin patch over the crack, then chill it again to set.
For a smoother finish: Pat off every bead of water after each cold-water dip. Tiny droplets can leave little pockmarks in the next coat of wax.
For a frostier look: Let the wax cool a bit more between dips so each layer goes on slightly thicker. That gives the lanterns a cloudier, snowy glow that’s especially pretty in winter.
For a centerpiece display: Group all three lanterns together on a tray with evergreen, a ribbon, or a few pinecones. I find that candlelight always looks richer in a cluster than it does standing alone.
Important lighting tip: Use only battery tea lights inside these wax shells. Real flame and handmade wax this thin are not a safe combination.