
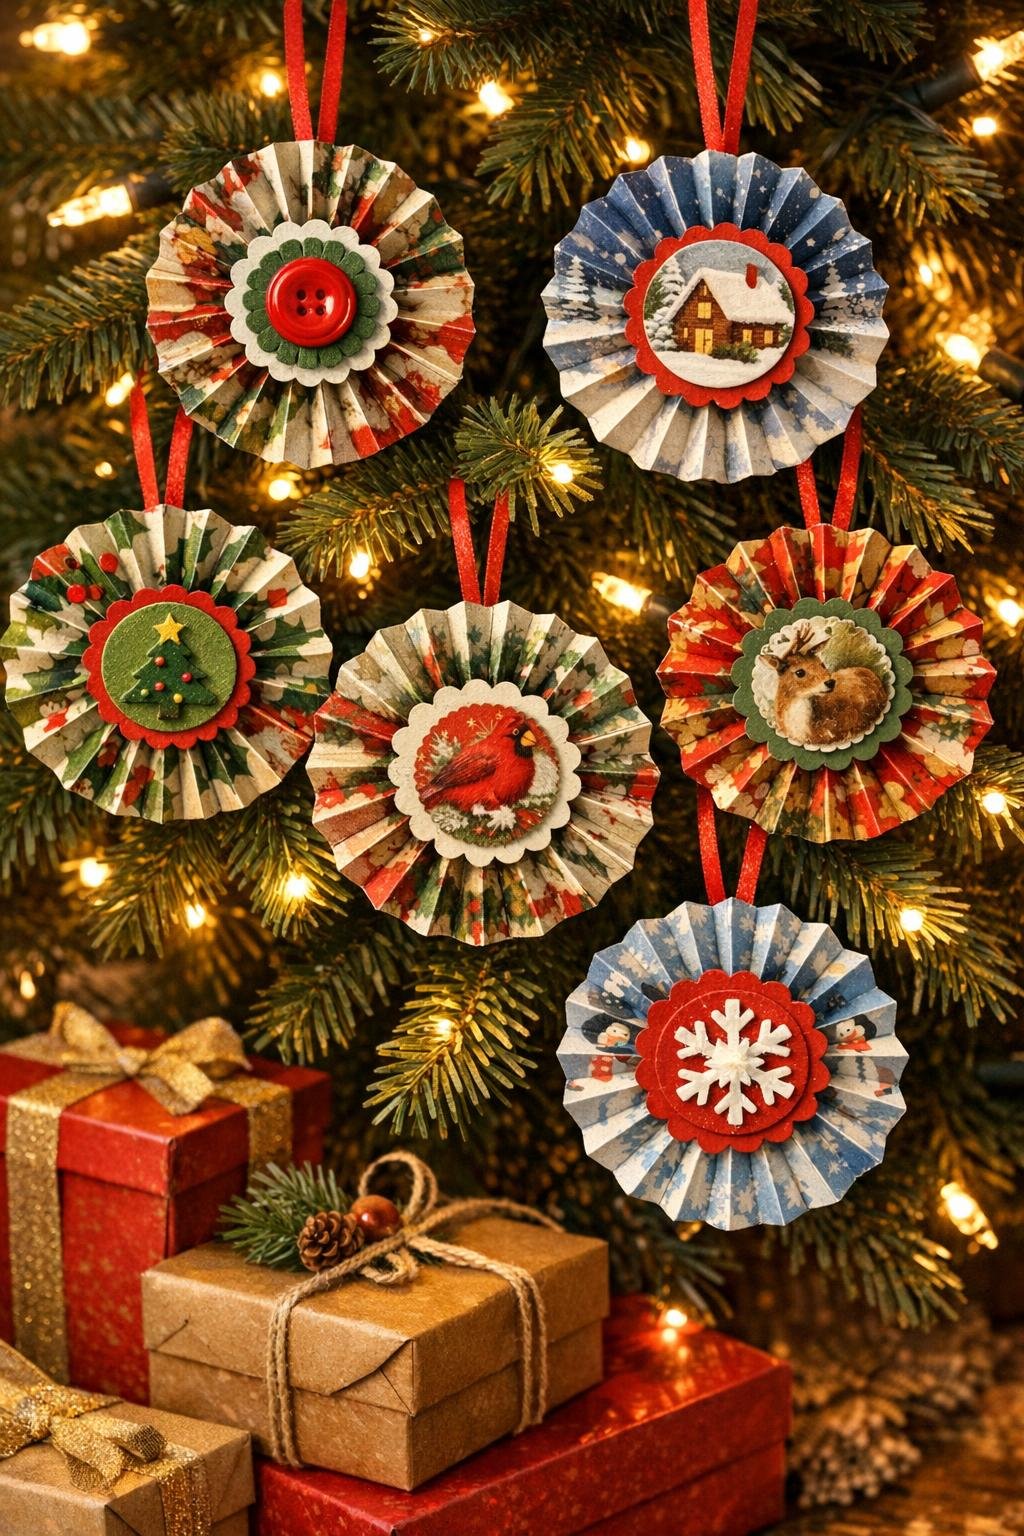
Old Christmas cards are one of those things I never quite want to throw away. The colors are cheerful, the little handwritten notes feel personal, and the cardstock is usually sturdy enough to deserve a second life. This project turns that stack of saved cards into something festive and polished, using a simple accordion fold that’s easy to do once you get into the rhythm.
If you can fold paper like a fan and tie a knot, you can make these. I like this kind of craft on a cold afternoon with tea nearby, because it feels pleasantly repetitive in the way kneading dough does—simple technique, satisfying result, and a whole batch ready before you know it.
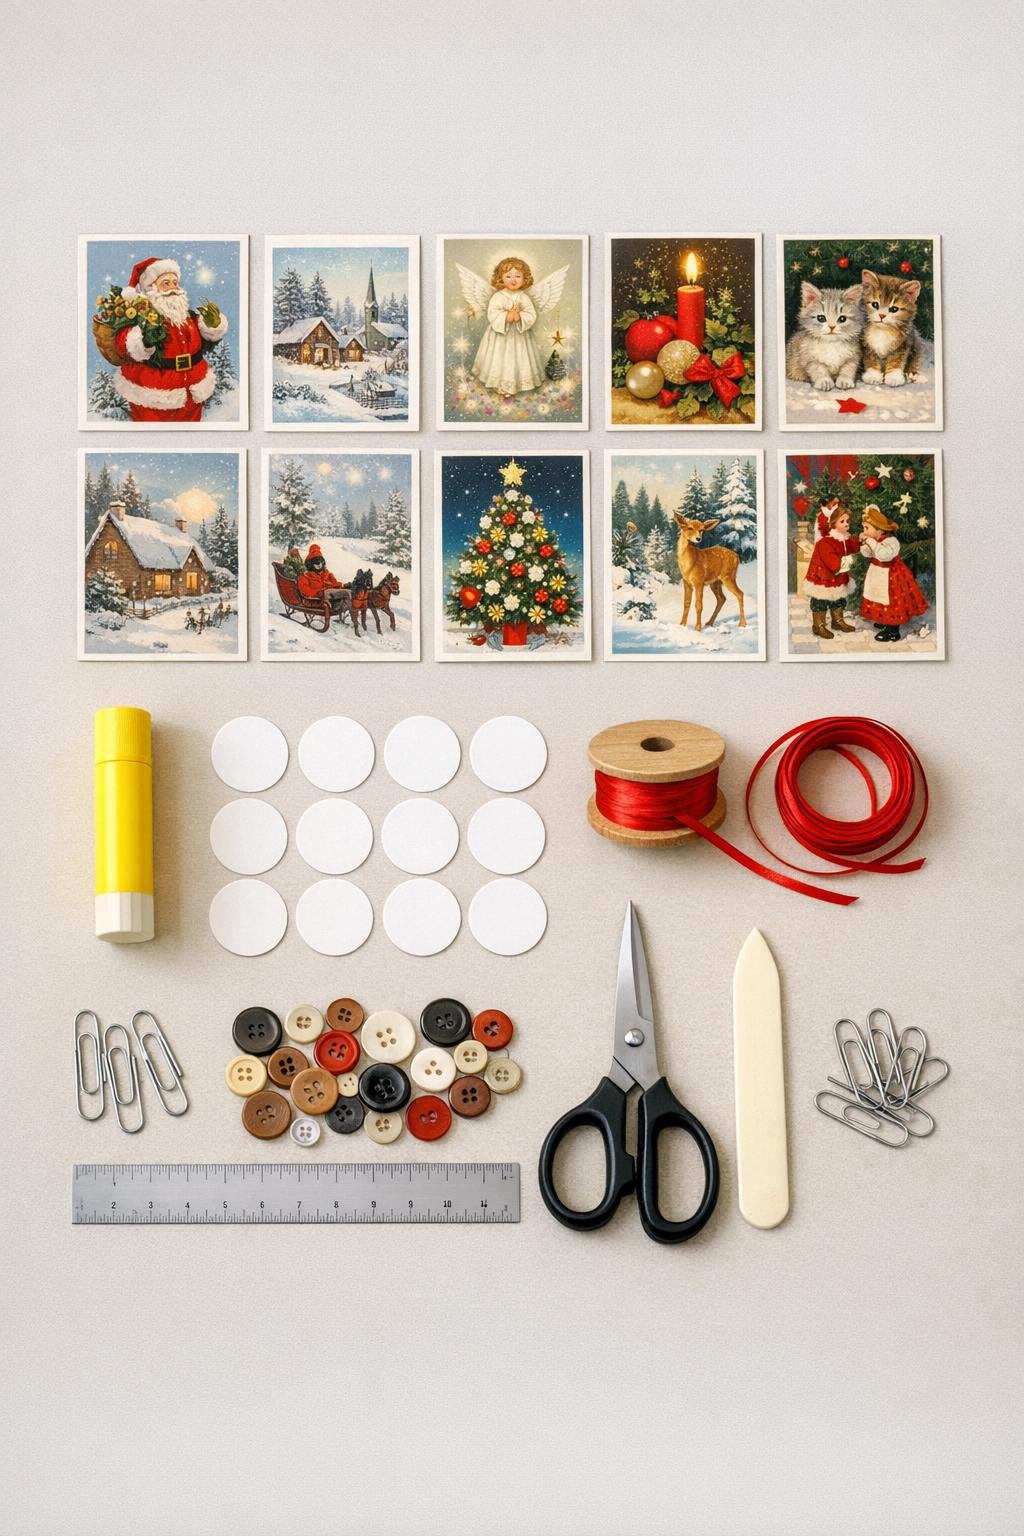
Materials
12 old Christmas cards, standard greeting-card size, each opened flat
Instructions
1. Open each Christmas card flat and trim off any uneven edges or bulky inserts so you’re working with smooth, sturdy rectangles.
2. Use the ruler to mark fold lines every 1/2 inch across the long side of each card, keeping the spacing as even as possible for a full, tidy fan.
3. Accordion-fold the first card along the marked lines, turning the card back and forth into narrow pleats, then press each crease firmly with a bone folder or butter knife.
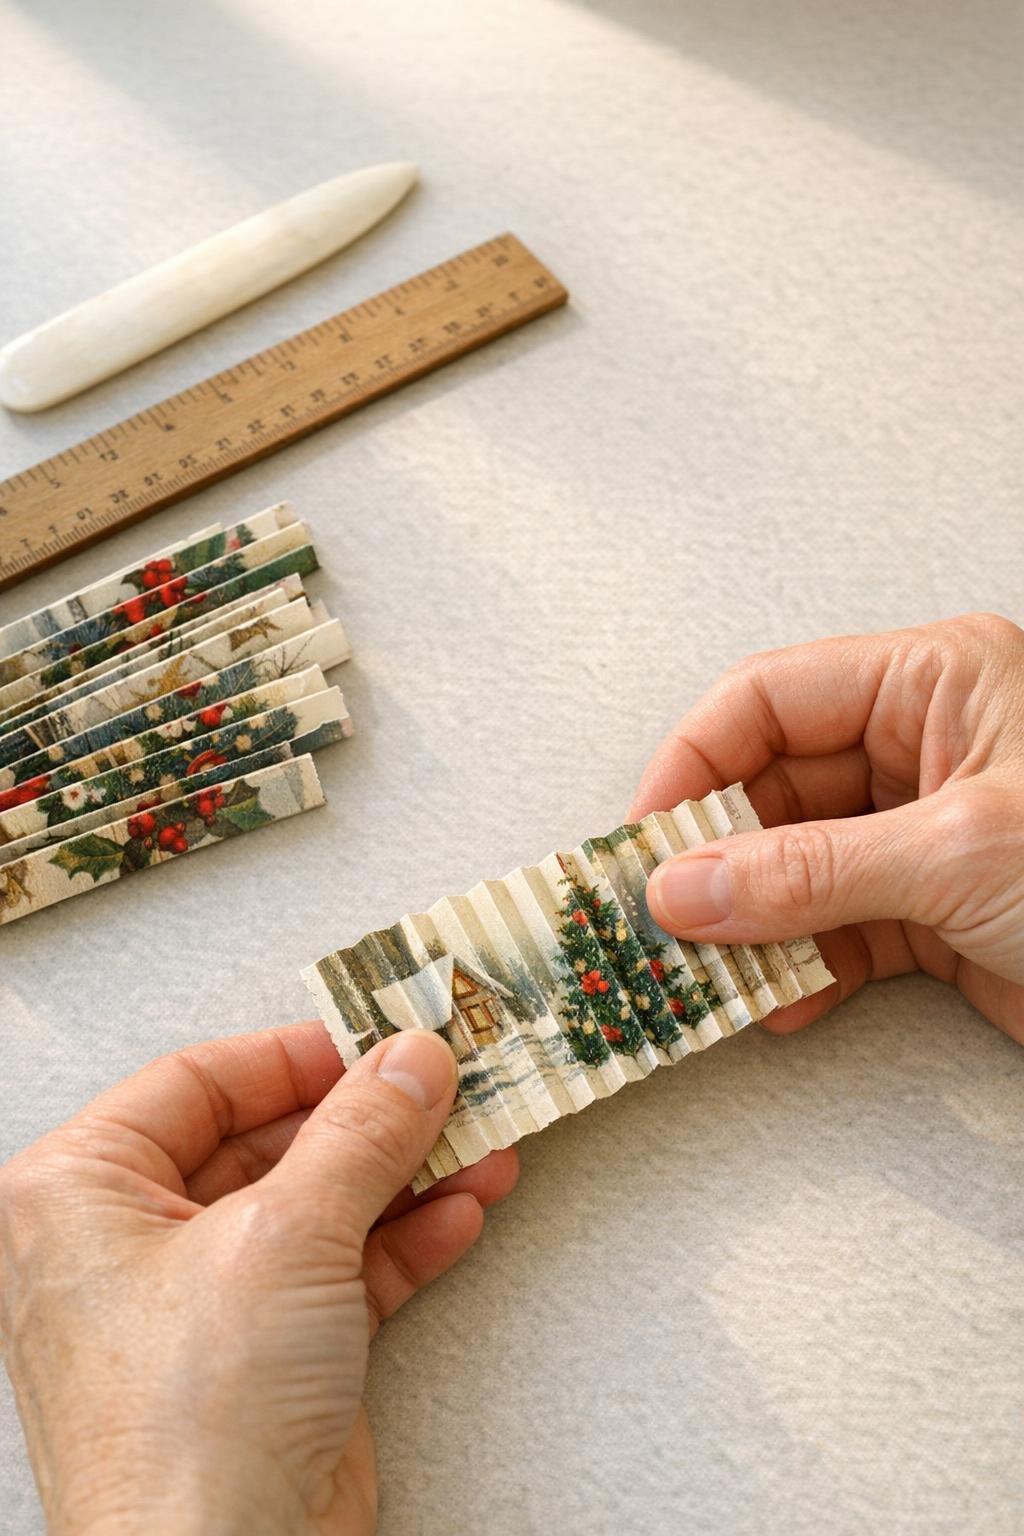
4. Repeat with the remaining 11 cards until you have 12 tightly folded strips, then pinch each one in the center to find the midpoint.
5. Fold each pleated strip in half at its center crease so it forms a V shape, with the patterned side facing outward.
6. Run glue along one inside half of the V, press the matching half against it, and clip the edge with paper clips until dry; this creates a fan-shaped half rosette.
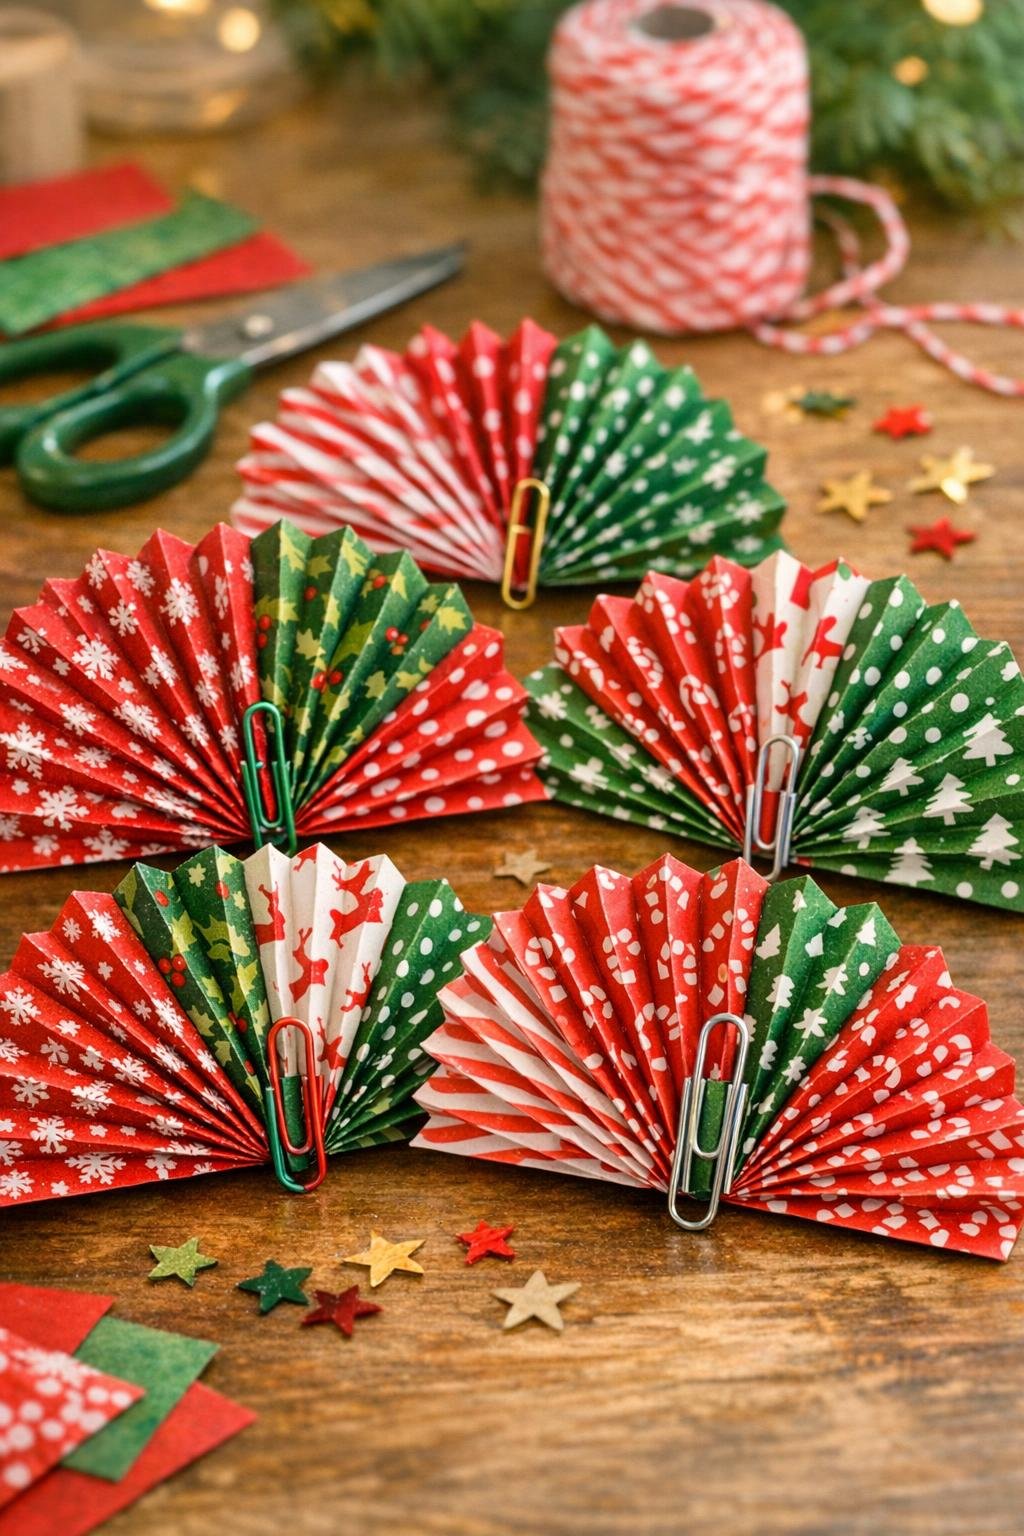
7. Let the glued fans dry for 10 to 15 minutes if using tacky glue, or 5 minutes if using a glue stick and firm pressure.
8. Remove the clips and gently spread one fan open into a full circle, overlapping the two outer edges slightly to complete the rosette shape.
9. Glue the overlapped outer edges together and hold them with 2 or 3 paper clips until the circle stays closed on its own.
10. Glue one 1-inch cardstock circle over the center on the front to lock the pleats in place, then glue a second small circle on the back center if your rosette feels loose or needs extra support.
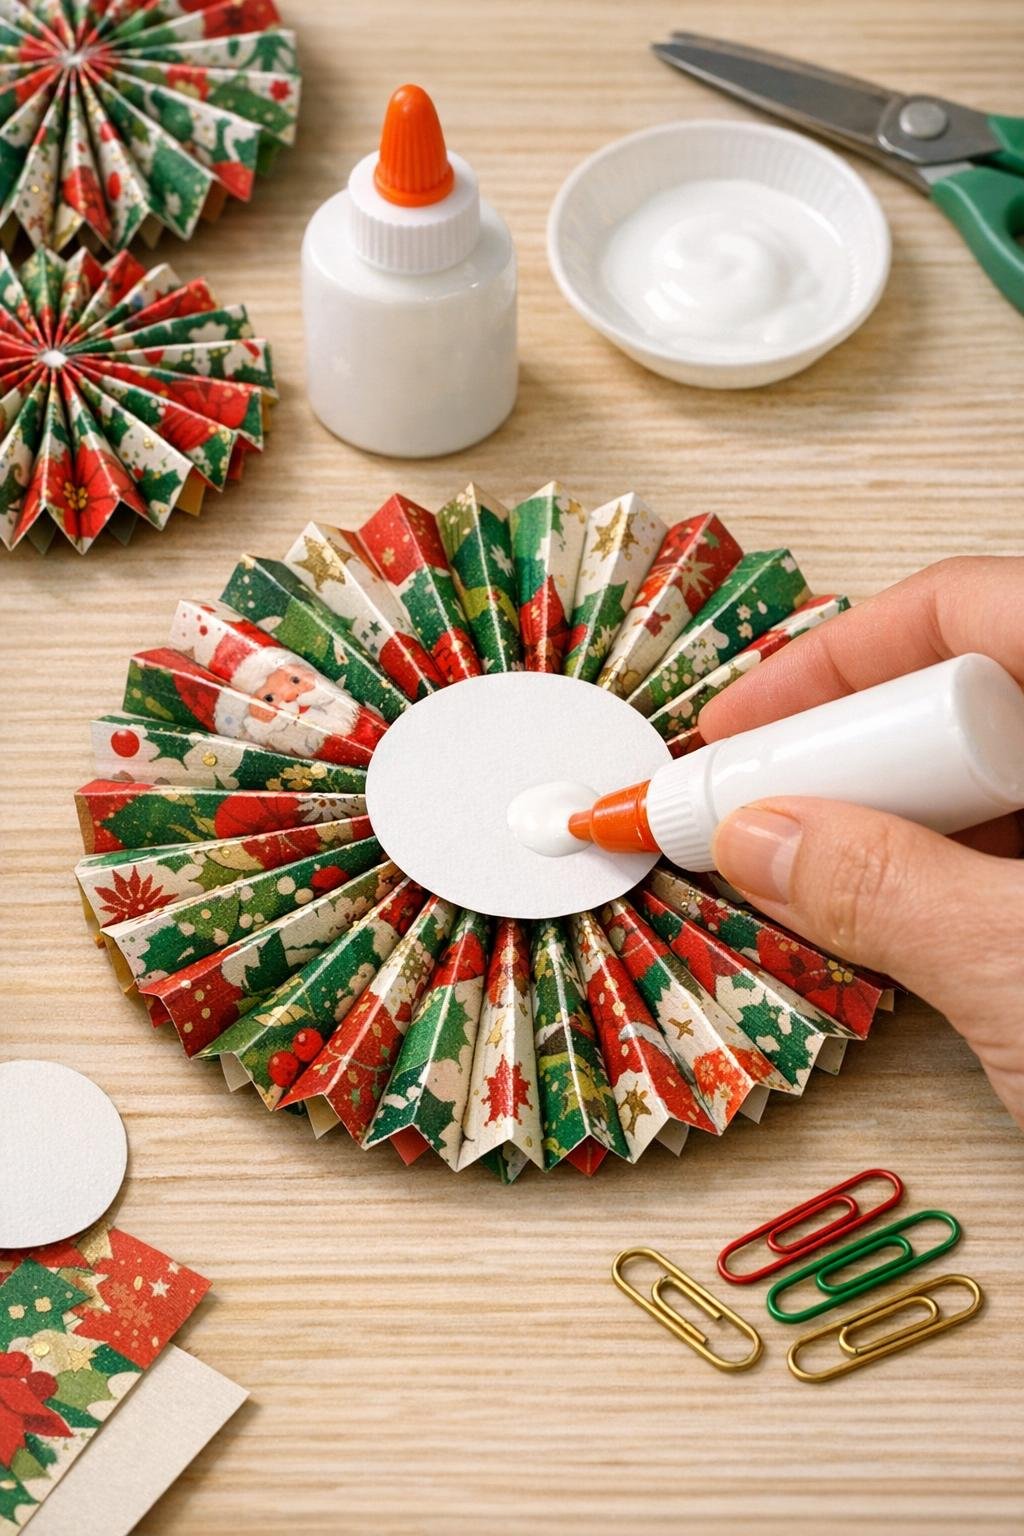
11. If you want a more dressed-up finish, glue an old button on top of the front center circle.
12. Cut 12 lengths of thin red ribbon or baker’s twine, 8 to 10 inches long each, and tie each into a hanging loop.
13. Glue or thread each loop onto the back of a rosette near the top, then cover the knot or glued end with an extra small cardstock circle for a clean finish.
14. Let everything dry completely, then fluff the pleats with your fingertips so each ornament looks round, full, and even.
Variations & Tips
Mix card styles: I like combining classic red-and-green cards with a few metallic or snowy blue ones so the finished set feels collected over time rather than too matched.
Keep folds narrow: Half-inch pleats give you the fullest rosettes with the materials in this project; wider folds work, but they won’t look nearly as precious or detailed.
Use the backs wisely: Plain card backs are perfect for cutting center circles and backing pieces, which makes the ornaments sturdier without introducing mismatched paper.
Make them extra full: If one card feels slightly thin or soft, sharpen every crease again with the bone folder before opening the rosette; crisp folds create better volume, just like good lamination gives structure in pastry.
Turn them into gift toppers: Shorten the ribbon loops and attach one rosette to a wrapped package for a decoration that doubles as part of the gift.
Store them flat-ish: After the holidays, place the ornaments in a shallow box with tissue between layers so the pleats stay crisp and the centers don’t get crushed.