
There is something deeply satisfying about turning the sort of humble odds and ends we keep tucked in a jar or coffee can into something you’d be proud to hang in the house. This project starts with plain pennies and a sheet of foam board, and with a little patience and a good hot glue gun, it becomes a rich, gleaming wall piece with wonderful texture and old-fashioned warmth.
I’m especially fond of projects like this in the colder months, when the table becomes a work surface and slow, repetitive handwork feels as comforting as shelling peas or snapping beans used to in my mother’s kitchen. If you enjoy simple crafting and want a project that looks far more special than the supplies would suggest, this one is easy to follow and wonderfully rewarding.
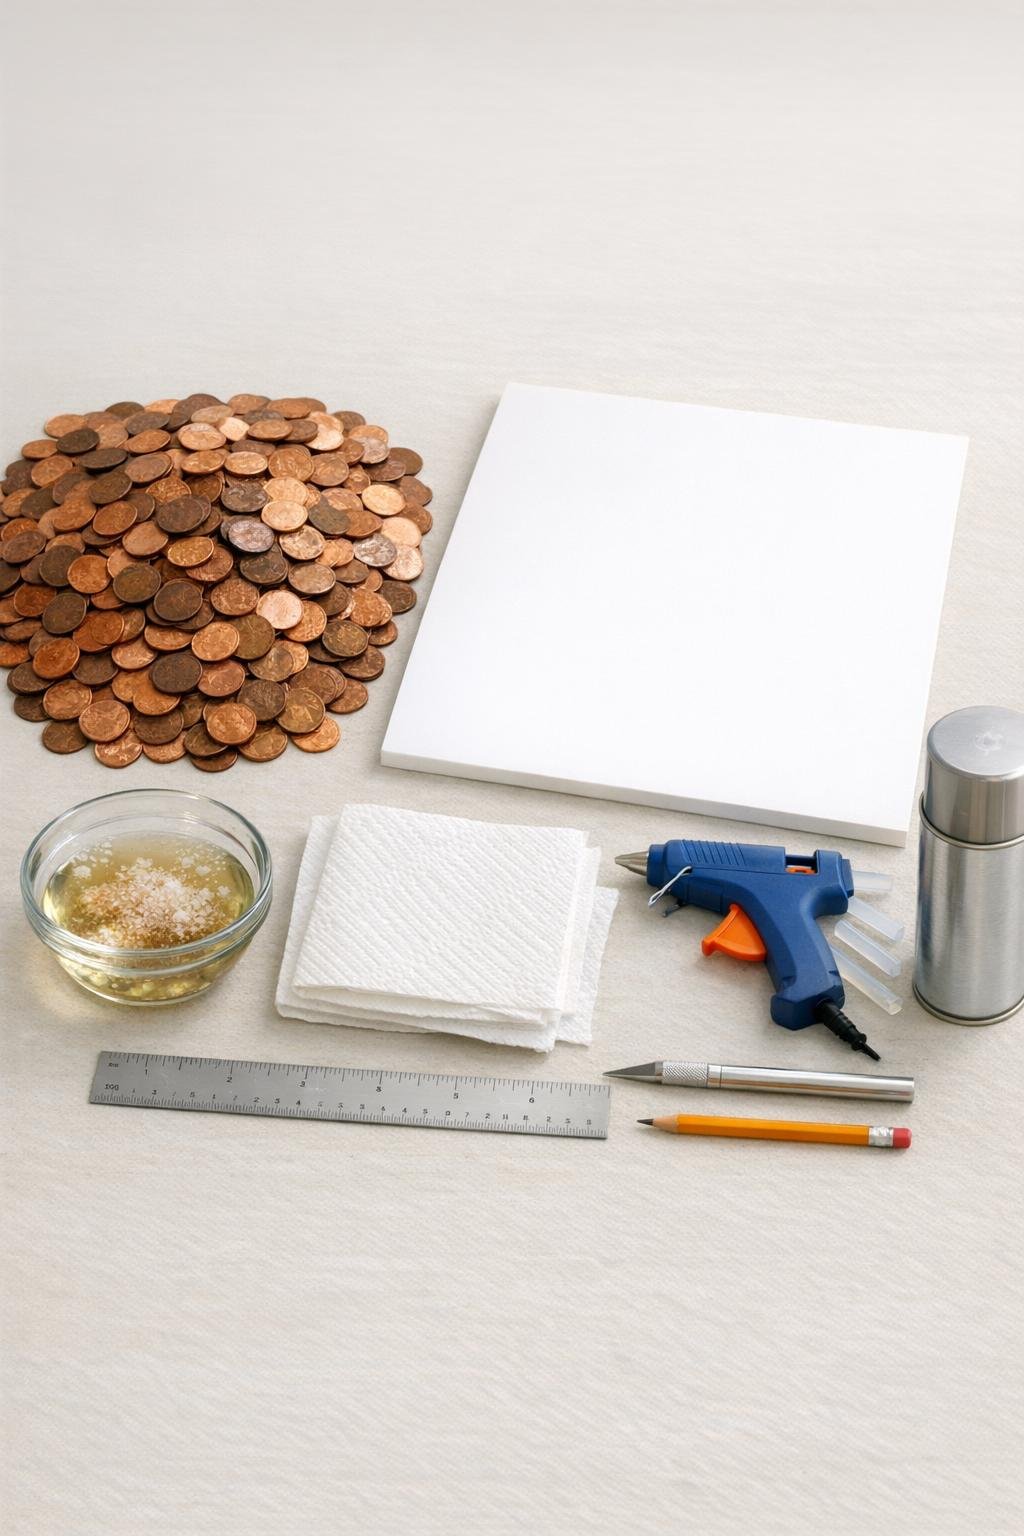
Materials
400 pennies, cleaned and dried
Instructions
1. Pour the vinegar and salt into a small bowl, stir, and soak the pennies for 5 to 10 minutes to lift off grime and brighten the copper.
2. Rub the pennies dry with a cloth or paper towels, then spread them out in a single layer until fully dry so the glue will hold properly.
3. Lay the foam board on a protected surface and use a pencil and ruler to sketch a simple centered tree shape about 18 inches tall and 14 inches wide, with a broad base and a single trunk.
4. Cut out the tree carefully with a craft knife in several light passes rather than one deep cut, keeping the edges as smooth as you can.
5. Arrange a row of pennies along the bottom edge of the tree without glue first, letting them overlap like fish scales so you can judge spacing and coverage.
6. Starting at the bottom, place a small dab of hot glue on the foam board and press each penny into place, working in overlapping rows from side to side.
7. Continue building upward row by row, staggering the pennies slightly so gaps disappear and the surface looks lush and full instead of lined up in stiff columns.
8. Trim your rows naturally as the tree narrows, following the angled sides so the penny outline stays crisp and the foam board doesn’t show from the front.
9. Cover the trunk with straight, slightly overlapping pennies set vertically or in tight horizontal rows so it reads clearly as the base of the tree.
10. Fill the top point last, choosing your smallest, flattest pennies there so the tip looks neat and well-defined rather than bulky.
11. Check the edges and add extra pennies anywhere the foam board peeks through, especially along the lower branches and trunk corners.
12. Let the glue cool completely for 15 minutes, then carefully trim away any visible glue strings with your fingers or the tip of the craft knife.
13. In a well-ventilated area, spray the front with a light, even coat of clear sealer, let it dry, and add a second coat for a richer polished finish.
14. Attach a sawtooth hanger to the back near the top or add strong hanging strips, then hang your piece where the warm copper catches the light.
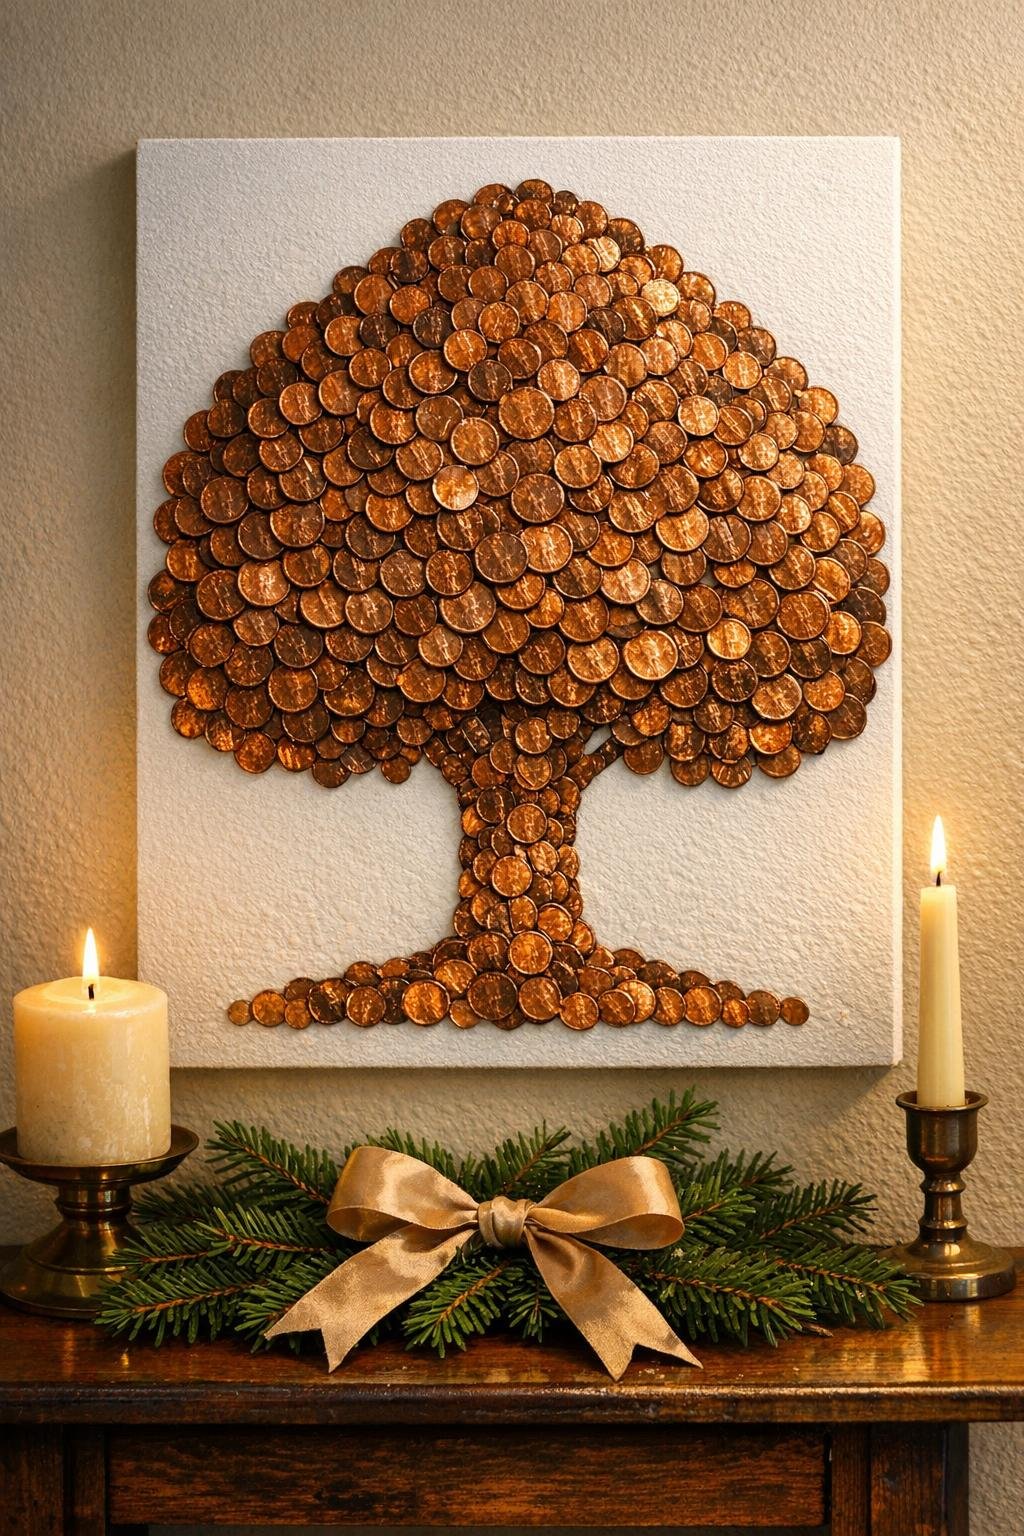
Variations & Tips
For extra shine: If you love a brighter copper look, polish the pennies a little longer and use gloss sealer; if you prefer a more timeworn finish, leave some natural darkening on the coins and choose satin sealer.
For easier layout: Work from the bottom up every time. That overlapping pattern hides the foam board beautifully and gives the whole piece the full, scaled look that makes it so striking.
For a fuller tree shape: Make the lower branches a touch wider when you sketch the pattern. A generous base gives you more room for those lovely dense penny rows and makes the finished piece feel substantial on the wall.
For hanging safely: Foam board is lightweight, but 400 pennies add real heft. I like using both a hanger and a pair of small adhesive strips at the bottom to keep the tree from shifting crooked on the wall.
For a festive finish: A narrow velvet ribbon bow at the top or a tiny star cut from leftover foam board and covered in pennies can make it feel extra special without taking away from the copper texture.
For cleaner results: Use small dots of glue, not long lines. Too much glue squishes out between the pennies, and a light hand keeps the front looking tidy and polished.