
I love a bathroom project that solves a real-life mess without turning into a whole weekend ordeal, and this toothbrush holder is exactly that kind of win. By setting small glass test tubes inside a wooden spice rack, you get a tidy little station that keeps each toothbrush upright, separated, and easy to grab, while still looking warm and homey instead of cold and clinical.
This is especially nice for busy families, shared bathrooms, or guest baths where counter clutter seems to multiply overnight. I’m always looking for simple ways to make everyday routines feel a little more organized, and this one has that satisfying mix of practical and polished that makes a space work better right away.
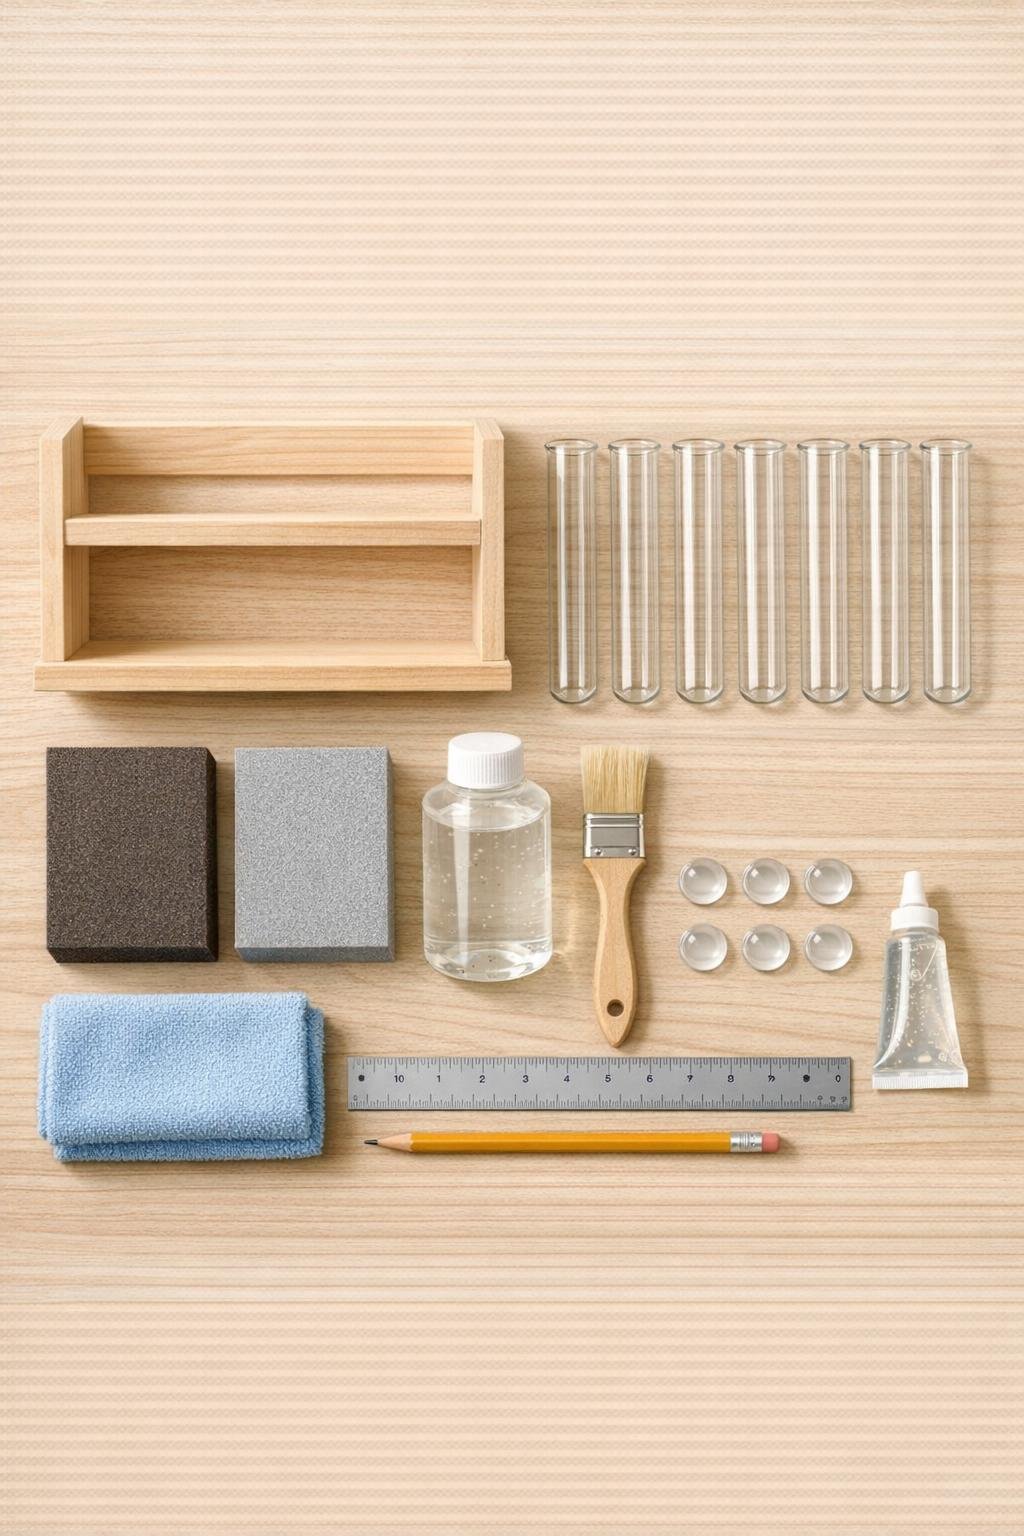
Materials
1 small wooden spice rack, approximately 10 to 12 inches wide x 3 to 4 inches deep x 8 to 10 inches tall
Instructions
1. Set the test tubes into the spice rack to check the fit, spacing, and height before you do anything else. Make sure each tube sits upright and can be lifted out easily for cleaning.
2. Lightly sand the entire wooden spice rack with the 120-grit sponge, then smooth it with the 220-grit sponge. Wipe away all dust with the microfiber cloth so the finish goes on cleanly.
3. Brush on a thin coat of clear waterproof matte sealer over every wooden surface, including the inside edges and shelf rails. Let it dry fully, then add a second coat for extra bathroom durability.
4. Once the sealer is dry, place the rack where you plan to use it and add the four clear rubber bumpers to the bottom corners. This keeps the wood lifted slightly off the counter and helps prevent slipping on damp surfaces.
5. Set the test tubes back into the rack and arrange them evenly across the shelf openings. If the rack has a little extra room, mark the most balanced positions lightly with pencil so the tubes line up neatly.
6. Add a tiny dot of clear waterproof adhesive where each test tube touches the wood at the base or back edge, using just enough to keep the tubes from sliding. Leave the tops and most of the sides free so the tubes still look clean and can be removed later if needed.
7. Let the adhesive cure completely according to the package directions before adding anything to the holder. I like to give it a full overnight rest so everything feels secure and ready for daily use.
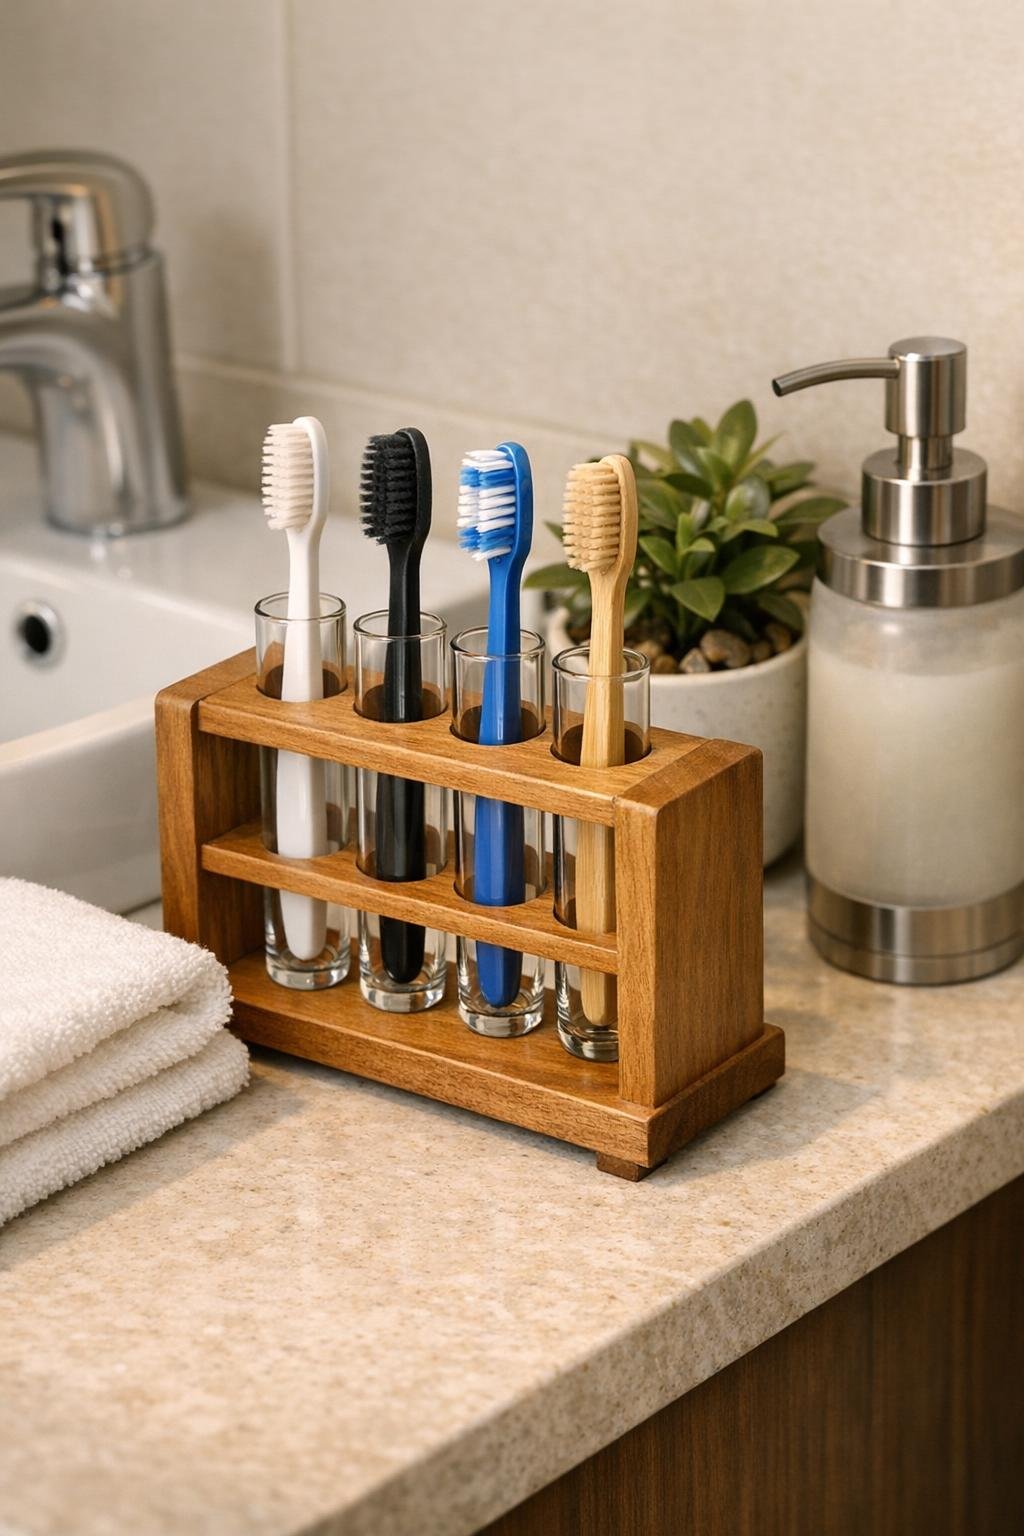
8. Fill each test tube with one toothbrush, keeping them grouped by family member or by purpose like manual, electric brush heads, or travel brushes. Wipe the glass one final time so the finished holder looks crisp and polished on the counter.
Variations & Tips
For bigger families: Choose a wider spice rack and use 8 to 10 test tubes instead of 6. I’ve found that giving everyone their own spot cuts down on the usual morning sink scramble.
For picky organizers: Use one shelf for toothbrushes and the other for toothpaste tubes, floss picks, or interdental brushes. It keeps the whole routine together in one tidy place.
For easier cleaning: If you want fully removable tubes, skip the adhesive and instead use a small clear nonslip dot under each tube. You’ll still get better grip, but you can lift every piece out quickly for washing.
Wood finish option: You can stain the spice rack before sealing if you want it to match your vanity or bathroom shelves. Just keep the topcoat waterproof so the wood stands up well to splashes.
Glass care tip: Test tubes collect toothpaste drips faster than you’d think, so rinse them weekly with warm soapy water. A skinny bottle brush makes that job especially easy.
Safety tip: Make sure the glass tubes have smooth finished rims and sit securely in the rack before daily use. If little kids are using the bathroom, keep the holder slightly back from the counter edge for extra peace of mind.