
I love a project that turns the recycling bin into something genuinely beautiful, especially when it uses the kind of everyday odds and ends most of us already have tucked away. This one is easy to batch over a couple of evenings, doesn’t require fancy tools, and gives you that glowy, high-end look that feels way more expensive than it is.
If you’re a busy person like me and still want your home to have a little personality, this is exactly the kind of craft that fits real life. You can prep the pieces while dinner is in the oven, assemble it on the weekend, and end up with a statement piece that looks polished instead of “made from leftovers.”
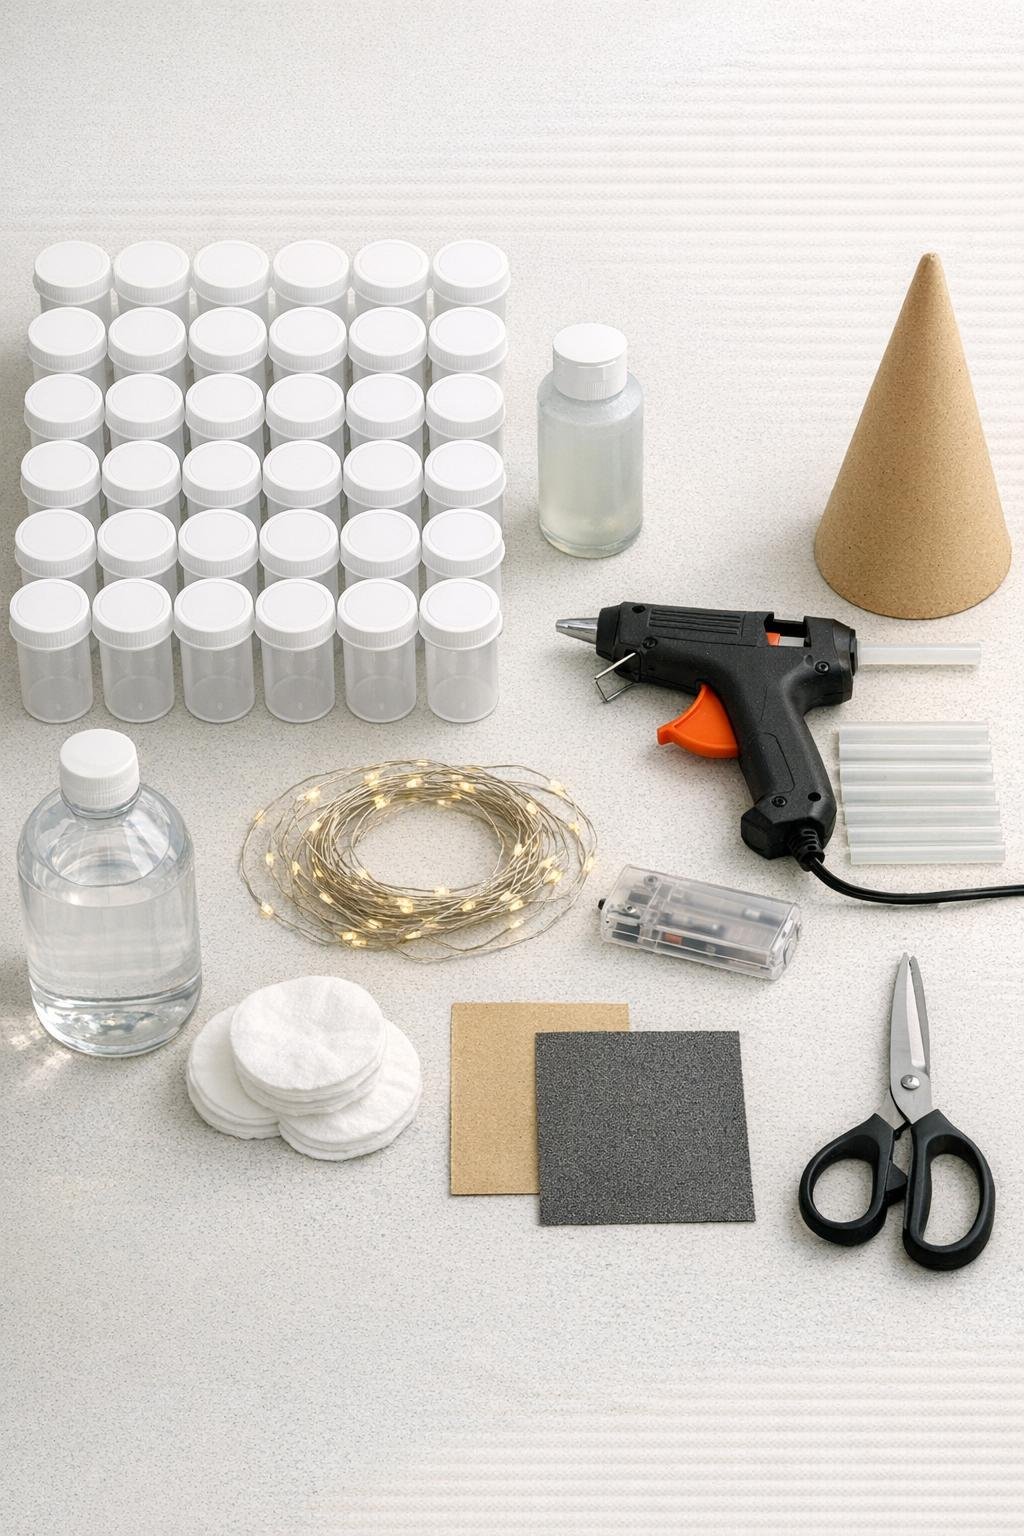
Materials
45 empty plastic pill bottles, washed and fully dried, mixed but similar sizes around 3 to 4 inches tall
Instructions
1. Wash all 45 pill bottles and caps with warm soapy water, then let them dry completely so the paint and glue will stick well.
2. Lightly scuff the outside of each bottle with 220-grit sandpaper, then wipe them down with rubbing alcohol to remove dust and residue.
3. Paint the outside of each bottle with a thin coat of frosted glass paint using the foam brush, keeping the finish even and a little translucent for that soft sea-glass look.
4. Let the first coat dry fully, then add a second thin coat to all bottles for a more even, softly diffused finish.
5. If you want extra durability, spray the painted bottles with a light coat of clear acrylic sealer and let them dry completely before assembly.
6. Test-fit your cardboard cone upright and decide which side will be the front, then lightly mark a loose spiral path from the base to the top where the fairy lights will run.
7. Insert batteries into the fairy lights, switch them on briefly to check the strand, and tape or hold the battery pack at the back base area so you can keep it accessible.
8. Glue the first ring of pill bottles around the bottom edge of the cone, placing them side by side with the caps facing outward and the bottle bodies touching the cardboard for a strong bond.
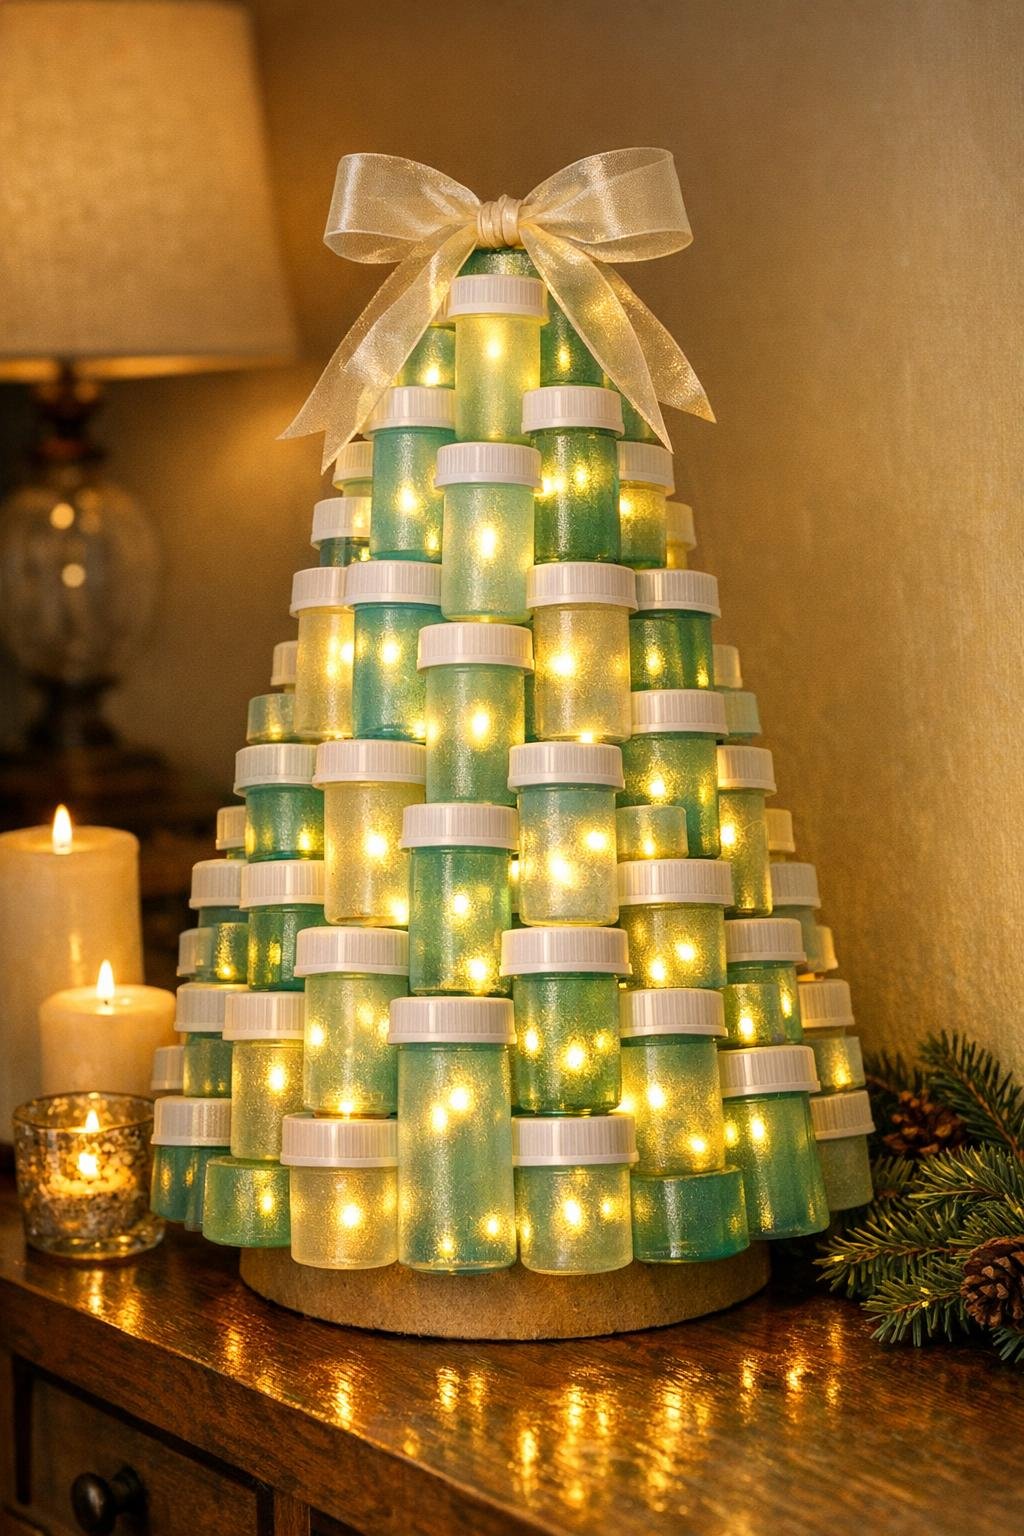
9. Continue building upward in staggered rows, gluing each bottle so it sits between two bottles below it; this makes the tree look fuller and helps hide the cone.
10. Tuck the fairy light strand between rows as you go, weaving the tiny bulbs into the gaps so the glow spreads evenly through the frosted bottles.
11. Keep rotating the cone while you work, checking for thin spots and filling any open areas with extra bottles so the surface looks dense and balanced from every angle.
12. Use smaller bottles or slightly tighter spacing near the top, then glue the final few bottles in a neat cluster to create a clean treetop shape.
13. Add a small ribbon bow near the top or around the base if you want a finished decorative touch, keeping it simple so it doesn’t compete with the texture.
14. Turn the lights on in a dimmer room and adjust any bulbs or bottle angles so the whole piece glows evenly and the most polished side faces forward.
Variations & Tips
Color Mix: For a more natural sea-glass look, use a mix of frosted white, pale aqua, and soft blue-green paint washes instead of a single solid tone.
Bottle Size Tip: If your pill bottles vary a lot, save the largest ones for the bottom third and the smallest ones for the top so the cone keeps a smooth tree shape.
Glue Strategy: I like to add hot glue in a vertical line on the bottle body and a small dot near the shoulder; that gives a sturdier hold than gluing only one spot.
Lighting Tip: Warm white lights give the prettiest glow through the frosted finish, while cool white can make the bottles look harsher and less glassy.
Cleaning Shortcut: If labels are stubborn, soak the bottles in warm water for 20 minutes first, then wipe off adhesive with rubbing alcohol before painting.
Display Idea: This looks especially pretty on an entry table, kitchen counter, or holiday mantel where the light can reflect off nearby surfaces in the evening.
Storage Tip: Store the tree upright in a large box with a little tissue or packing paper around the base so the glued rows don’t get bumped loose between seasons.