
There is something so satisfying about turning a line of everyday empties into a cheerful little winter display, and this project does exactly that with almost no fuss. If you have a handful of washed coffee creamer bottles and a scrap basket that always seems to collect lonely socks and ribbon bits, you already have the makings of something sweet.
I love projects like this because they are simple enough to do in an afternoon, but the finished piece still looks playful and polished on a mantel, entry table, or kitchen counter. This one is especially good for families, because each bottle can get its own personality without making the process complicated.
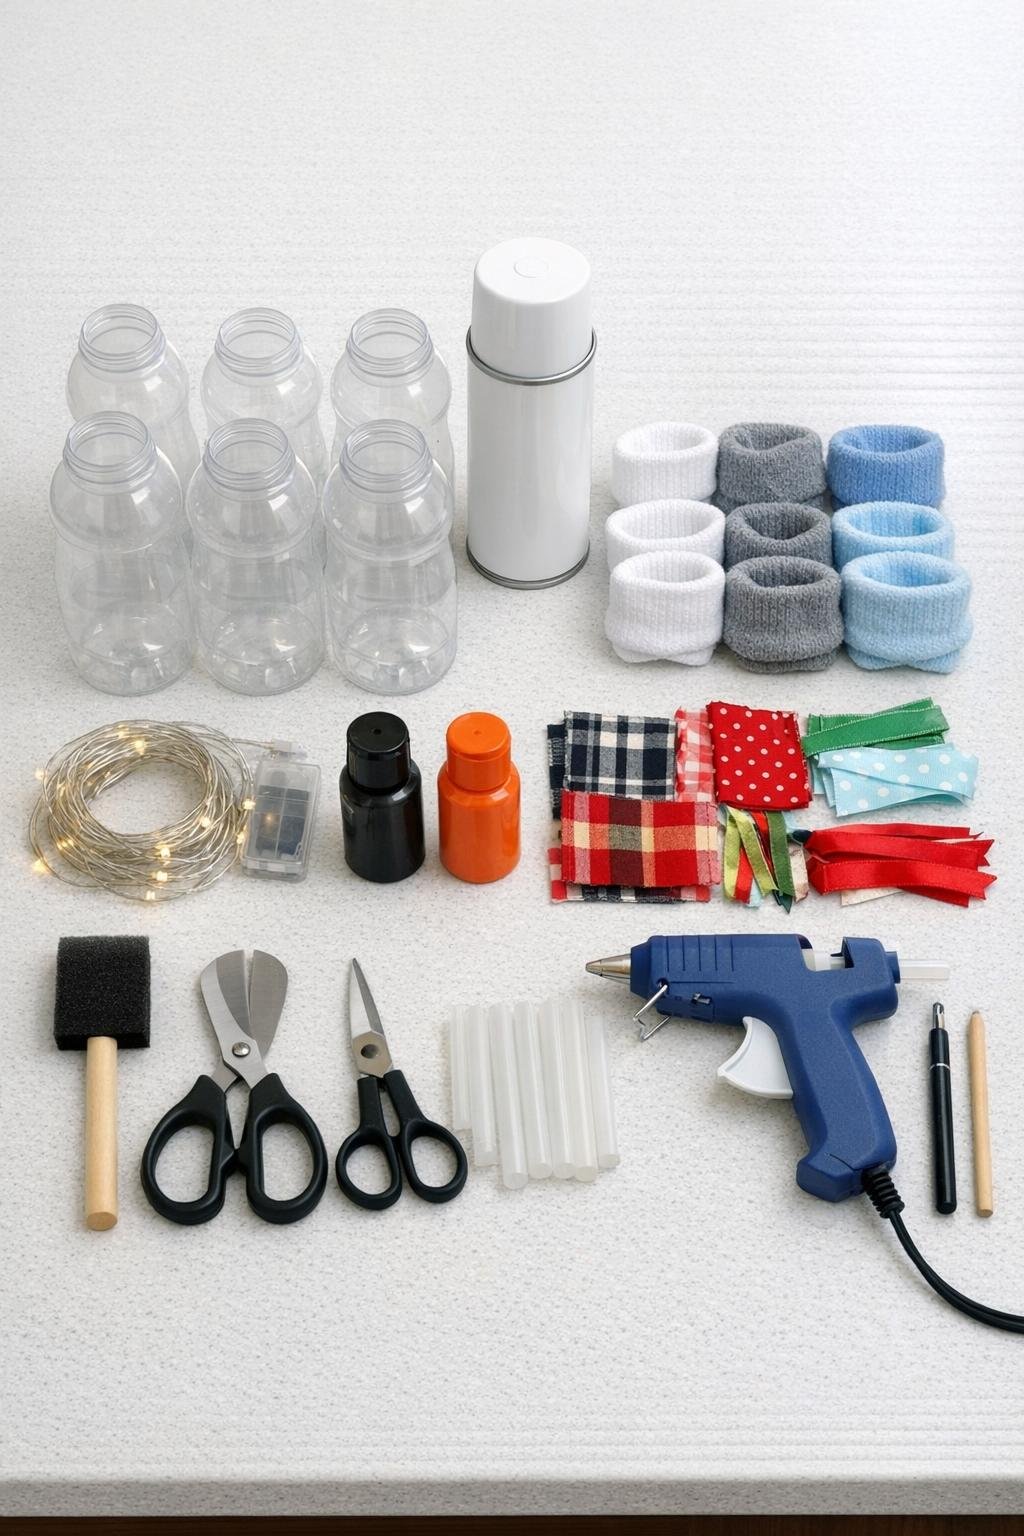
Materials
6 empty plastic coffee creamer bottles, washed, dried, and labels removed
Instructions
1. Wash the six creamer bottles well, let them dry completely, and peel off every bit of the paper label and adhesive so the surface is smooth.
2. Paint each bottle white, including the cap area if it shows, using spray paint outdoors or acrylic paint with a foam brush indoors; let the first coat dry, then add a second coat for solid coverage.
3. If you are adding lights, cut a small slit in the back lower side of each bottle just wide enough to tuck in a battery fairy light strand, then slide the lights inside and leave the battery pack outside or hidden behind the bottle.
4. Use the dot tool or pencil eraser to stamp two black eyes on each bottle, spacing them a little differently so every snowman has its own expression.
5. Paint a small orange carrot nose under the eyes on each bottle, then add a curved dotted smile and three black buttons down the front.
6. Slip a baby sock or sock cuff over the top of each bottle to make a hat, folding the edge up once for a finished brim and trimming the height if the hat looks too tall.
7. Tie a fabric strip or ribbon around each bottle neck for a scarf, then secure the knot or overlap with a tiny dot of hot glue so it stays nicely in place.
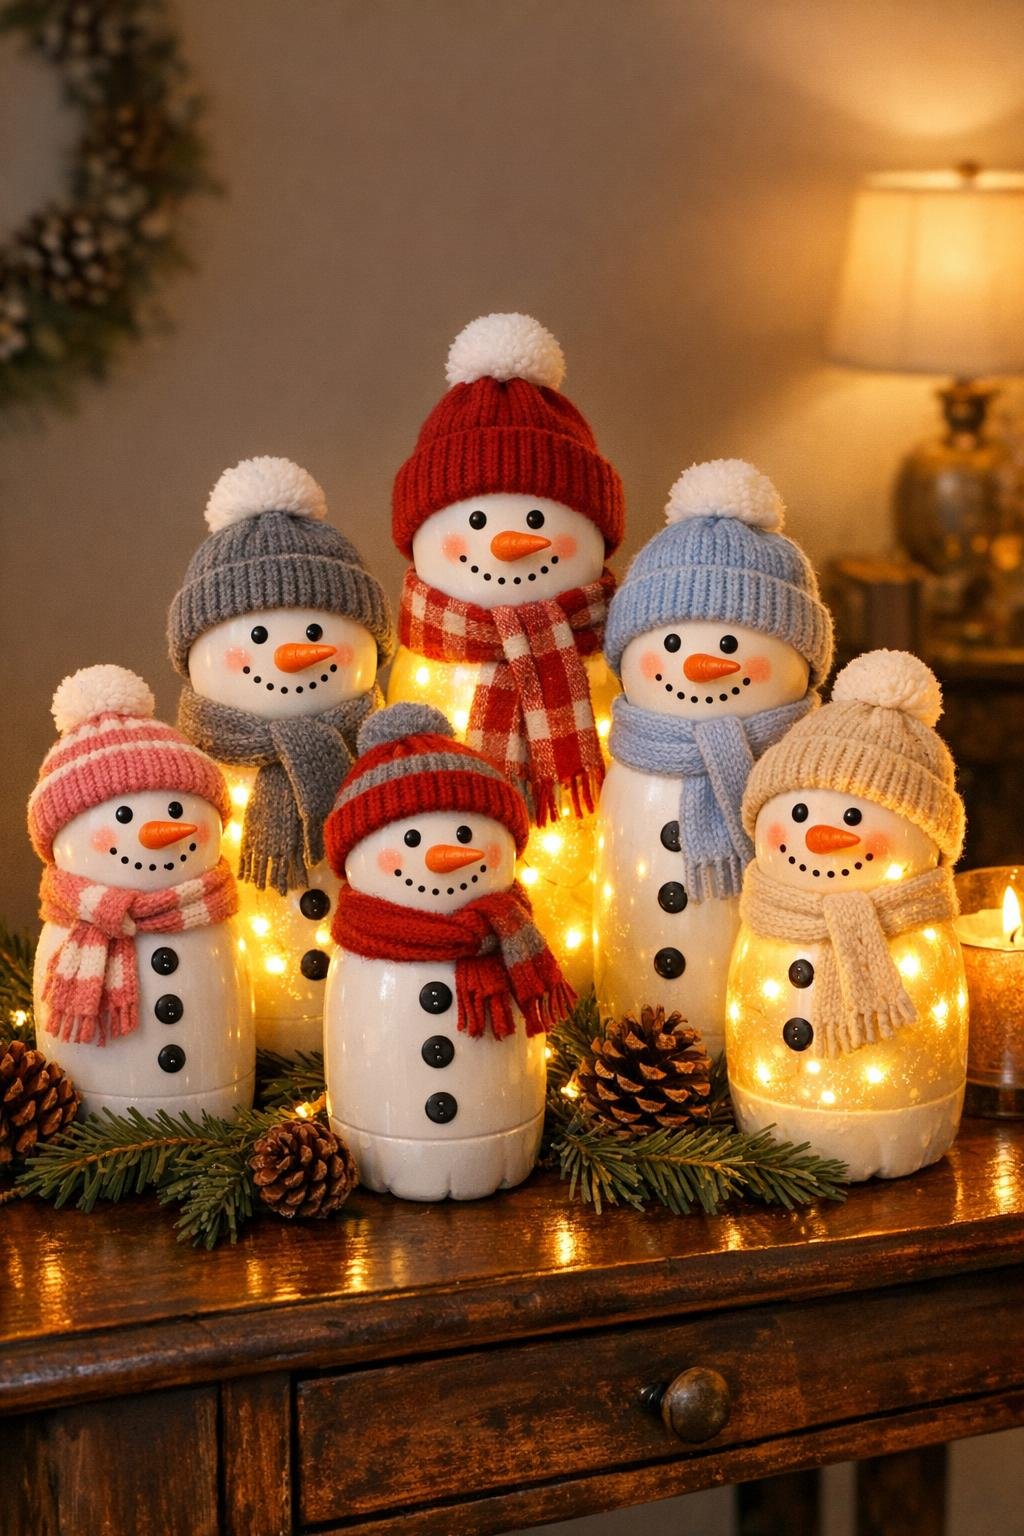
8. Add a tiny dab of hot glue under any loose hat brim or scarf end, wipe away glue strings, and group the six bottles together from tallest-looking to smallest-looking so they read as a little family.
Variations & Tips
For picky decorators: If your family can never agree on colors, make all the bottles the same classic white and only vary the hats and scarves. It keeps the set coordinated while still letting everyone “claim” one.
Hat tip: Baby socks usually give the nicest fit, but old sock cuffs work beautifully too. I like to choose a mix of stripes, solids, and knits so the group looks collected over time.
No spray paint option: Acrylic craft paint works just fine if the weather is not cooperating. Plan on two full coats, and dab rather than drag the foam brush to avoid streaks on the plastic.
Make them glow: The fairy lights are optional, but they add so much charm in the evening. Warm white lights look the most natural and cozy, especially if you are setting the snowmen near greenery or candles.
Kid-friendly assembly: If little hands want to help, let them stamp the eyes and buttons or choose scarf fabrics while an adult handles the hot glue and any cutting.
Display idea: These look sweetest grouped tightly together instead of spread apart. I usually nestle them on a tray or runner so they feel like one full little scene instead of six separate bottles.
Finish that looks neater: After everything is glued on, take one last minute to trim uneven scarf ends and remove stray glue strings. That tiny cleanup step makes homemade decor look much more finished.