
There’s a certain kind of dollar-store craft that surprises even seasoned makers, and this is one of them. By building up clear hot glue over silk holly leaves, you get a beautiful translucent texture that catches light in a way that feels far more expensive than the materials suggest. I love projects like this because they lean on repetition rather than difficult technique, so the payoff looks intricate while the process stays very manageable.
If you’re comfortable working with a glue gun and have a little patience, this is an easy way to turn a pile of inexpensive greenery into something striking for winter decorating. The magic here is in layering, sparkle, and shaping the leaves around a simple cone form so the finished piece looks full, luminous, and polished.
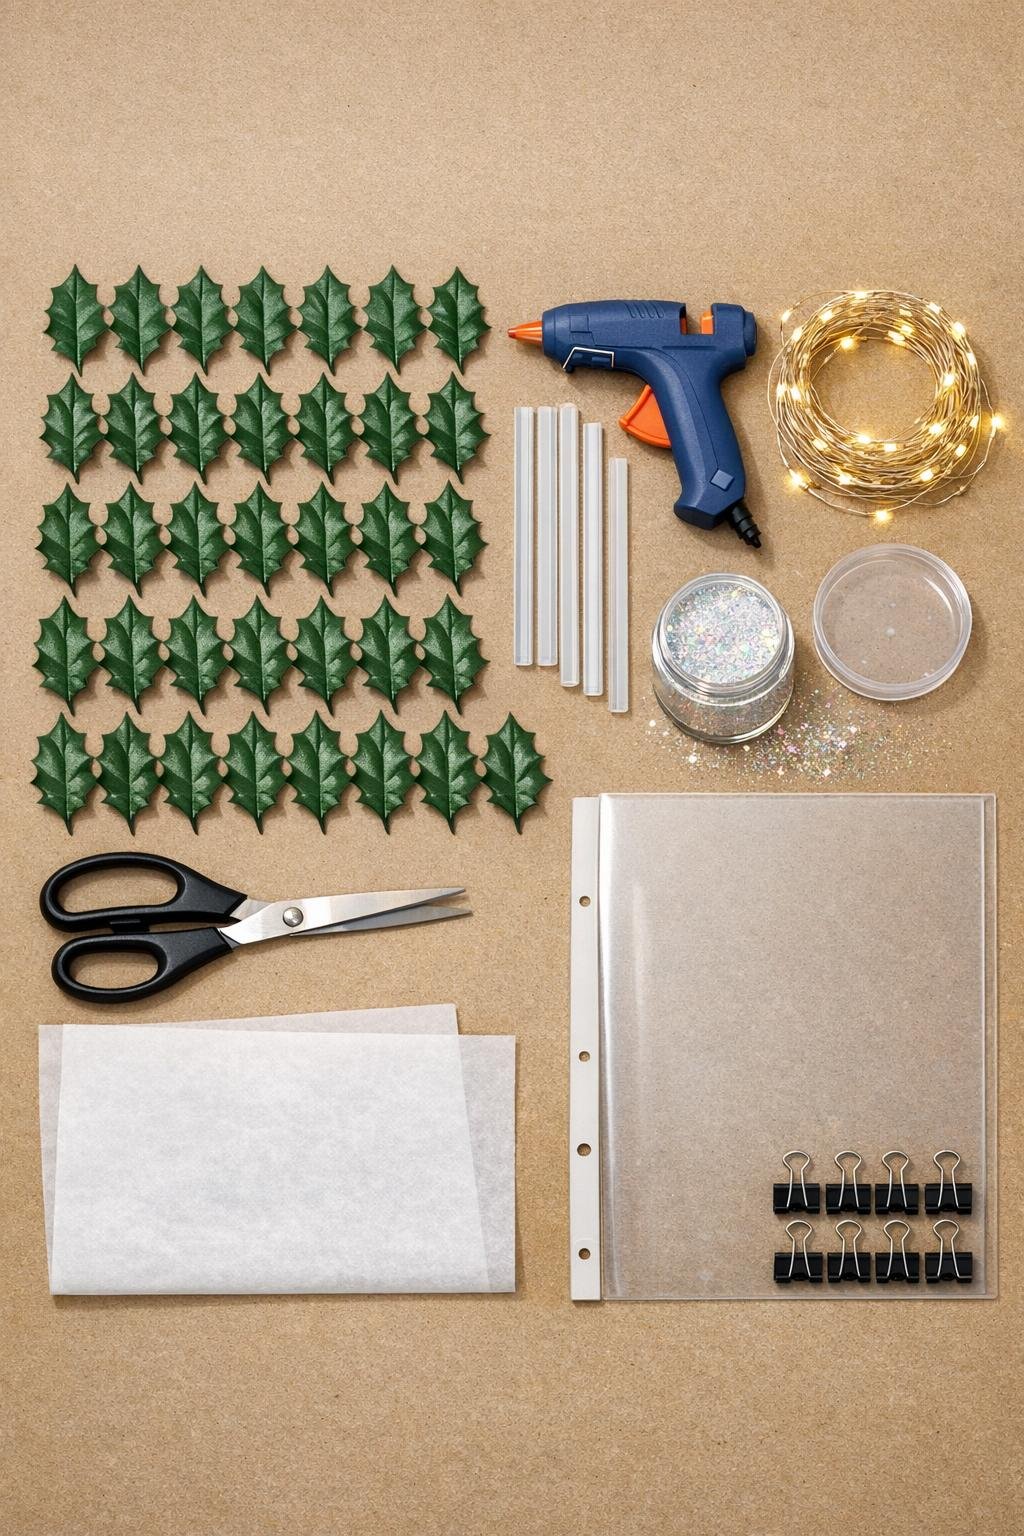
Materials
40 green silk holly leaves, each about 3 to 4 inches long
Instructions
1. Lay the silk holly leaves face down on parchment paper, spreading all 40 leaves out so they’re easy to reach and the back vein lines are visible.
2. Heat the glue gun fully, then trace the center vein and each side vein on the back of every leaf with clear hot glue, adding a thin outline around the leaf edge for structure.
3. While the glue is still warm on every few leaves, sprinkle a light pinch of iridescent glitter over the glue lines so the sparkle bonds directly into the clear surface.
4. Let the leaves cool completely for 5 to 7 minutes, then gently peel away any stray glue threads and check that each leaf feels slightly stiff but still flexible.
5. Roll the clear plastic report cover into a tall cone about 10 inches high with a 4-inch-wide base, then clip the overlap in place and secure the seam with a line of hot glue.
6. Trim the cone base if needed so it sits flat, and leave a small opening at the back seam near the bottom where the fairy light battery pack can rest discreetly.
7. Tuck the fairy lights inside the cone, spacing the bulbs evenly from top to bottom and securing a few points with tiny dots of hot glue so the strand doesn’t slump.
8. Starting at the bottom edge, glue the first ring of holly leaves around the cone with the pointed ends angled slightly upward and each leaf overlapping the next by about half an inch.
9. Build the second and third rows upward in a staggered pattern, covering the gaps between the leaves below so the cone quickly looks full and scaled like branches.
10. Continue layering leaves up the cone, using the fuller and wider leaves in the lower half and the narrower ones near the top to keep the tree shape balanced and natural.
11. At the top, glue 3 to 5 leaves tightly together around the cone tip, pinching them inward slightly so the top looks finished and softly pointed instead of blunt.
12. Turn on the fairy lights and check for dark spots, then lift or shift any leaf edges with tiny dots of glue so the light glows evenly through the clear glue detailing.
13. Add a final dusting of glitter to any areas that need more shimmer, and glue on a simple ribbon at the base or near the top if you want a small finishing accent.
14. Let the entire piece rest for 10 minutes, then place the battery pack behind the tree or just inside the back opening so the front view stays clean and luminous.
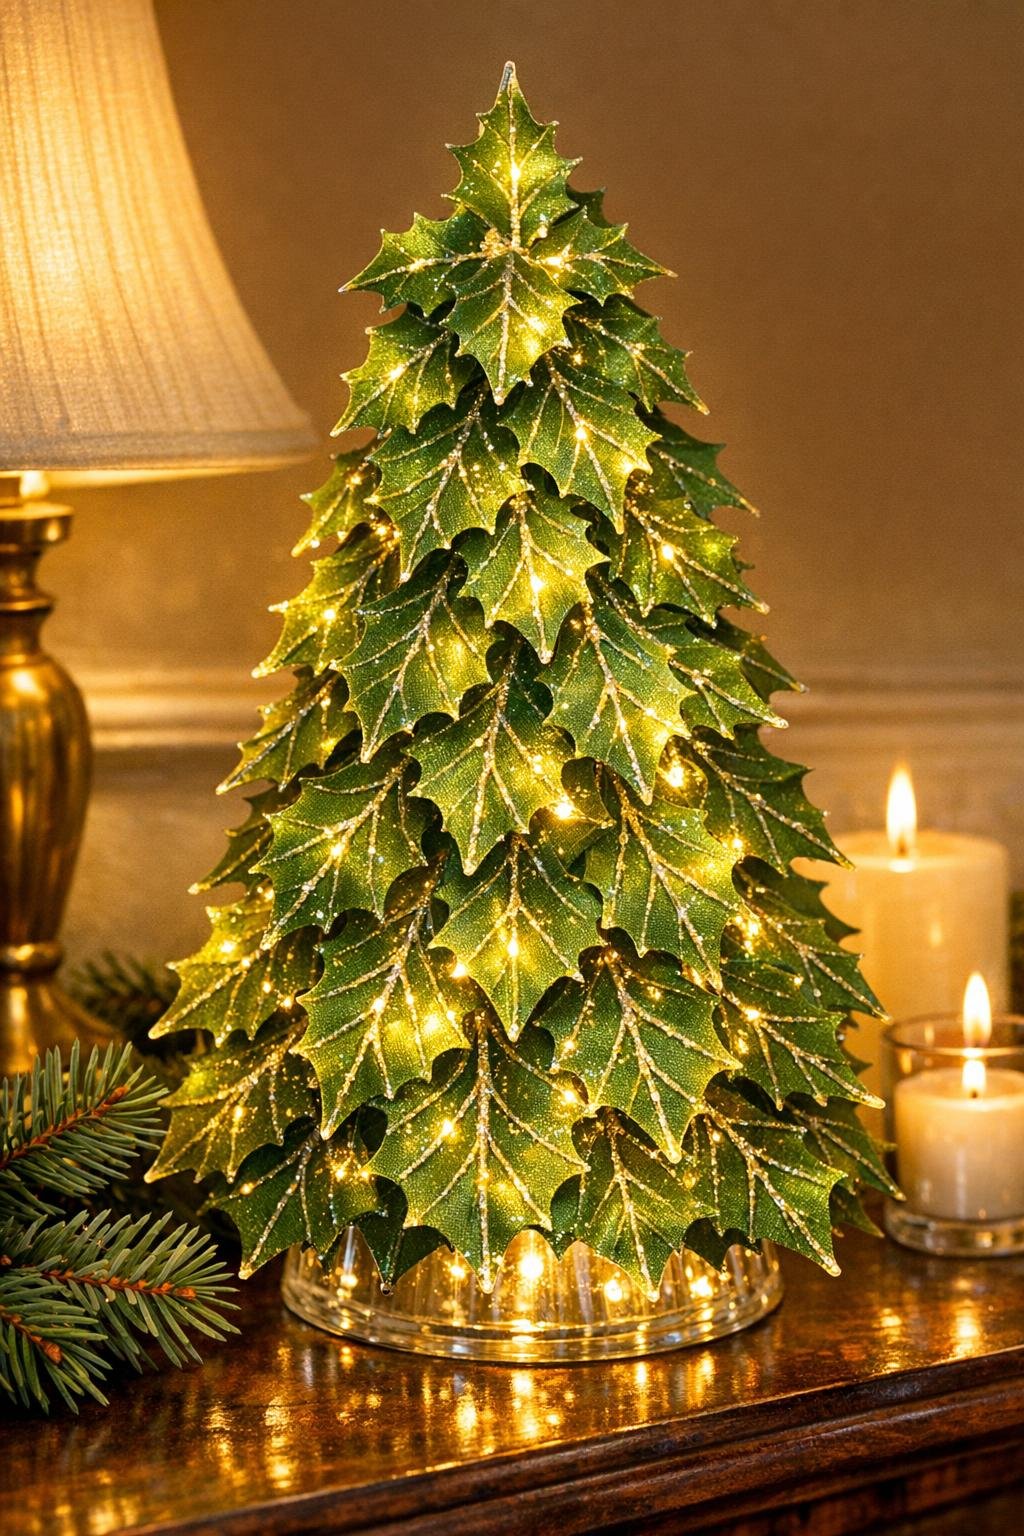
Variations & Tips
For extra sparkle: Mix fine silver glitter with the iridescent glitter and use it only on the outer leaf edges, which gives the finished piece a frostier look without making it cloudy.
If your leaves are flimsy: Add a second thin line of hot glue down the center vein after the first line cools; I’ve done this with cheaper silk stems, and it makes the leaves hold their shape much better.
For a fuller tree: Use up to 50 leaves and make the bottom two rows especially dense, because generous coverage at the base is what makes the whole silhouette look finished and dramatic.
Light placement tip: Warm white lights give the prettiest glow through clear glue, while cool white can read a little harsh on green leaves unless you want an icy look.
Safer glue workflow: I like to work in batches of 5 leaves at a time so the glue stays neat and I don’t rush the glitter step while everything is still hot.
Display idea: This looks especially good grouped with different heights, so if you enjoy the first one, make a shorter version from a smaller cone and display the pair together.