
Every fall, I end up with the same pile in the garden: dry stems, floppy annuals, spent vines, and all those scratchy bits that are too bulky for the compost as-is but too useful to throw away. This simple shredder funnel turns a few old shed staples into a big-mouthed garden helper that corrals debris and guides it down into a bin or bag so you can chop it into smaller pieces without chasing stems all over the yard.
What I love most about this project is that it uses the tomato cages exactly the way they already want to behave: nested, wide at the top, narrow at the bottom, and sturdy enough for rough garden work. If you’ve got a few rusty cages, some wire, and a garden bag or bucket setup, this is an easy afternoon fix that makes cleanup so much tidier, especially for home gardeners who like practical solutions over fancy equipment.
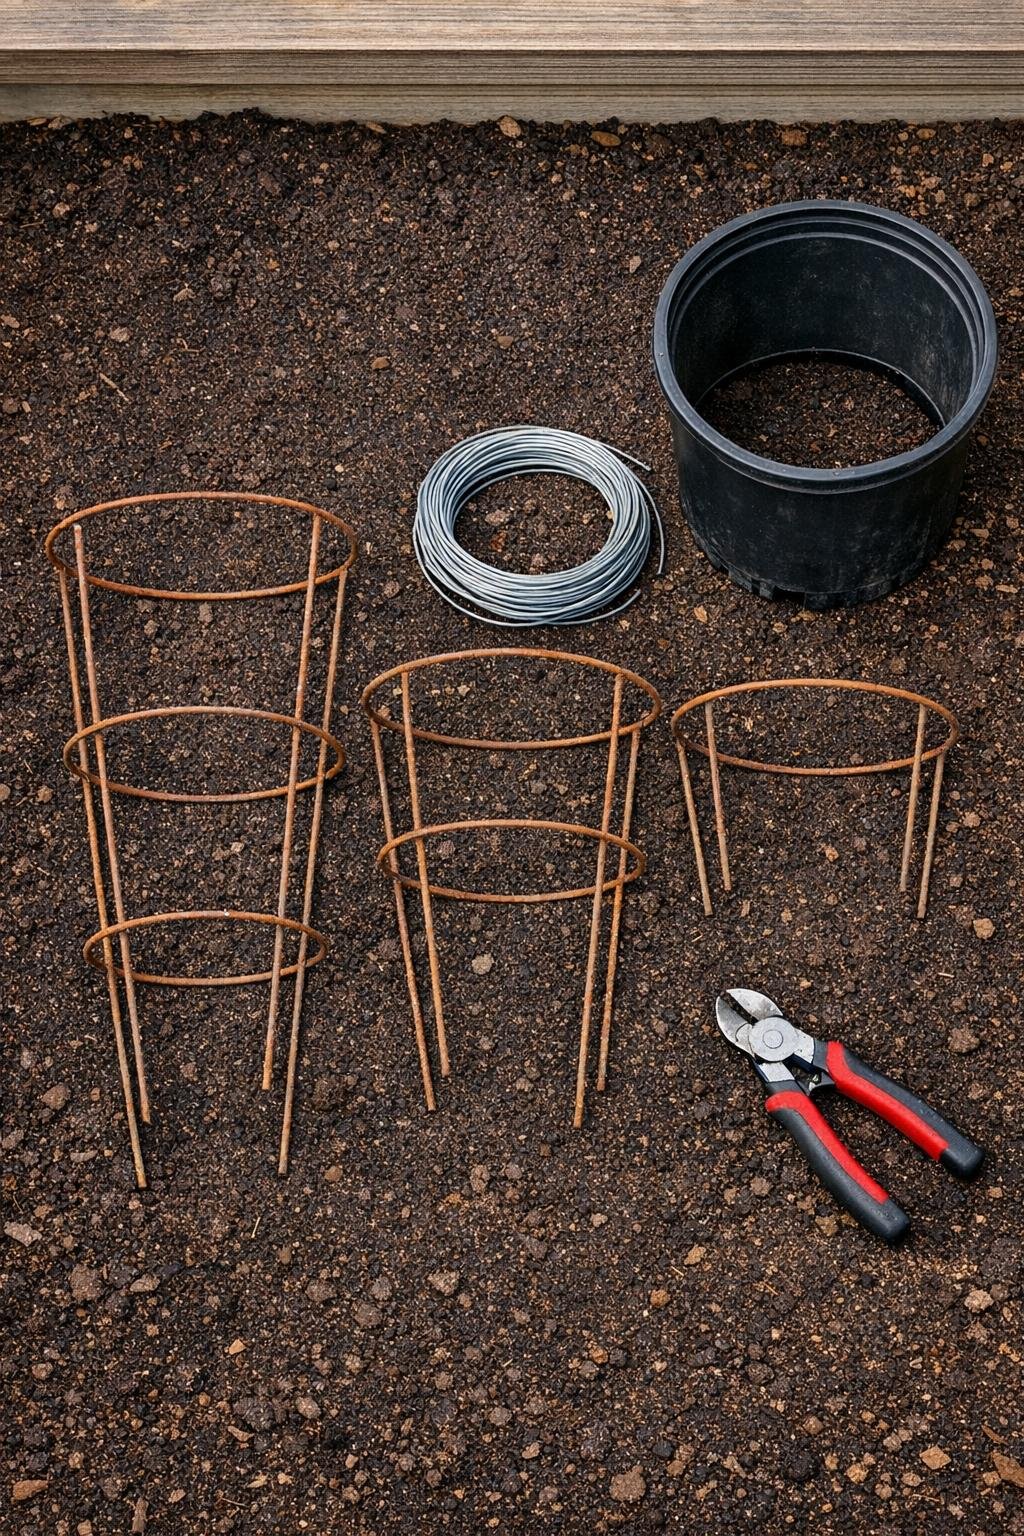
Materials
3 old metal tomato cages, standard 42-inch size, rusty or plain galvanized
Instructions
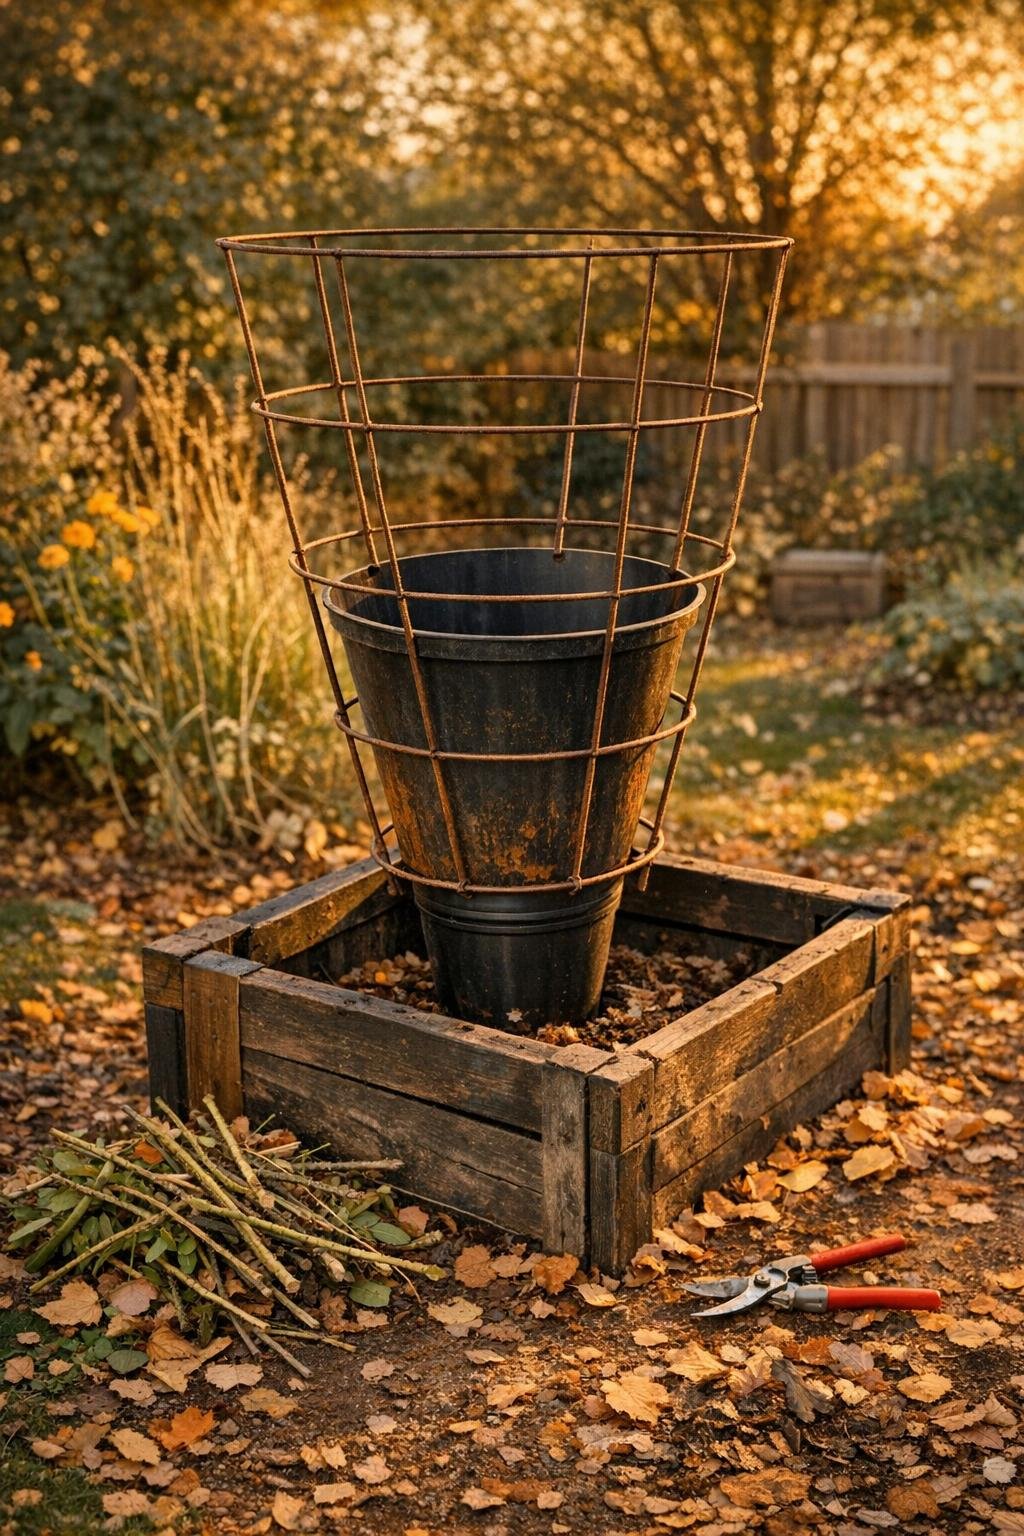
1. Flip the three tomato cages so the wide rings are at the top and nest them inside each other, matching the tapered shape so they form one extra-sturdy funnel body.
2. Rotate the cages until the vertical wires are staggered rather than lined up directly on top of each other; this gives you denser support so stems and vines do not poke through as easily.
3. Cut six 24-inch lengths of galvanized wire and use them to tie the cages together at the top ring, middle section, and lower section, spacing the ties evenly around the funnel.
4. Twist each wire tie tightly with pliers or by hand, then bend the sharp ends inward so nothing catches your gloves or sleeves while you work.
5. Take the large nursery pot with the bottom removed and slide it up into the narrow end of the stacked cages so it acts like a smooth chute inside the lower opening.
6. Wire the nursery pot to the cage frame in three places so it cannot wiggle loose, keeping the pot rim snug against the inner wires.
7. Set the finished funnel upright over a yard-waste bag, compost bin, wheelbarrow, or tall bucket, and check that the narrow chute drops neatly inside without tipping.
8. Feed in dry stems, brittle annuals, and soft prunings a handful at a time, then chop down through the funnel with pruners or loppers so the pieces fall directly into the container below.
9. If you want an even cleaner drop, trim any sticking wire points at the bottom and slightly flare the nursery pot chute so chopped material slides through without snagging.
10. Store the shredder funnel hanging on a shed hook or standing in a corner, ready for fall cleanup, spring bed prep, and anytime you need to tame a mountain of garden clippings.
Variations & Tips
For lighter cleanup: If you mostly deal with soft flower stalks and annuals, two cages may be enough, but I really prefer three because the extra layer keeps the funnel from feeling flimsy once you start pressing material down.
For picky gardeners who hate snags: Line just the lower half with a bit of leftover hardware cloth or chicken wire if thin vines keep poking out. It makes the funnel feel more contained without changing the basic project.
Best material to shred: Dry and slightly brittle plant debris works the easiest. Fresh, juicy stems can still be cut in the funnel, but they are slower and may cling to the sides.
Container options: I like this over a compost bin best, but it also works nicely over a paper yard-waste bag tucked into a crate, which keeps the bag from collapsing while you fill it.
Make it more comfortable: If the top rim feels scratchy, wrap the upper ring with leftover hose, foam pipe insulation, or even strips of old garden fabric tied in place for a hand-friendlier edge.
Storage tip: Hang the funnel from one of the upper rings in the shed so it stays dry and off the floor. Mine earns its keep all year, but it really shines when the garden starts looking tired and I need quick cleanup before supper.