
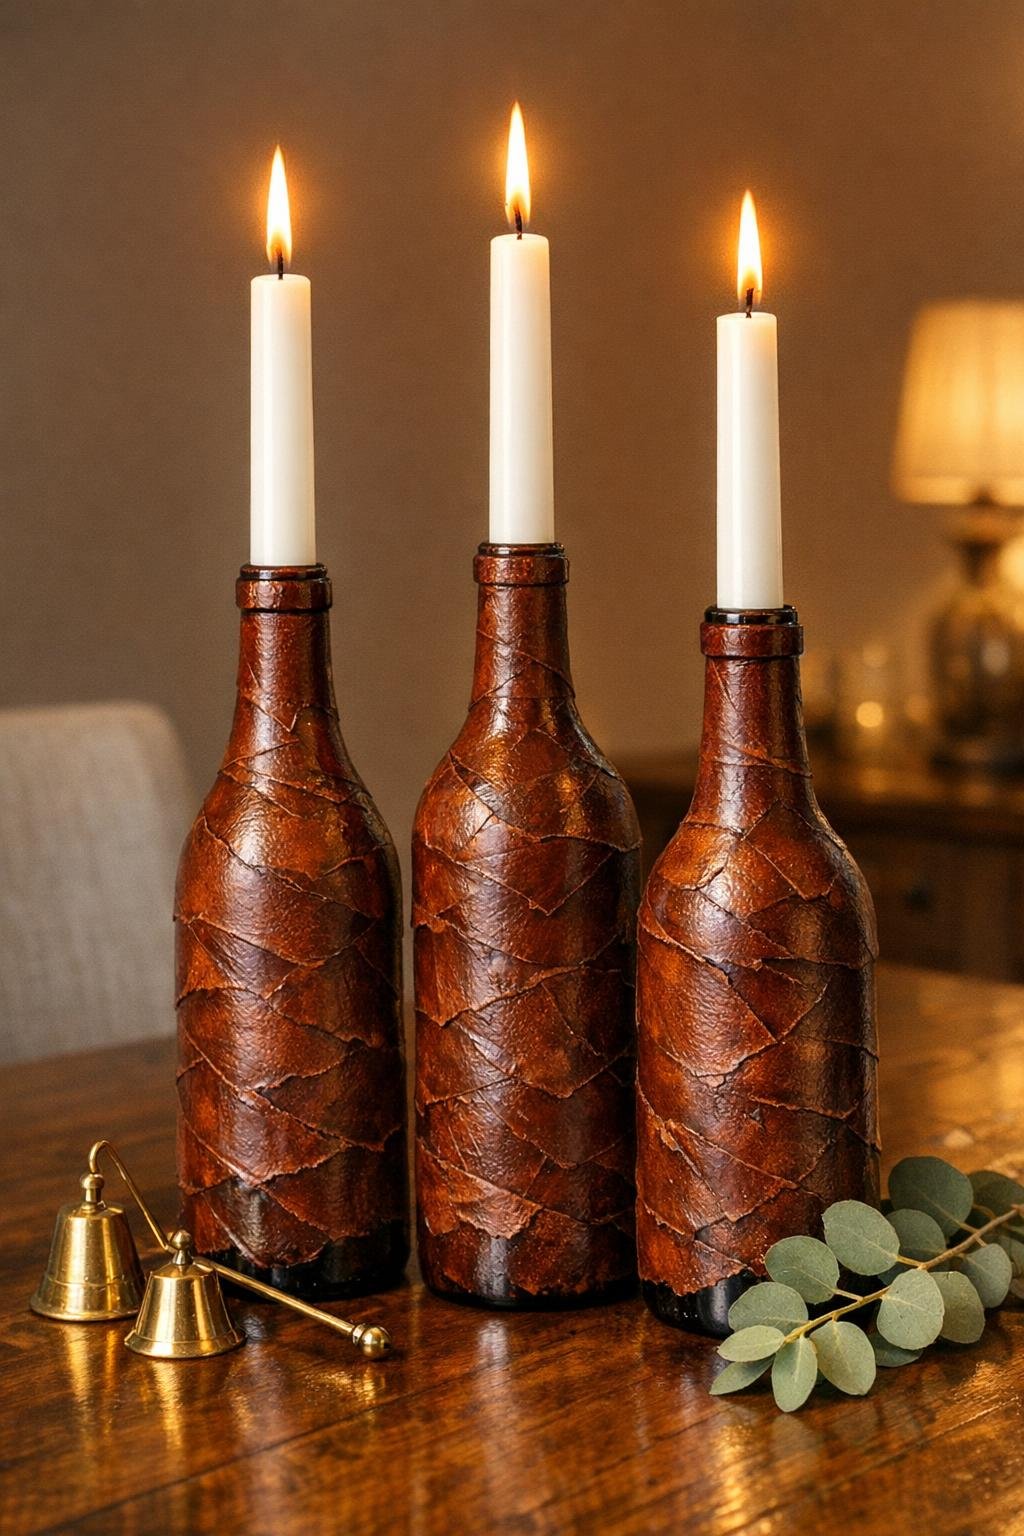
I love a project that looks a little bit artsy, a little bit expensive, and still fits into a real weeknight. This one starts with plain empty wine bottles and a couple of rolls of masking tape, and the transformation is wildly satisfying. The torn tape gives the surface a rich, irregular texture, and the brown finish settles into all those little edges in a way that feels warm and collected instead of crafty.
If you like easy projects with a big visual payoff, this is absolutely your speed. I’d make these for a mantel, dining table, or fall sideboard, especially when I want something moody and polished without hauling out a million supplies or committing an entire Saturday.
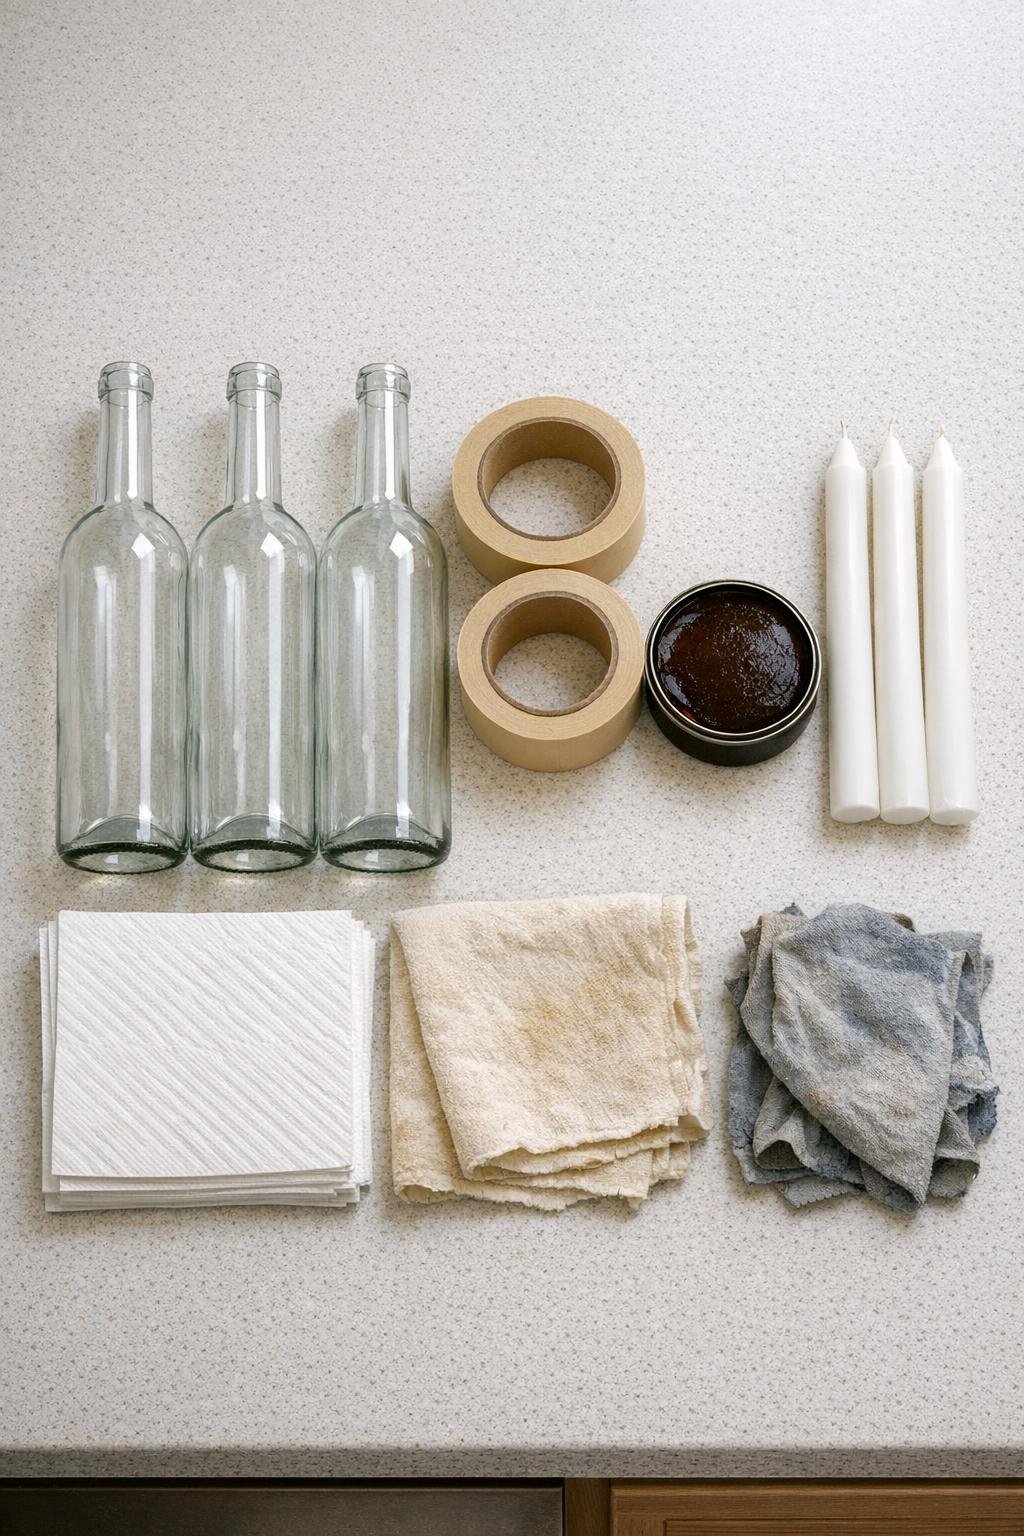
Materials
3 empty wine bottles, standard 750 ml size, washed and fully dried with labels soaked off
Instructions
1. Wash the bottles well, remove all label residue, and let them dry completely so the tape sticks flat and clean.
2. Tear the masking tape into uneven pieces about 1 to 3 inches long; mixing short and long pieces gives the bottle a more natural, layered texture.
3. Press the first torn pieces onto one bottle, slightly overlapping the edges and wrapping them in different directions until the bottle starts to look patchworked instead of striped.
4. Keep covering the bottle from just above the base to the neck, smoothing each piece firmly with your fingers and leaving no large bare gaps unless you want glass peeking through.
5. Add an extra layer of tape around the shoulder and lower body of the bottle, where the curve changes, so the finished surface looks full and richly textured instead of thin.
6. Repeat the same torn-and-overlapped tape treatment on the other two bottles, varying the placement slightly so the set looks collected and handmade.
7. Use the old soft cloth to rub brown shoe polish or dark brown stain over the taped surface of the first bottle, working it into all the seams and torn edges.
8. Wipe back the excess with paper towels, then buff lightly with the rag so the high spots catch a softer sheen while the deeper overlaps stay darker.
9. Finish the second and third bottles the same way, adjusting how much you wipe off so some bottles read a little deeper brown and some a little warmer tan.
10. Let the bottles dry until they no longer feel tacky, then give each one a final gentle buff with the clean rag to bring out that soft, worn look.
11. Insert one white taper candle into each bottle opening, twisting gently as needed so the candle sits straight and secure.
Variations & Tips
For a deeper aged finish: Apply the brown polish or stain in two light rounds instead of one heavy coat. I like letting the first layer dry a bit before adding the second so the color builds without turning muddy.
For more texture: Crumple a few tape pieces lightly before sticking them down. I wouldn’t do every piece this way, but mixing in a few wrinkled sections makes the surface look even more like worn leather.
If your tape lifts at the edges: Press it down again before adding the brown finish. In my experience, taking an extra minute here makes the final result look much more intentional and less like paper stuck on glass.
Color option: Dark brown is the most classic, but a chestnut or cognac-toned polish gives a lighter, warmer look that works really well in spring and early fall decor.
Candle fit tip: If a taper feels loose, warm the bottom of the candle slightly with your hands and press it in gently. If it feels too tight, shave a tiny bit off the base instead of forcing it.
Styling tip: These look best grouped as a set of three with varied heights from the candles, not spread out. I’d place them on a tray, runner, or mantel with just one or two simple accents so the texture stays the star.
Safety note: If you plan to light the candles, keep the bottles on a stable, heat-safe surface and never leave them unattended. Since this finish is decorative, I’m extra careful to keep flames well above the bottle opening and away from anything drapey nearby.