
This is one of those projects I tried on a busy weeknight because it looked almost too simple to be worth the counter space, and then I ended up making a full dozen because the transformation is that satisfying. You start with plain kitchen foil and a very basic shaping process, but with a little patience, those rough crumpled balls turn into something surprisingly polished and giftable.
I love crafts like this because they fit real life: no special tools, no paint drying overnight, and no supply run beyond what a lot of us already have in a drawer. If you want an easy holiday project, a last-minute tree filler, or something shiny to tuck into bowls and garlands, this one gives you a big payoff fast.
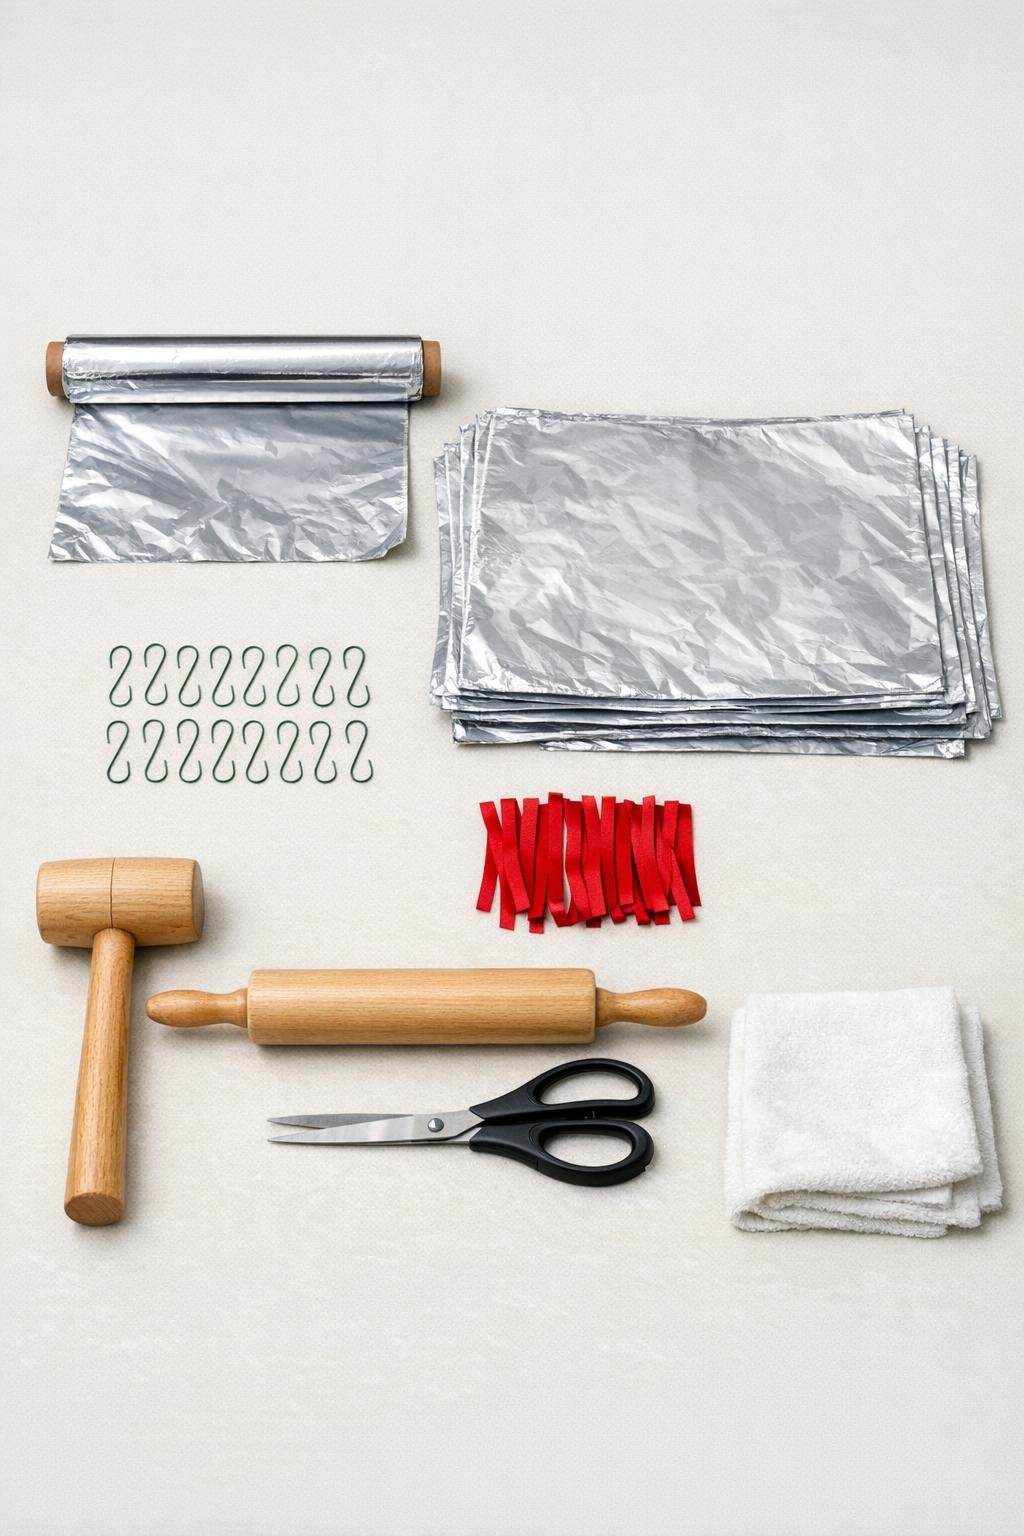
Materials
1 roll kitchen aluminum foil, cut into 12 sheets, each about 36 inches long
Instructions
1. Tear or cut 12 foil sheets, each about 36 inches long, and keep them separated so each ornament starts with the same amount of foil.
2. Crumple the first sheet loosely into a large rough ball, then squeeze it tighter with both hands until it holds its shape.
3. Roll the rough ball firmly between your palms for 20 to 30 seconds to round it out, then press in any big points or folds with your thumbs.
4. Set the ball on the table and tap it all over with the wooden mallet, or gently roll over it with the rolling pin, rotating often so it becomes denser and more evenly spherical.
5. Keep alternating between hand-rolling and gentle tapping until the ball feels solid and the surface wrinkles become smaller and tighter; repeat with the remaining 11 sheets.
6. Polish each ball by rubbing it briskly with the soft cloth for 1 to 2 minutes, turning it continuously to bring out the brightest, smoothest finish possible.
7. If you are using ribbon, slide the scissors tip carefully through a shallow top crease to make a tiny opening, thread the ribbon through, and knot it into a hanging loop.
8. If you are using ornament hooks, tuck the hook securely into a tight fold at the top of each ball and pinch the foil around it so it stays in place.
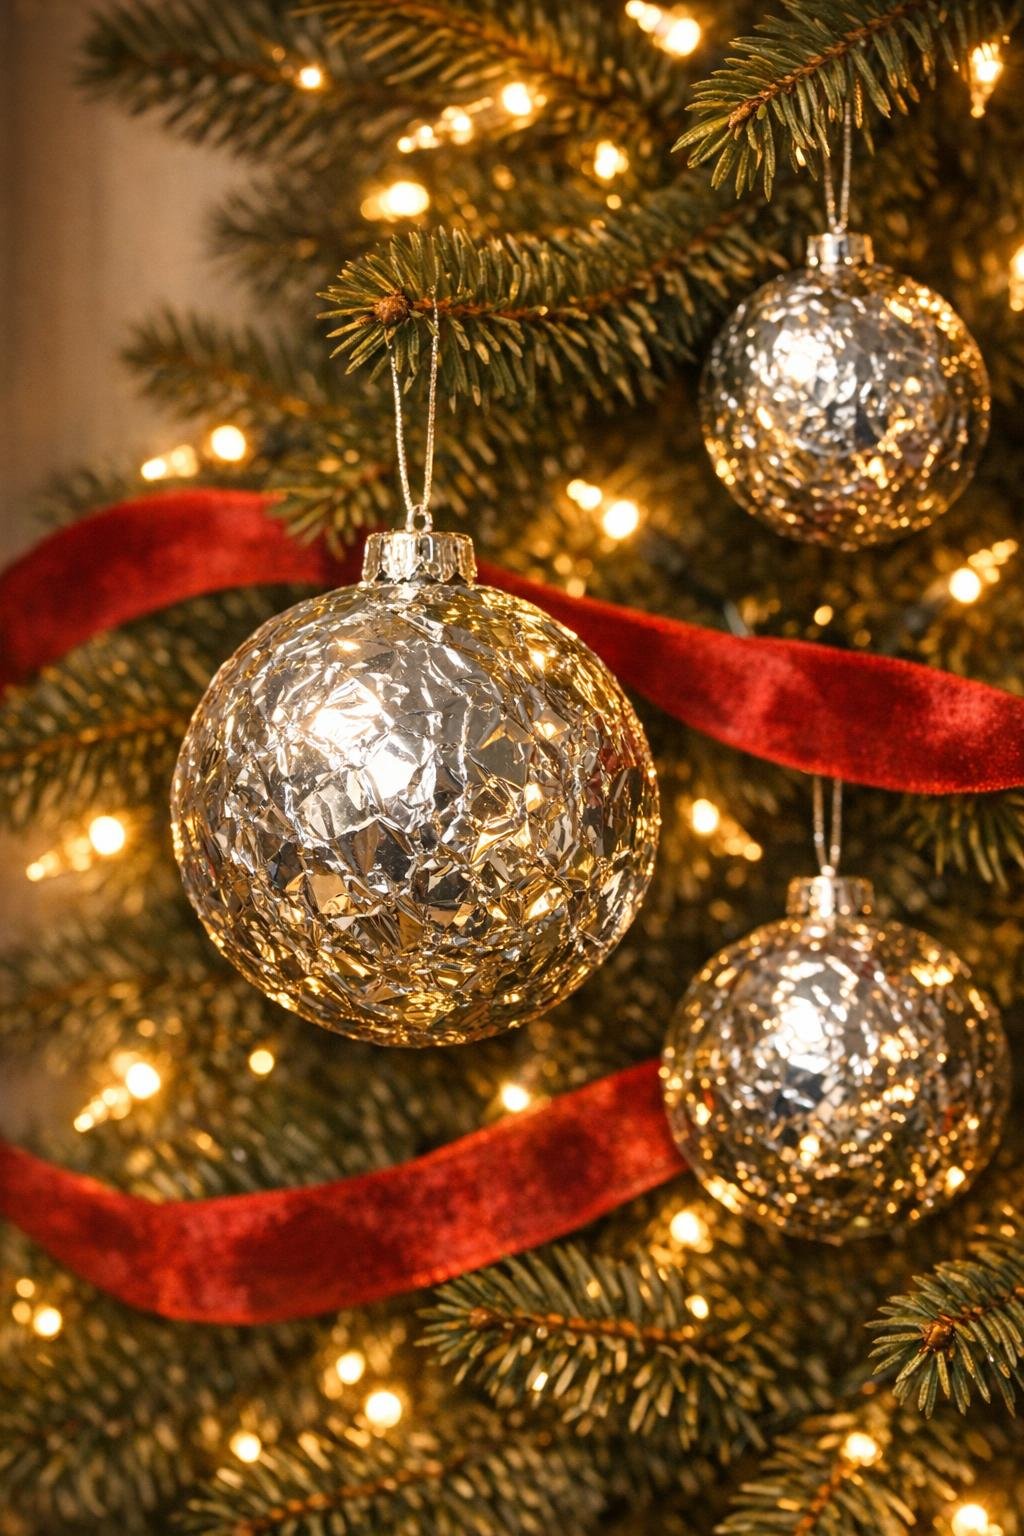
9. Give every ornament one last hand-roll and quick cloth buff, then hang them on the tree or cluster them together so the light catches all that shine.
Variations & Tips
For a fuller look: Make the balls slightly different sizes by compacting some a little less and some a little more; that mixed cluster looks especially pretty on a tree and feels more collected over time.
For ribbon hangers: Thin red ribbon gives a classic holiday look, but narrow velvet ribbon or metallic thread also works well if you want something a little dressier.
For the best shine: The more evenly you compact the foil before polishing, the better the final finish will look. I’ve found that rushing the shaping step leaves deep creases that never quite buff out.
To keep them round: Use gentle taps instead of hard hits with the mallet. You want to densify the foil, not flatten it.
For bowl filler or garland use: Skip the hooks entirely and make a few extra polished balls to pile in a centerpiece bowl or tuck along a mantel garland with greenery and lights.
Make-ahead tip: These are easy to batch while watching a show, and I usually do the crumpling first, then the shaping, then the polishing assembly-line style so the dozen goes much faster.