
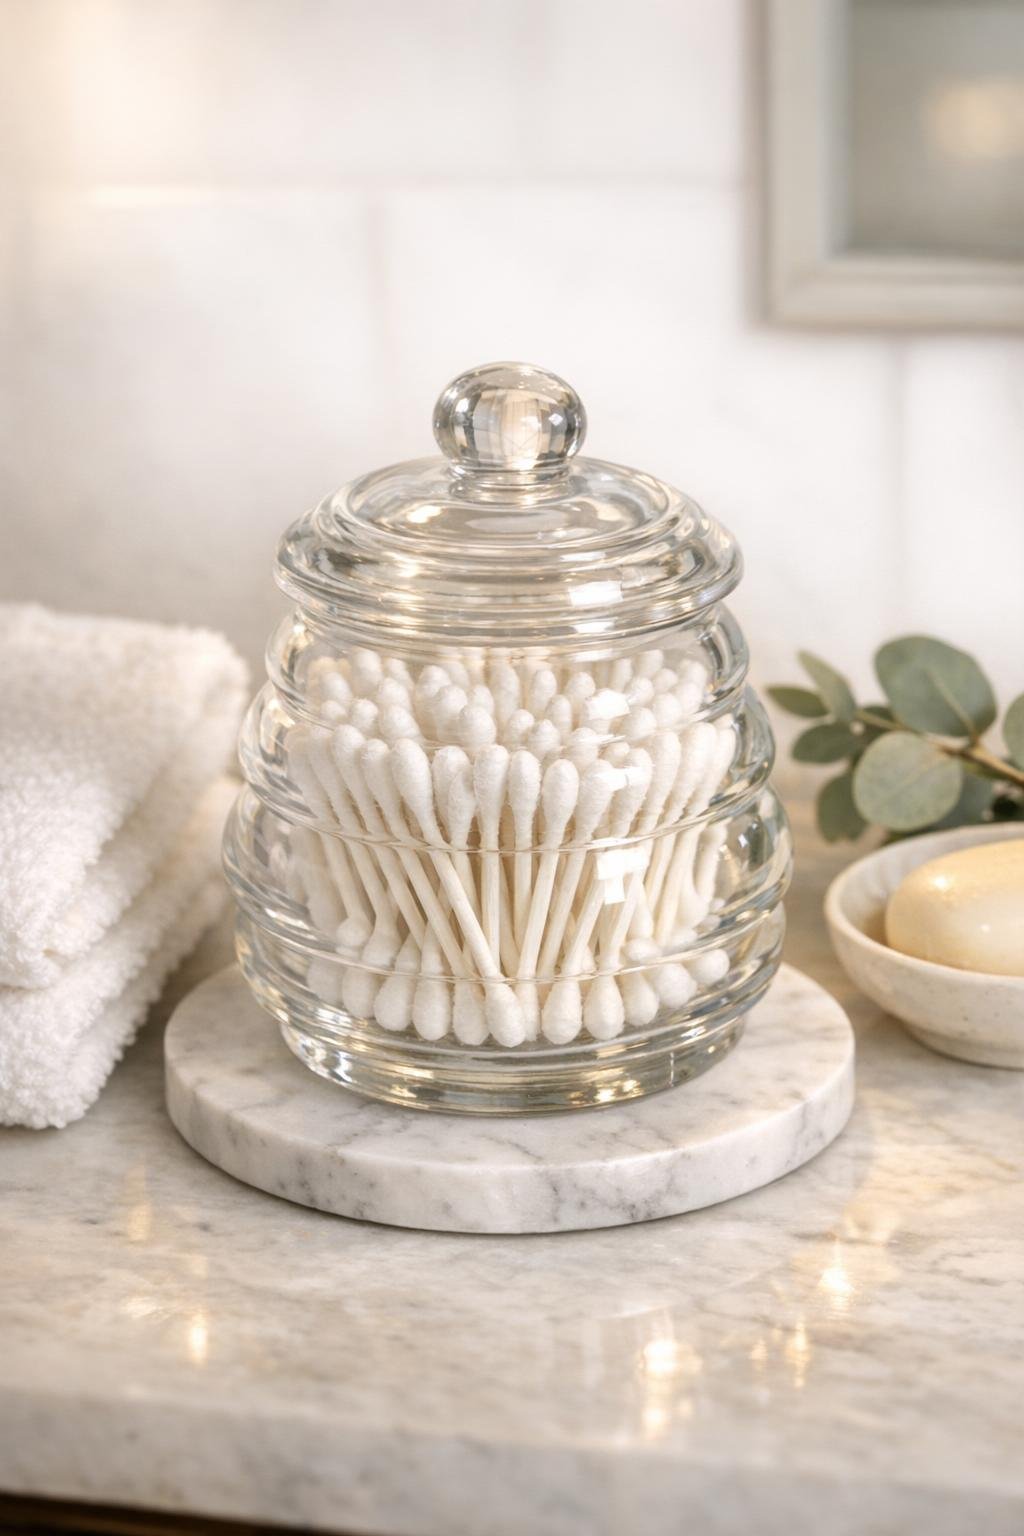
This little bathroom organizer is one of my favorite kinds of projects: fast, inexpensive, and surprisingly pretty once it’s sitting on the counter. By simply filling a small clear glass honey pot with cotton swabs and setting it on a round white marble coaster, you get a q-tip holder that feels tidy, polished, and a bit boutique without doing anything fussy.
I love projects like this because they make everyday spaces feel more cared for. If your bathroom counter tends to collect lots of practical little things, this is an easy way to keep cotton swabs handy while still looking intentional. It’s especially nice for guest bathrooms, powder rooms, or a primary bath where you want a soft, clean look.
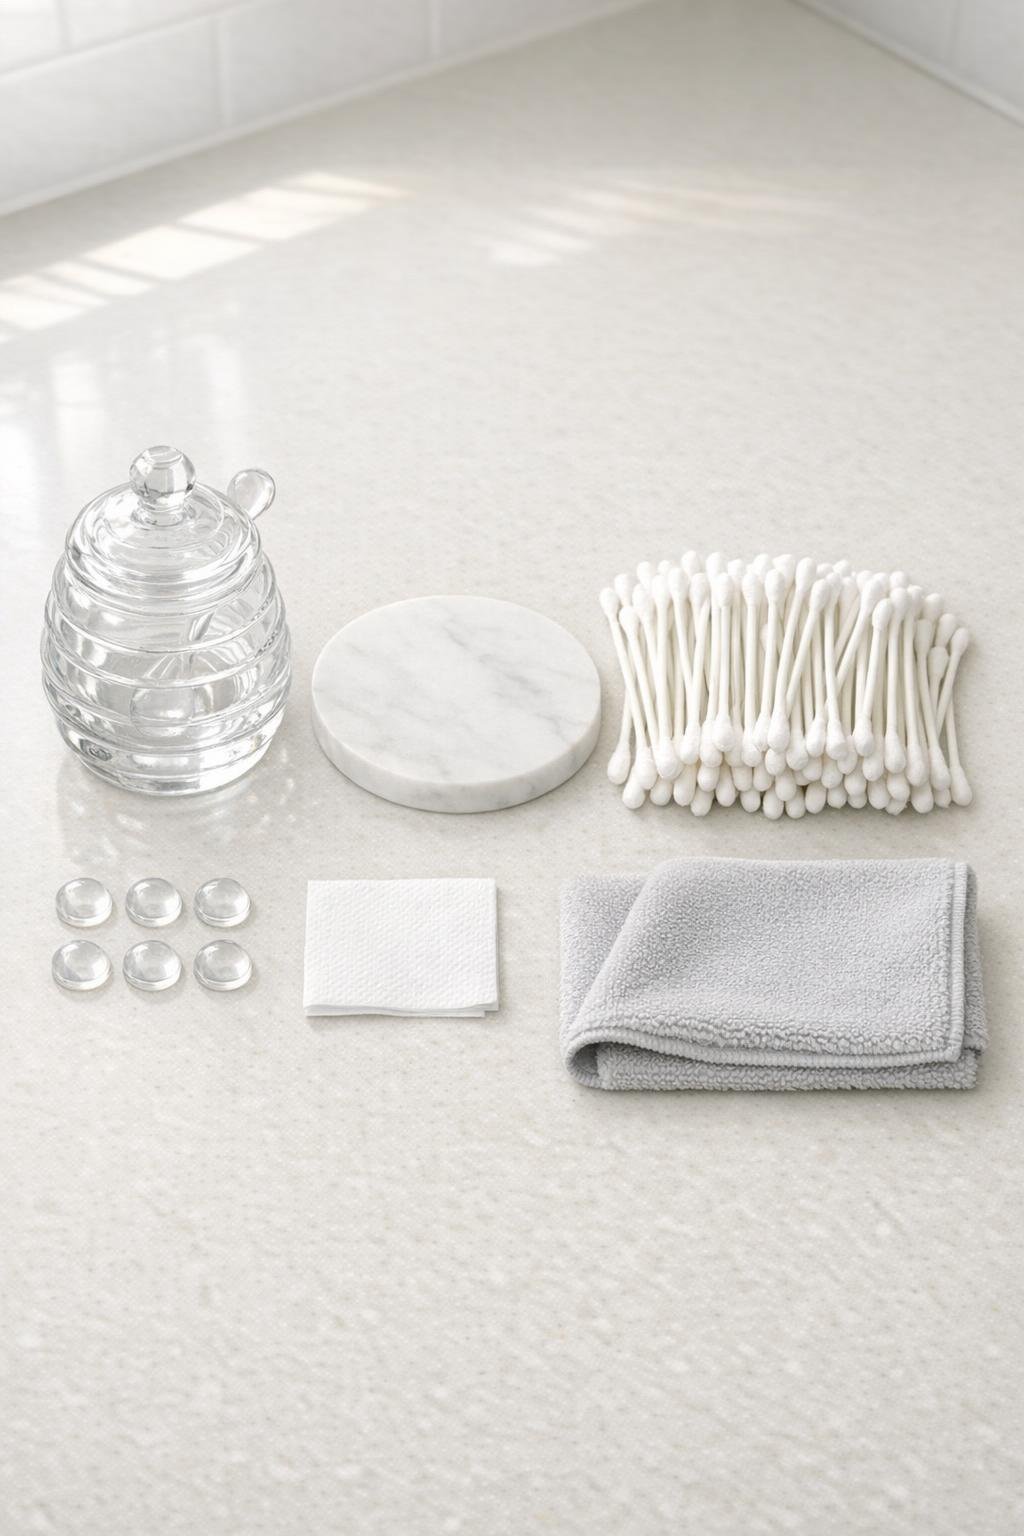
Materials
Instructions
1. Wash the glass honey pot and lid with warm soapy water, then dry them fully with the microfiber cloth so the glass looks clear and polished.
2. Wipe both sides of the marble coaster and the outside bottom of the honey pot with rubbing alcohol, then let them air-dry for a minute so everything is clean and dust-free.
3. Turn the marble coaster upside down and stick the 4 clear rubber bumpers near the outer edge, spacing them evenly so the coaster sits steady and won’t scratch the bathroom counter.
4. Stand the honey pot on the coaster and check the fit; if it slides easily, center it carefully so the finished holder looks balanced from every angle.
5. Open the honey pot and begin filling it with cotton swabs, placing the first handful upright around the outer edge to create a neat ring against the glass.
6. Add more cotton swabs to the center until the pot is full, lightly adjusting them with your fingers so they sit snugly and look full rather than jumbled.
7. Place the lid on top, leaving it fully closed for a clean look or slightly tilted if you want guests to grab a swab more easily.
8. Set the finished holder on your bathroom counter, shelf, or vanity tray, and give the glass one last buff with the cloth so it sparkles.
Variations & Tips
For guest bathrooms: I like to keep the lid slightly tipped or set just behind the pot so visitors know right away that the swabs are there to use.
For a fuller look: Use enough cotton swabs to fill the pot right to the shoulder of the glass; that generous fill is what makes it look styled instead of half-finished.
For easy cleaning: Wipe the outside of the honey pot and coaster once a week when you clean the sink so dust and toothpaste mist don’t dull the shine.
If your counter is busy: Set the coaster and honey pot on a small tray with a candle or hand lotion to create a tidy little bathroom station without taking up much more room.
For picky family members: In my house, anything too precious gets ignored, so I keep this practical and sturdy; if your crew is the same, choose a thicker glass pot and skip anything overly delicate.
To match your decor: Pair the white marble coaster with black, brass, or chrome bathroom accents, or swap in a light stone coaster if your bathroom has warmer beige tones.