
I love a kitchen project that takes about the same amount of effort as organizing a drawer but makes the counter look instantly more pulled together. This little olive oil dispenser stand does exactly that: you turn a small wooden napkin holder into a tidy holder for glass oil bottles by lining it with cork, so the bottles sit snugly, stay quieter when you set them down, and look like they belong there.
If you keep olive oil and vinegar or finishing oils near the stove like I do, this is an easy way to corral them without buying a specialty organizer. It’s especially good for busy cooks, small kitchens, or anyone who wants their everyday oils handy without the usual drips and clutter.
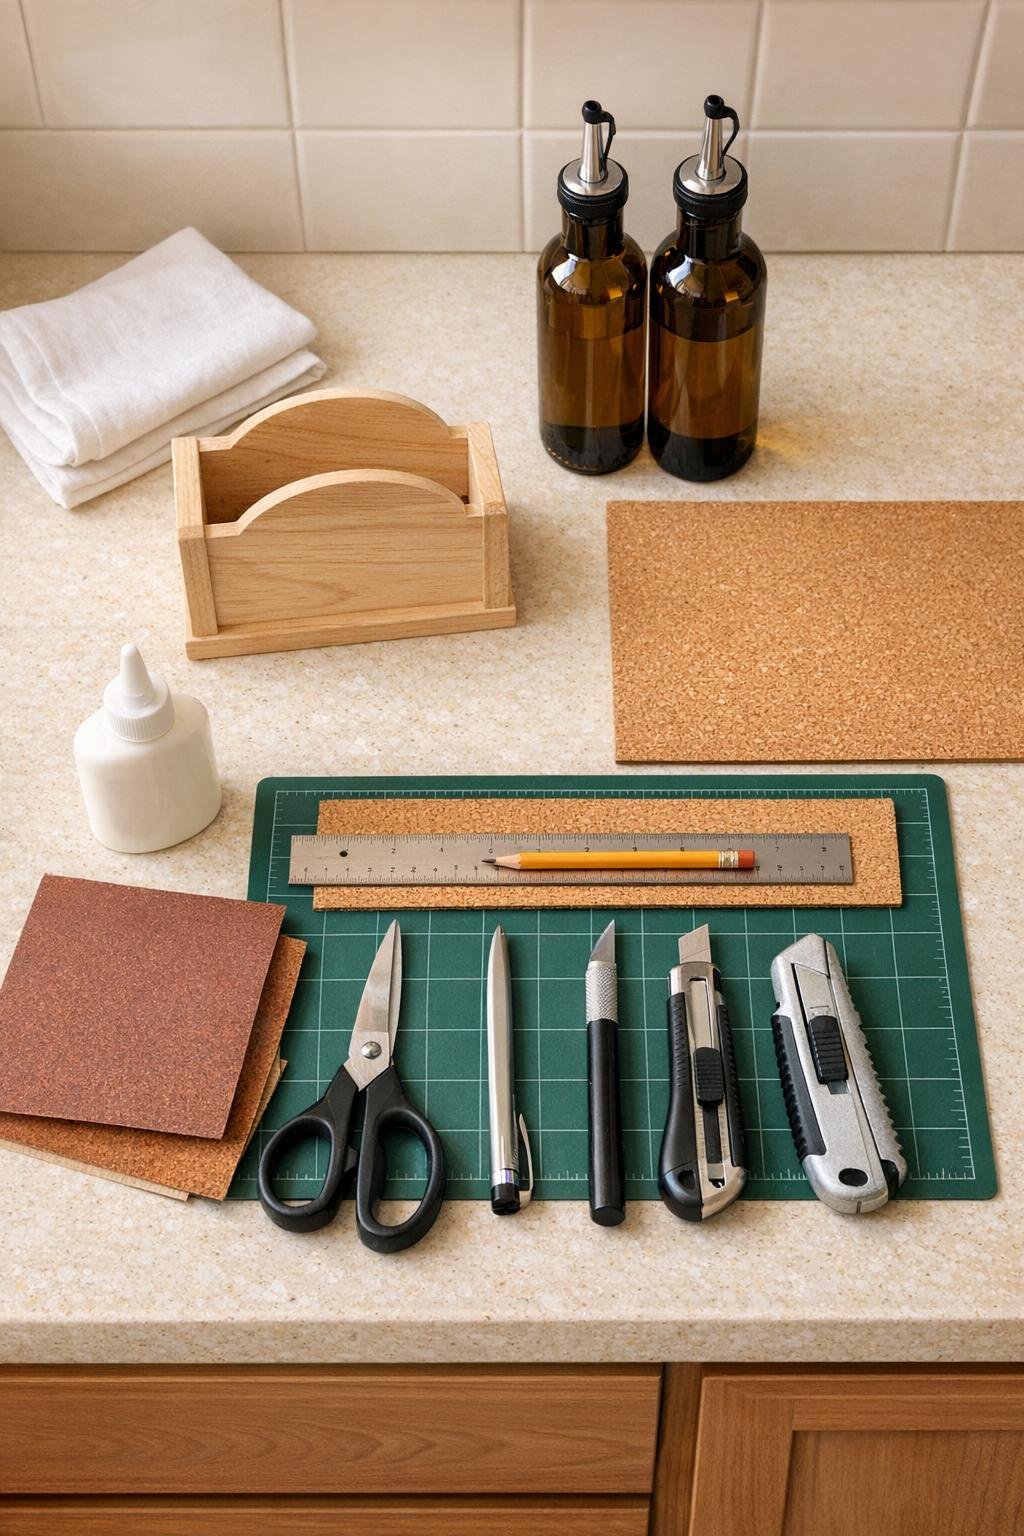
Materials
Instructions
1. Set the two glass bottles inside the wooden napkin holder to check the fit and decide the front-facing direction; the bottles should sit side by side with a little breathing room, not wedged tightly.
2. Wipe the napkin holder clean and lightly sand any rough edges, especially inside the base and along the side supports, then dust it off with a dry cloth.
3. Measure the inside bottom of the napkin holder and cut one cork rectangle to fit that base exactly.
4. Measure the lower inside portion of each side panel where the bottles may tap, then cut two matching cork pieces to line those areas; keep them low enough that the wood frame still shows and the napkin holder stays recognizable.
5. Dry-fit all three cork pieces inside the holder and trim as needed so the edges sit neat and flat without buckling.
6. Spread a thin, even layer of glue on the back of the bottom cork piece and press it into place; smooth from the center outward so there are no bubbles.
7. Glue the two side cork pieces in place and press firmly for 30 to 60 seconds each, then let the holder rest according to the glue directions until fully set.
8. If you want a more finished look, wipe on a light coat of food-safe wood finish or clear matte sealer on the outside only, avoiding the cork-lined interior, and let it dry completely.
9. Add felt pads to the underside of the holder if your countertop scratches easily or if you plan to slide the stand around near the stove.
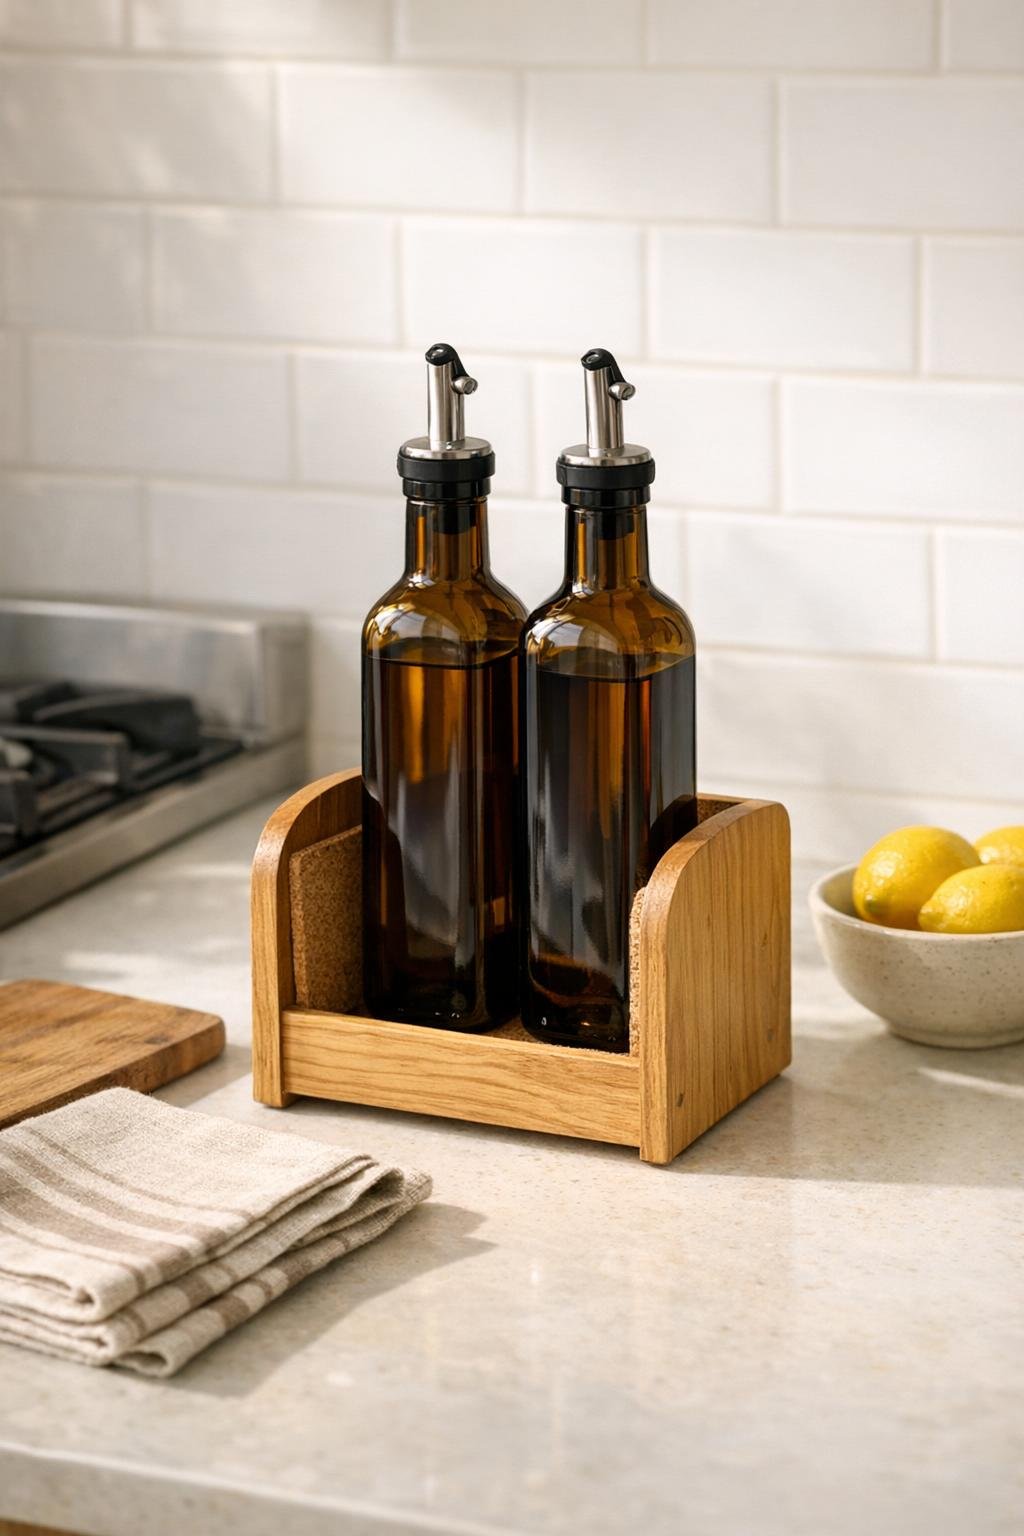
10. Place the amber glass oil bottles into the cork-lined holder and adjust their spacing so they sit centered, upright, and easy to grab by the neck.
Variations & Tips
Add a drip catcher: If your pour spouts tend to leave little rings of oil, cut the bottom cork piece 1/8 inch smaller on all sides and nest a thin wipeable liner underneath, then top it with the cork.
Use it for more than oil: I like this setup for olive oil and balsamic, but it also works nicely for avocado oil, chili oil, or even a salt-and-pepper bottle pair if the bottle sizes match.
Match your kitchen wood tones: If the napkin holder is unfinished, stain it before adding the cork so it coordinates with cutting boards, floating shelves, or cabinet accents.
Check bottle diameter first: This project is easiest when the two bottles are similar in width and the napkin holder is just slightly wider than both together; I always test the fit before gluing anything.
Keep the cork low-profile: Thin cork is the sweet spot here because it cushions the bottles without making the fit too tight, which is especially helpful in a busy weeknight cooking setup.
Make cleanup easier: Every few days, I lift the bottles out and give the cork a quick wipe with a barely damp cloth, then let it air dry before putting the bottles back.