
I love a project that turns the “save it just in case” box into something people genuinely stop and ask about. If you’ve got a handful of chipped teacups that are too pretty to throw away but not quite nice enough to serve dessert in anymore, this is exactly the kind of holiday craft that gives them a second life in a way that feels festive, charming, and a little bit magical.
This one is especially nice for anyone who wants a Christmas decoration with real personality without needing power tools or complicated skills. I’m always drawn to projects that look much fancier than they are to make, and this one does that beautifully with simple supplies, a generous amount of greenery, and just enough sparkle to make the whole piece feel special.
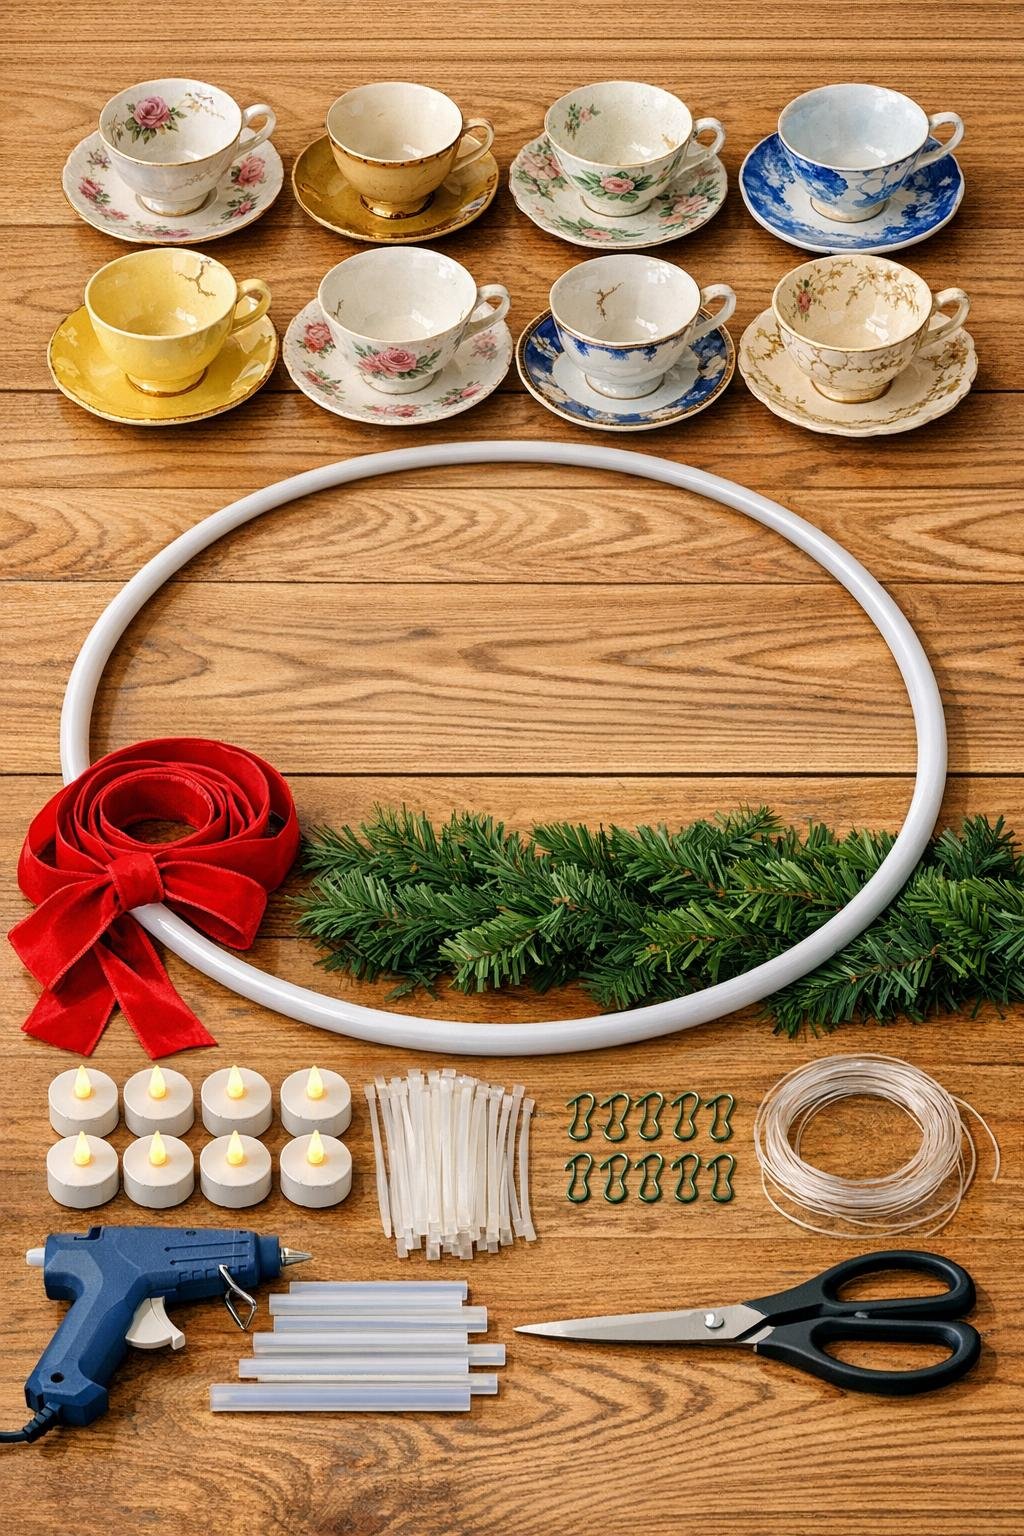
Materials
8 chipped teacups, standard 6- to 8-ounce size
Instructions
1. Wipe down the teacups, saucers, and hula hoop so dust and residue won’t get in the way of the glue, ribbon, or greenery. If any cup has a very sharp chip, turn that side to the back later or skip that cup for safety.
2. Wrap the entire hula hoop with the wide ribbon, overlapping slightly as you go, and secure the beginning and end with hot glue. This gives the hoop a finished holiday look and helps hide the plastic.
3. Cut three lengths of ribbon or fishing line, 36 inches each, and tie them evenly around the hoop to create hanging supports. Gather the top ends together and knot them securely, adjusting until the hoop hangs level.
4. Arrange the 8 teacups evenly around the hoop before attaching anything, spacing them about the same distance apart. I like to alternate handle directions slightly so it looks balanced and full from every angle.
5. Loop two zip ties through each cup handle and around the hoop, then tighten until each teacup sits snugly against the ring. Add a small dab of hot glue where the handle meets the ribbon-wrapped hoop if you want extra hold.
6. Hang or hook each saucer beneath its matching teacup using ornament hooks or short floral wire, threading through any foot ring or wrapping carefully so the saucer hangs just below the cup. Keep the drop short, around 2 to 4 inches, so the whole piece feels layered instead of droopy.
7. Weave the faux greenery garland all the way around the hoop, tucking it behind and between the teacups. Secure it every 6 to 8 inches with zip ties, then fluff the branches so the greenery fills the ring generously.
8. Nestle one battery tea light into each teacup, using a tiny dot of hot glue or a small loop of floral wire only if needed to keep it from tipping. Make sure the switch is still reachable so you can turn the lights on later without a struggle.
9. Tuck in the decorative berry, pinecone, or frosted picks around the hoop, concentrating a little extra detail near the ribbon hanger points to make the top look finished. If you’d like, tie 3 or 4 small bows from the narrow ribbon and glue them into open spots.
10. Trim all visible zip tie tails, then hang the piece and step back to check the balance. Rotate cups, fluff greenery, and adjust saucer heights until the chandelier looks full, even, and pretty from all sides.

Variations & Tips
For mismatched china: Mixed teacups can be even prettier than a matched set. I lean into it by keeping one common color in the ribbon or greenery so the whole piece still feels pulled together.
For picky holiday decorators: If your family likes Christmas decor a little less bold, use cream, gold, or soft green ribbon instead of bright red. You’ll still get the same cozy look, just a little quieter.
For extra sparkle: Add a strand of thin battery fairy lights through the greenery before the final fluffing. It makes the whole ring glow at night without taking away from the teacups.
For safer hanging: This project is best displayed where it won’t be bumped, like over a buffet, in a corner, or on a covered porch. I would not hang it where little heads or busy door swings can knock into the cups and saucers.
For stronger support: If your teacups are heavier than average, double the fishing line or ribbon hangers and use an extra zip tie on each handle. It only takes a few more minutes and gives wonderful peace of mind.
For a polished finish: Turn all cup chips toward the back or nestle those spots into the greenery. That’s my favorite little trick for making rescued pieces look intentionally charming instead of obviously damaged.
For storage: Remove the tea lights before packing and hang the chandelier from a closet rod or large hook to keep the shape intact. If you have room, slipping a big trash bag loosely over it helps keep the dust off until next year.