
I keep a bin of “too good to toss” holiday odds and ends in the garage, and old artificial tree branches always seem to end up in it. If you’ve got a tired fake tree with plenty of usable tips left, this is one of those projects that gives you a surprisingly high-impact result for very little money. The base is simple, the shaping is forgiving, and the finished piece looks far more custom than the supply list would suggest.
This is a great weekend project for anyone who wants big porch decor without buying something bulky and expensive. I especially love projects like this because I can do them in short bursts after work—clip a few branches, shape the frame, wire everything on, and it comes together fast. If you’ve never made outdoor holiday decor before, this is a very friendly place to start.
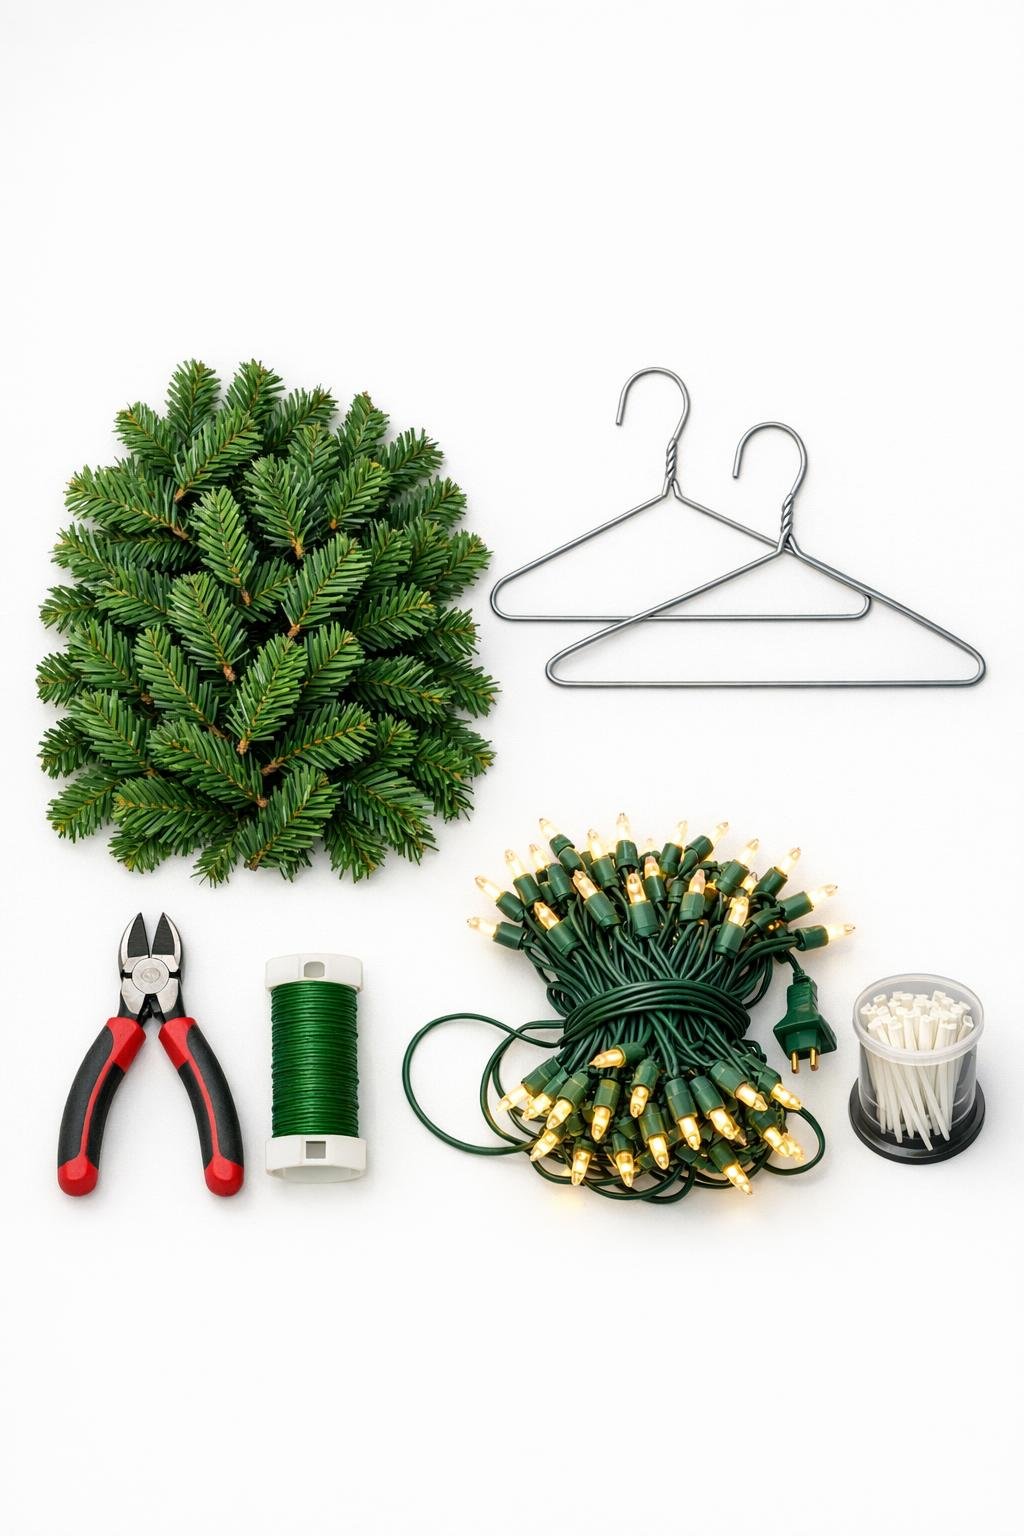
Materials
50 artificial evergreen branch tips clipped from an old fake Christmas tree, each 8 to 12 inches long
Instructions
1. Clip about 50 branch tips from the old fake tree, aiming for pieces that are full and flexible and between 8 and 12 inches long. Sort them into small, medium, and fuller pieces so assembly goes faster.
2. Use your hands and pliers to open and straighten both wire hangers, then bend them into long matching V shapes. Overlap the two V shapes in opposite directions to create a five-point star frame, twisting the wire together firmly at each intersection.
3. Reinforce every point and crossing with several tight wraps of floral wire so the frame holds its shape when lifted. Leave the hanger hooks or one twisted loop at the top to use as a built-in hanging point.
4. Fluff the branch tips by spreading out the needles and bending the little side stems outward. This quick step makes the finished piece look fuller and helps you get dense coverage from the 50 tips.
5. Start at the top point of the frame and wire on the first branch tip, lining up its stem along the metal and wrapping the stem tightly with floral wire 4 to 5 times. Keep the greenery pointing outward past the frame so the shape stays crisp but lush.
6. Continue attaching tips along each arm of the star, slightly overlapping each new stem over the last one by 2 to 3 inches. Alternate smaller and fuller pieces so the coverage looks even and the metal frame disappears.
7. Fill the remaining arms the same way, then add extra tips into any thin spots by wiring them directly across the center and inner angles. Use about 10 to 12 tips per side area overall so the star reads full from the curb, not skimpy up close.
8. Step back and adjust the outline by bending the wired-on branches to sharpen each point and define the inward angles. If a section droops, secure that stem with an extra wrap of floral wire or a small green zip tie tucked underneath.
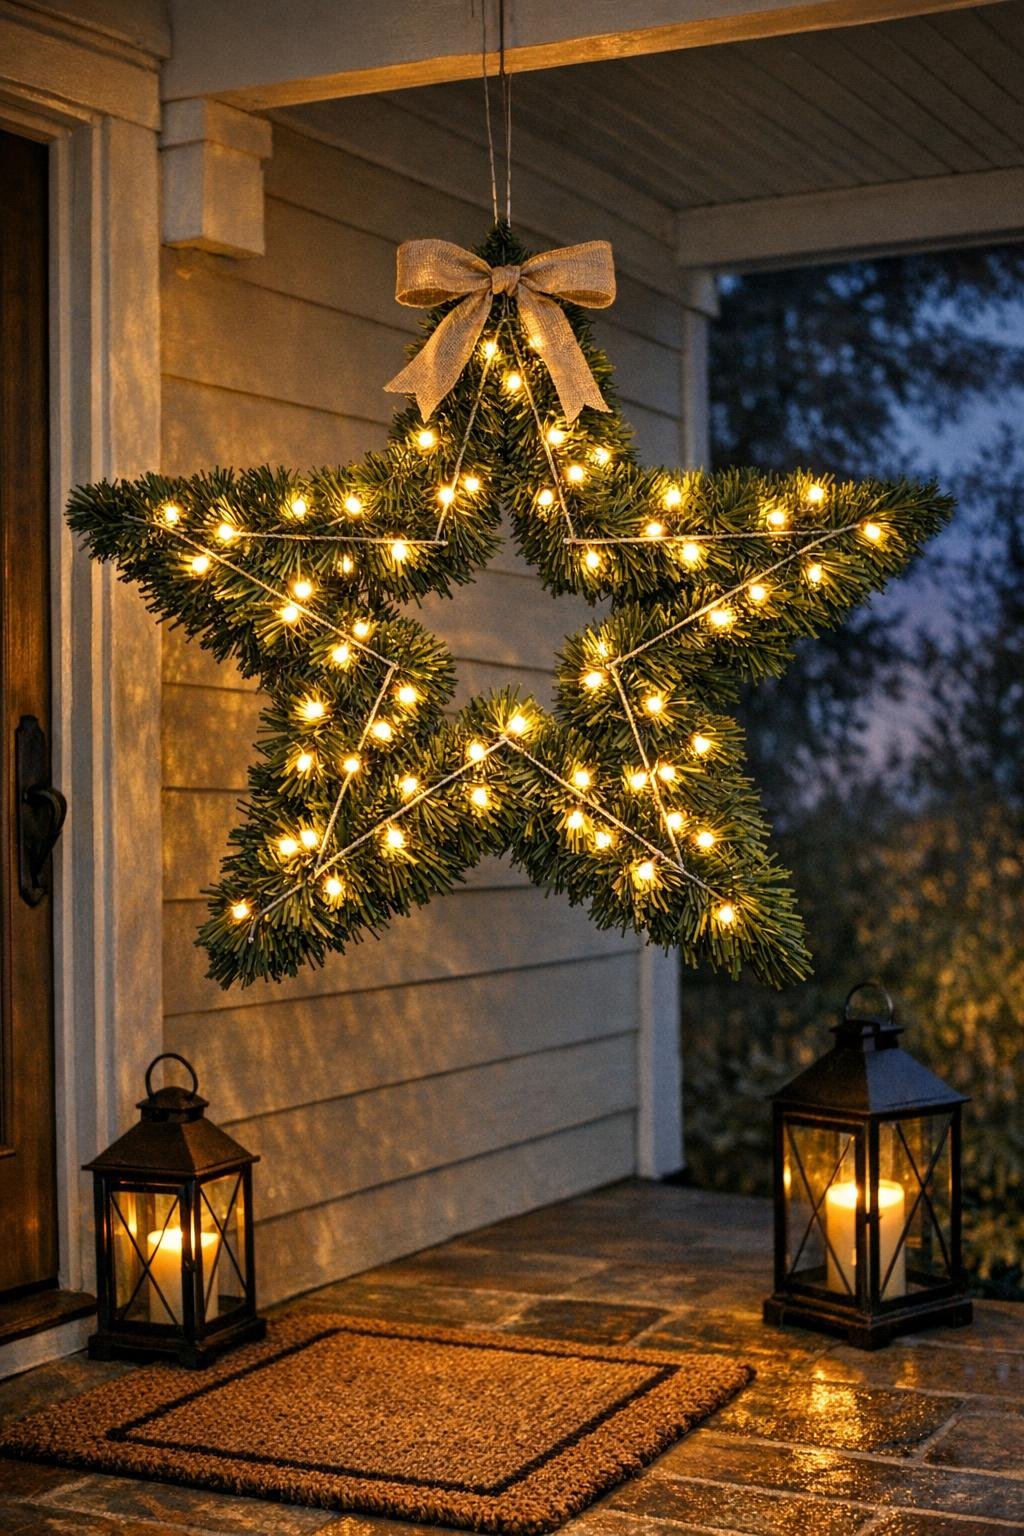
9. Wrap the string of lights around the star, starting near the hanging point and spacing the bulbs evenly along each arm and around the center. Tuck the wire deep into the greenery and leave the plug or battery pack at the back near the top for easy access.
10. Tie on a simple ribbon loop or bow if you want a softer finished look, keeping it small enough that it does not cover the center. Hang the piece on a porch door, above a bench, or on siding, then fluff the branches one last time after it’s in place.
Variations & Tips
For a fuller look: If your old tree has extra usable branches, add another 10 to 15 tips just around the center and outer points. That’s the area that makes the biggest visual difference from the street.
For outdoor durability: Use outdoor-rated lights and display the piece in a covered porch area if possible. Artificial branches hold up well, but shelter helps the wiring stay neater through the season.
If your tree branches are short: Build the frame a little smaller instead of stretching the greenery too far. A tighter, denser star always looks more polished than a larger one with gaps.
Color option: You can tuck in a few berry picks, pinecones, or a plaid bow for a more traditional holiday look. I’d keep the extras light so the crisp star shape still stands out.
Easy storage tip: After the season, wrap the light strand in place and slide the whole piece into a large tree storage bag or a clean lawn-and-leaf bag. It saves so much time next year because you won’t have to rebuild it.
Balancing a busy week: I like to make the wire frame and clip branches one evening, then do the wiring and lights the next night. Breaking it into two short sessions makes it feel very manageable, especially during the holiday rush.