
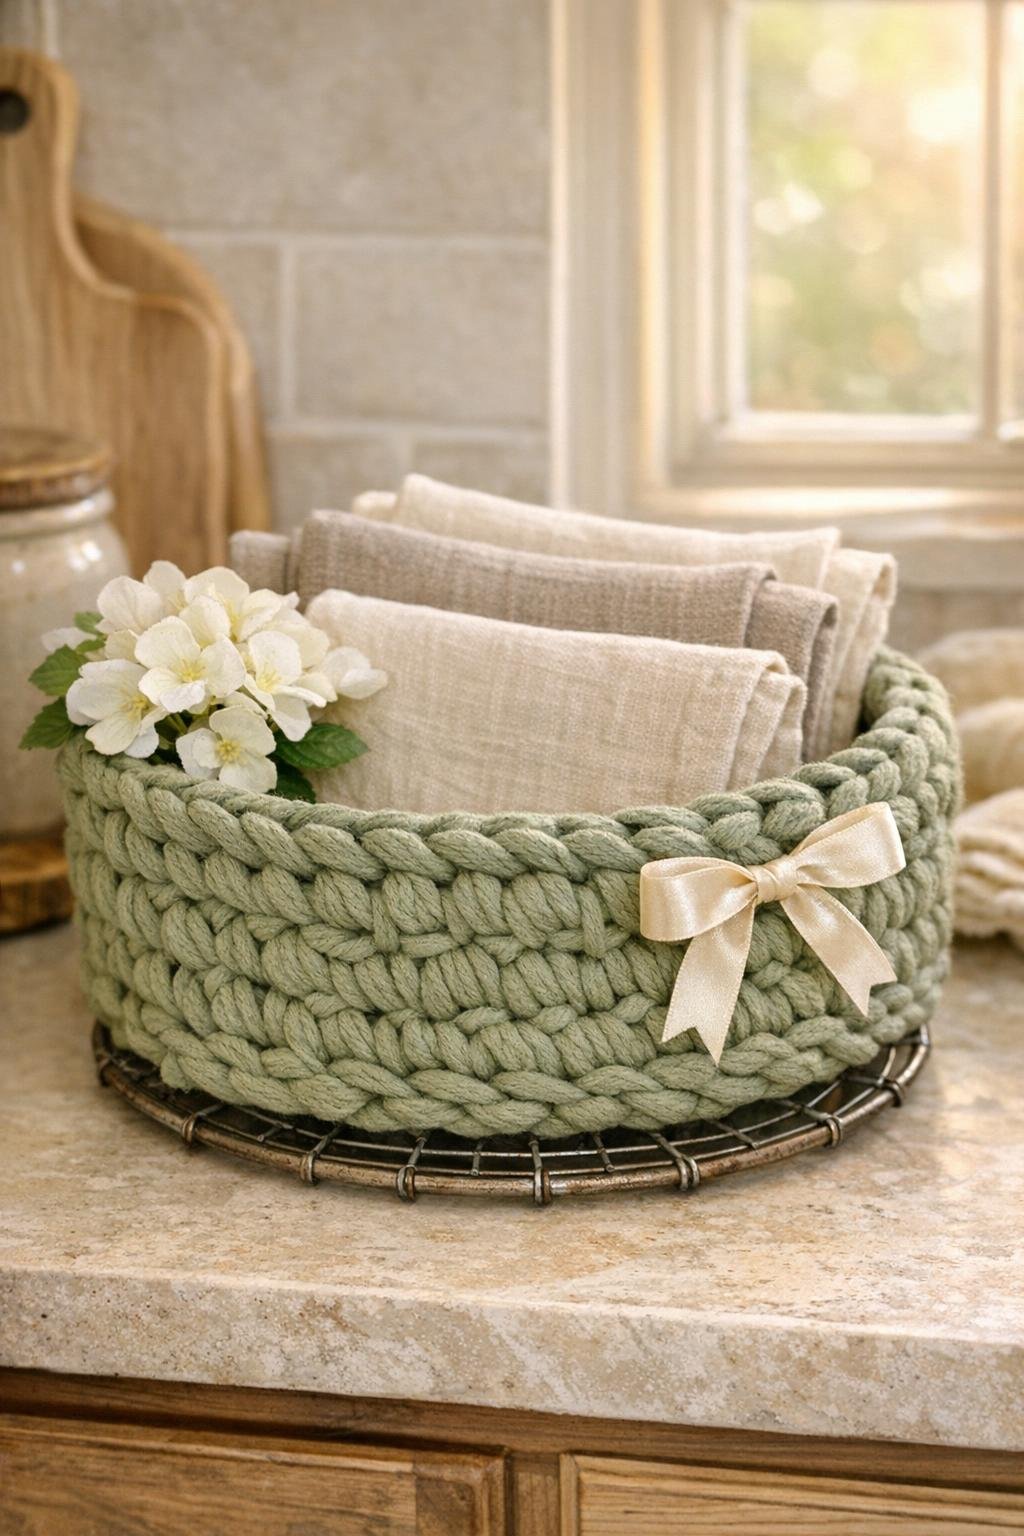
I love a thrift-store find that looks a little odd at first and then turns out to be surprisingly useful, and this project is exactly that kind of win. We’re taking a round vintage pie cooling rack and crocheting chunky sage yarn straight through the wire grid to turn it into a sturdy decorative basket with plenty of texture and charm.
This is a wonderful project for anyone who likes easy crochet, upcycling, or making a home piece that feels handmade in the best way. Because the wire rack already gives us the shape and support, the basket comes together faster than starting from scratch, and the finished piece looks full, polished, and substantial enough to hold fruit, napkins, yarn, or all those little family-room odds and ends that always need a home.
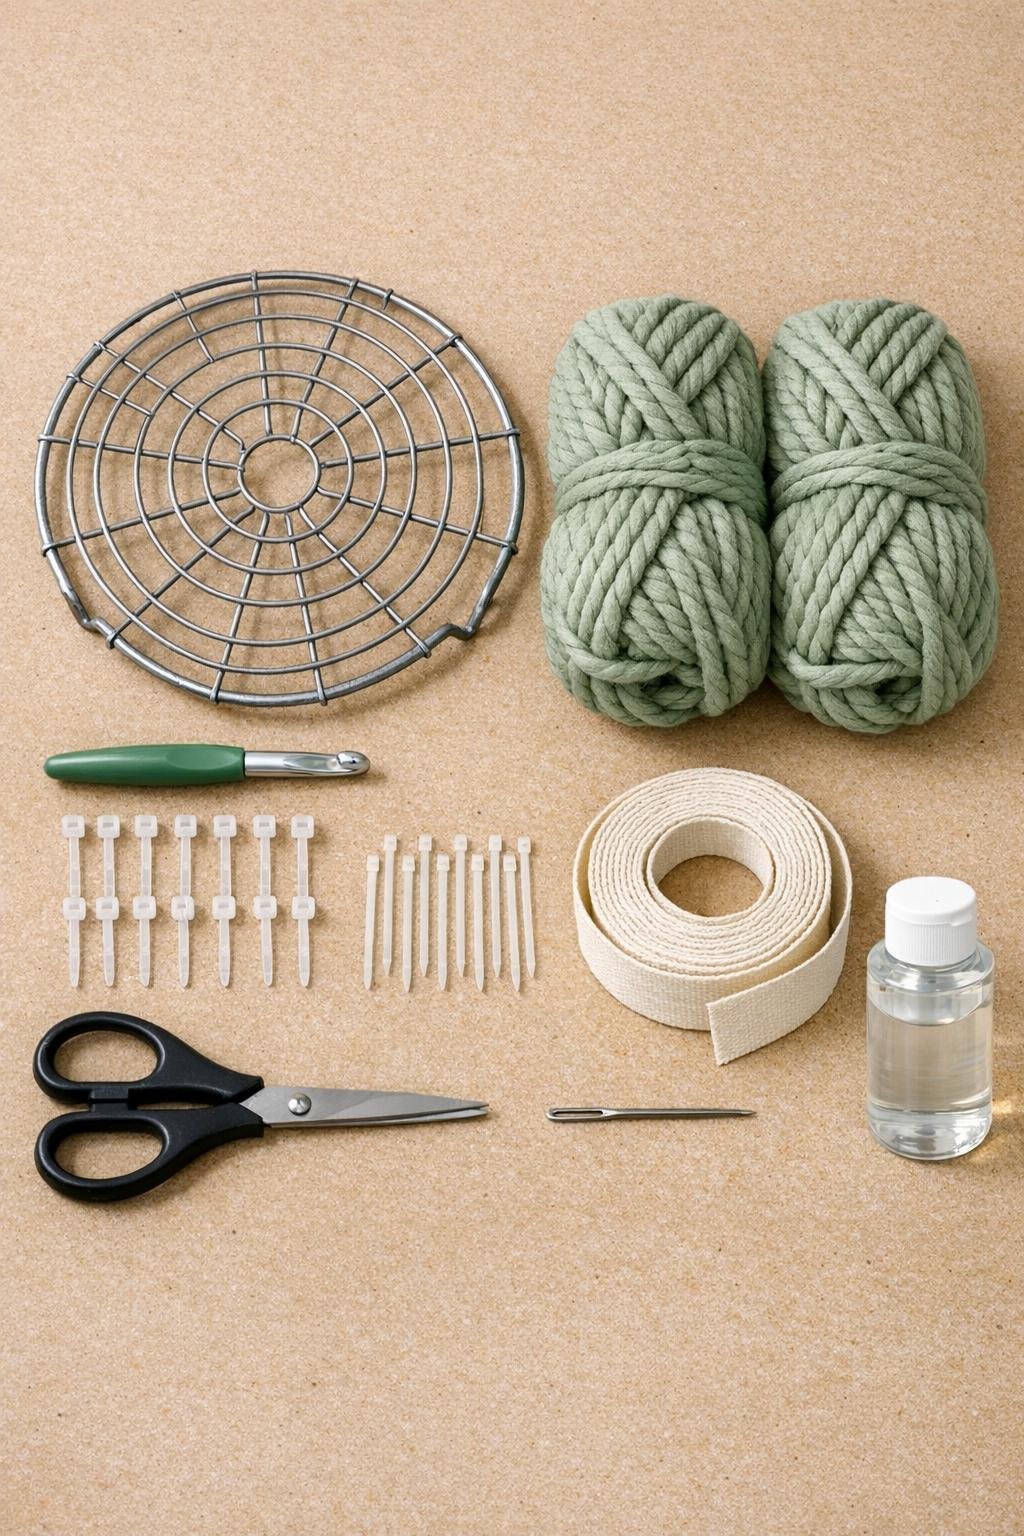
Materials
Instructions
1. Wash and dry the pie cooling rack well, then wipe it with a soft cloth so the yarn stays clean while you work. If the metal feels rough or dusty, brush on a thin coat of clear matte sealer and let it dry completely.
2. Crochet a foundation chain long enough to wrap all the way around the outer rim of the rack, usually 36 to 44 chains depending on your rack size and tension. Slip stitch into the first chain to make a ring.
3. Work single crochet evenly around that chain ring for 2 rounds to create a padded edge band. Test it around the rim and keep it snug, not loose.
4. Fit the crocheted band around the outer wire rim and secure it in place with the clear zip ties spaced every 3 to 4 inches. Pull them tight enough to hold firmly, then trim the tails close.
5. Join yarn to one point near the center grid and begin working single crochet stitches straight through the wire openings, using the metal grid like a giant foundation. Build outward in a spiral, adding stitches evenly so the center fills in densely without puckering.
6. Keep crocheting through each section of the grid until the entire bottom is covered with a thick, even layer of stitches. Push the stitches close together with your fingers as you go so the basket looks full and hides gaps.
7. Once the base is fully covered, work 2 single crochet stitches around each outer wire section where the grid meets the rim, angling the stitches upward instead of flat. This begins turning the sides of the basket up from the rack.
8. Continue in rounds of single crochet and half double crochet, stitching around the outer wire and into the previous yarn round to build side walls 3 to 4 inches high. Add an extra stitch every few inches only if the sides start pulling inward too hard.
9. For a polished top edge, work 1 round of slip stitches followed by 1 round of reverse single crochet around the basket opening. This gives the rim a firm, rope-like finish that helps the basket hold its shape.
10. Cut the yarn, pull the tail through, and weave in all loose ends with the tapestry needle. Check the inside and outside carefully so no tails peek through the chunky stitches.
11. If you want a softer decorative touch, thread the ribbon through 5 or 6 spaces near the upper side of the basket and tie a full bow. Keep it simple so it accents the crochet without hiding the nice wire-supported shape.
12. Fill the basket lightly and shape it with your hands, pressing the base flat and evening out the sides. Let it sit overnight with a folded towel or small stack of napkins inside if you want the walls to set in a rounder shape.
Variations & Tips
For picky color tastes: If sage green isn’t your family’s favorite, this works beautifully in cream, oatmeal, dusty blue, or soft terracotta. I still like keeping the yarn chunky because that’s what gives the basket its cozy, filled-out look.
If your rack is extra open: Some older pie racks have wider grid spaces, so make 2 stitches through larger openings instead of 1. That keeps the base from looking skimpy and helps small items stay put.
For a taller basket: Add another half skein to a full skein of yarn and continue the side rounds until the basket is 5 to 6 inches tall. I like this version for rolled hand towels in a guest bath or snack bags in the pantry.
For a firmer shape: Crochet tightly and use mostly single crochet on the sides. A looser stitch pattern feels softer, but a tighter stitch gives the basket that nice upright look.
To protect delicate yarn: If the thrifted rack has any rusty or scratchy spots, sand them lightly or seal them before you begin. It only takes a few extra minutes and saves a lot of frustration later.
Best uses: This basket is prettiest with lighter items like cloth napkins, onions and garlic, yarn balls, mail, or wrapped treats on the table. I wouldn’t use it for very heavy storage, since the charm of this piece is that it’s decorative first and sturdy enough for everyday light-duty use.
Make it gift-ready: Fill it with muffins, tea towels, or a little loaf of bread for a sweet hostess gift. As a mom, I always love projects that look special but can also carry something useful to the table.