
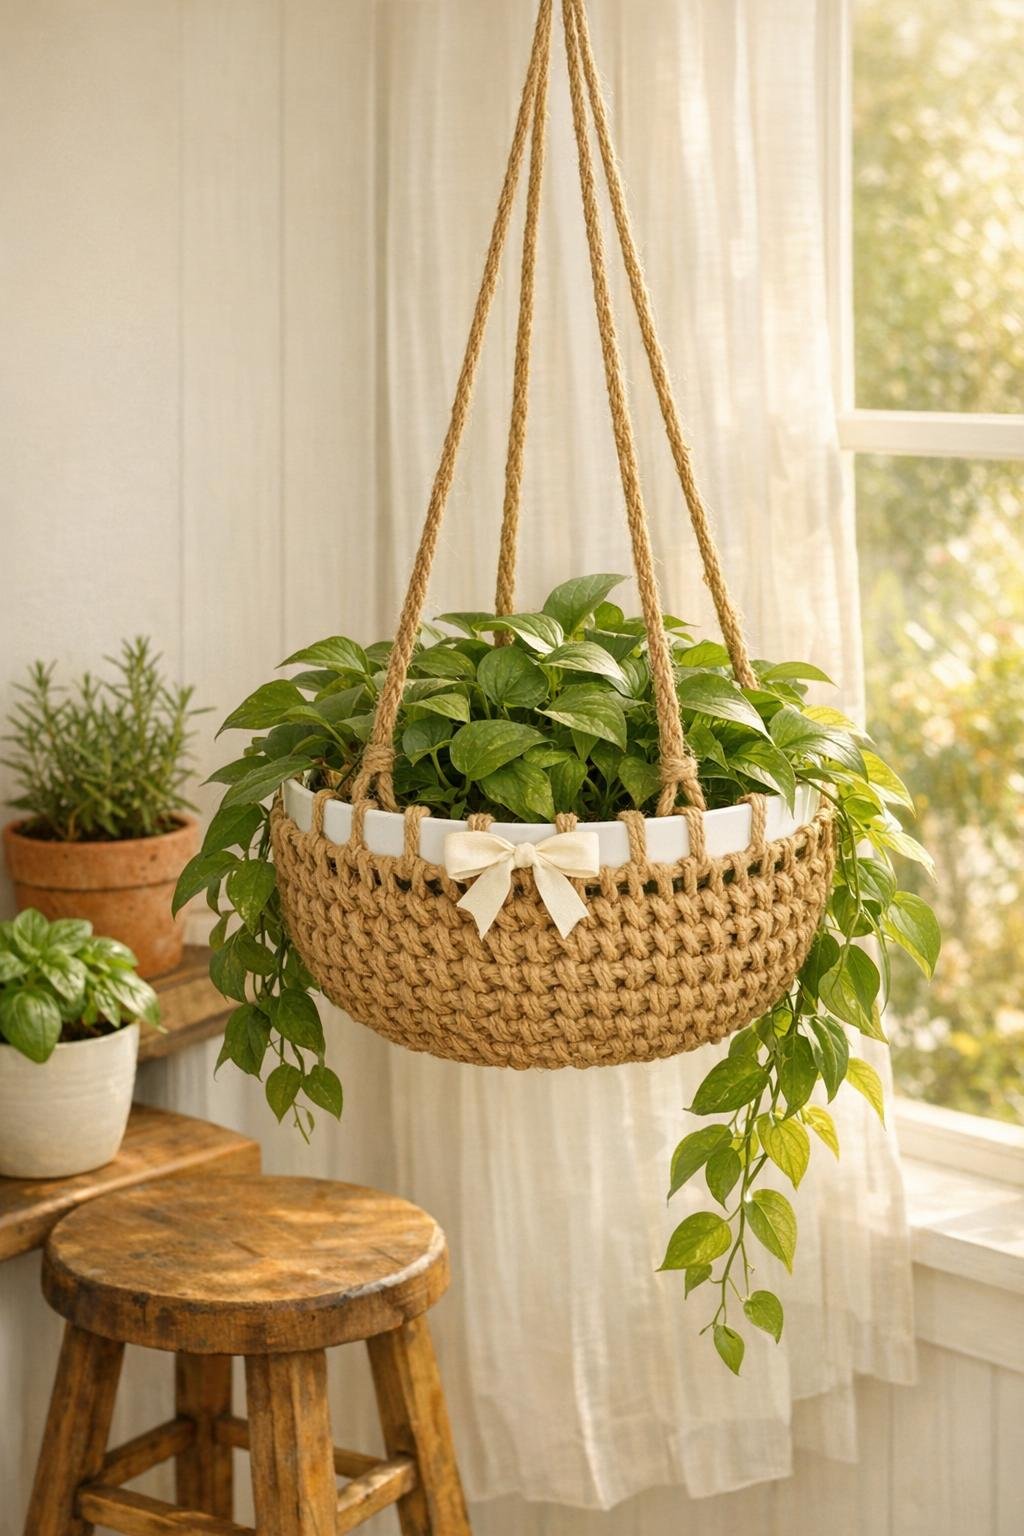
I love a project that starts with something a little odd from the dollar store and ends up looking surprisingly polished, and this one absolutely does that. We’re turning a white plastic pizza pan into a crochet hanging planter by cutting 12 evenly spaced slots around the rim and working sturdy jute yarn right through them, so the pan becomes the built-in base for the basket.
This is a wonderful project for anyone who likes easy crochet, practical upcycling, or home décor with a natural texture. The plastic pan gives you a firm shape without any fussy basket-forming, and the jute adds that warm, earthy look I always gravitate toward in a kitchen, sunroom, or window corner.
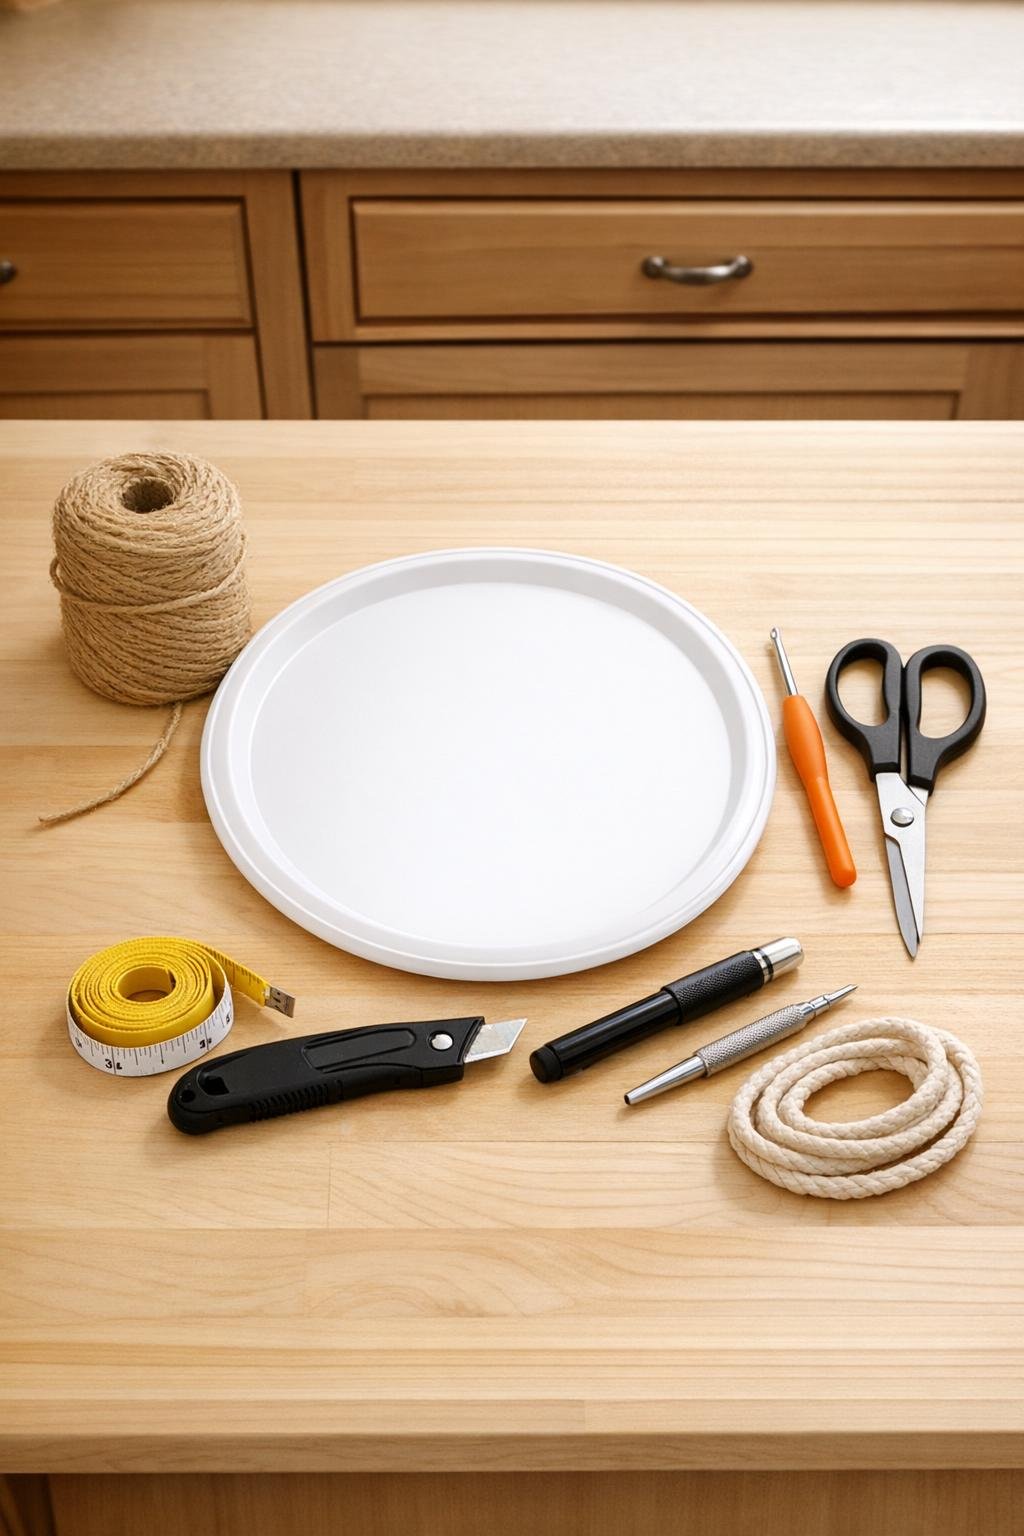
Materials
Instructions
1. Wash and dry the plastic pizza pan so the yarn sits cleanly against it, then place it face up on your work surface.
2. Measure around the rim and mark 12 evenly spaced slot positions, keeping them about 1 inch apart visually around the pan so the stitches distribute evenly.
3. Cut 12 vertical slots along the outer flat rim, making each slot about 1/2 inch deep and just wide enough for two strands of jute to pass through without tearing the plastic.
4. Smooth any rough plastic edges with scissors or fine sandpaper so the jute won’t snag while you crochet.
5. Make 3 hanging holes between every fourth slot so they form an even triangle, placing each hole about 1/2 inch in from the rim.
6. Tie the jute to one slot, insert your hook through the slot from front to back, and work a row of single crochet through each slot, making 3 single crochet stitches per slot for a total of 36 stitches.
7. Join the round and crochet 1 single crochet into each stitch for the next 2 rounds, keeping the work snug against the pan so the sides begin to build downward.
8. On the following round, work a gentle increase by making 1 single crochet in the first 2 stitches and 2 single crochet in the third stitch; repeat this pattern around to widen the basket slightly.
9. Crochet 4 to 6 more rounds even, with 1 single crochet in each stitch, until the hanging basket sides are deep enough to cradle the nursery pot securely.
10. Test-fit the pot, then crochet 1 final round in a tighter tension; if you want a neater edge, finish with slip stitches all the way around.
11. Cut 3 rope lengths to 36 inches each, thread one through each hanger hole, and knot them securely underneath and again 8 to 10 inches above the planter so the basket hangs level.
12. Gather the rope ends through the hanging ring and knot them together, then trim the ends evenly or leave a short tassel for a softer finish.
13. Dab a little clear-drying craft glue on the jute tail ends and knots if needed, let it dry, and place the nursery pot with its saucer inside the crocheted holder.
14. Add your plant and adjust the ropes until the planter hangs straight, with the white pizza pan still visible as the clean, round base of the design.
Variations & Tips
For beginners: If crochet and basket shaping are both new to you, stick with single crochet only; it gives the planter a dense, sturdy structure and is the easiest stitch to control with stiff jute.
For a fuller basket: Add one extra increase round and 2 extra plain rounds if you want to hold a slightly wider pot. I like this when I’m using a fuller trailing plant, because the basket looks more generous and balanced.
For a cleaner rim: Wrap the cut rim with a round of slip stitches before building the sides if your slots are a little uneven. That first tidy edge makes the whole project look more intentional.
Plant choice: Use a lightweight pothos, philodendron, faux fern, or string-of-pearls style plant. Heavy ceramic pots can strain both the plastic pan and the jute over time.
Color option: Leave the pan white for a crisp contrast, or lightly spray-paint it matte black or terracotta before crocheting if you want a moodier look. If you paint it, let it cure completely so the yarn stays clean.
Drainage tip: Keep your plant in a separate nursery pot with a saucer rather than planting directly into the holder. That’s the easiest way to protect the jute and avoid drips indoors.
Finishing touch: A small twine bow at the hanger knot or a wrapped section of jute around the top ring gives the piece that extra finished detail without making it fussy.