
There is something so satisfying about turning the most ordinary household scraps into something that looks rich, textured, and beautifully handmade. When I first started experimenting with rolled newspaper tubes, I was honestly just trying to use up a stack of old papers on my kitchen counter. Once I soaked them in strong coffee, though, the whole look changed into a warm, wicker-like material that feels far more special than you would ever expect from newspaper.
This project is a wonderful one if you like slow, cozy crafts that don’t require expensive supplies. It’s beginner-friendly, easy to do at the kitchen table, and the finished piece has enough height, shape, and detail to look like a real statement decoration instead of a little practice project. I like crafts like this because they feel generous and impressive without being fussy, and this one is especially fun if you enjoy basket-style weaving.
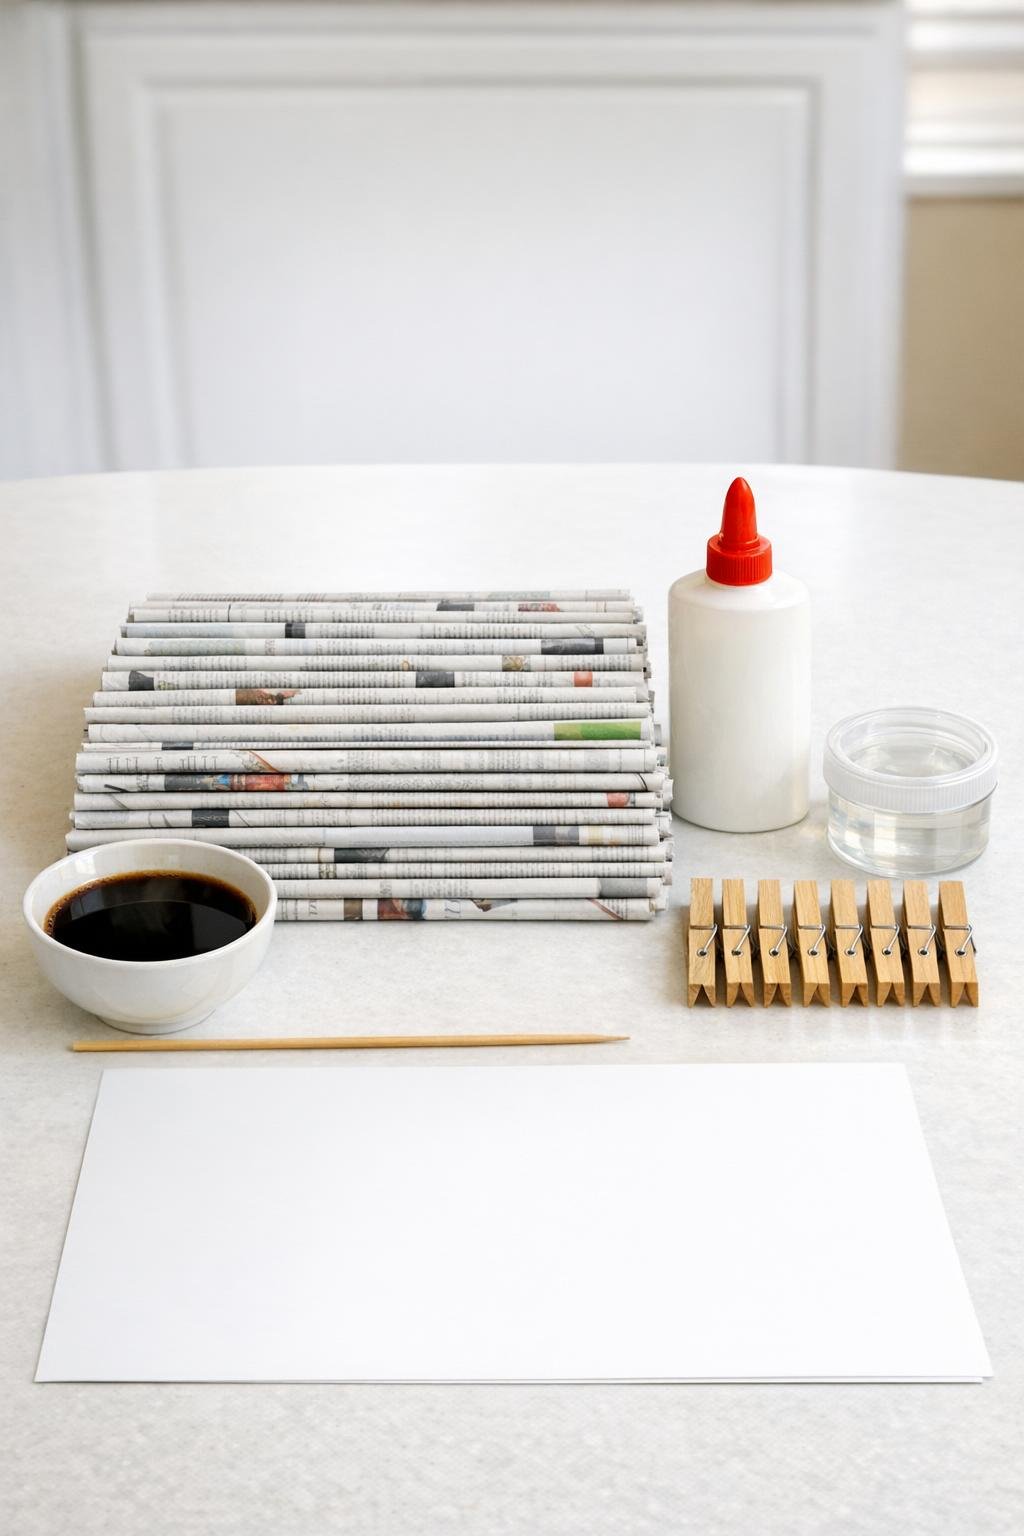
Materials
60 rolled newspaper tubes, each 16 to 18 inches long and tightly rolled
Instructions
1. Roll or gather 60 newspaper tubes and make sure they are all tightly wound, slim, and similar in length so the weaving stays even.
2. Pour the cooled strong coffee into a plastic container, lay in all 60 tubes in tidy rows, and soak them for 10 to 15 minutes until they turn a deep brown.
3. Lift the tubes out carefully and let them dry until they are just slightly flexible, not dripping wet; I usually spread mine on the counter for about 30 to 45 minutes.
4. Cut a poster board circle 8 inches wide for the base, then mark 12 evenly spaced points around the edge like numbers on a clock.
5. Glue one newspaper tube at each marked point so the ends meet in the center and the long lengths extend outward past the circle, making 12 spokes for your base.
6. Glue a second poster board circle of the same size over the first one to sandwich the spoke ends neatly between the layers, then clip the edge with clothespins until the glue holds.
7. Bend all 12 spokes upward gently so they stand around the base in a cone shape, and pinch them lightly together near the top to preview the tree form.
8. Take one stained tube, flatten its starting end slightly, and glue it around one upright spoke near the base to begin weaving.
9. Weave that tube over one spoke and behind the next all the way around, keeping the rows snug and low so the base starts broad and full.
10. When you reach the end of a tube, slip the narrow end of a new tube inside the previous one with a dab of glue, then keep weaving without leaving gaps.
11. Continue weaving round after round, gently pulling the spokes inward as you work higher so the shape tapers gradually into a tall tree.
12. Use the wooden skewer to lift and nudge rows into place whenever they bunch up; this little step makes the weave look much more polished.
13. Keep adding tubes until the woven section reaches about 16 to 18 inches tall, leaving only 2 inches of the spokes unwoven at the top.
14. Gather the top spokes tightly, trim any overly long ends with scissors, and tuck or wrap them neatly into the last woven rounds with a bit of glue to create a finished point.
15. Check the whole tree for loose joins, add small dabs of glue anywhere needed, and let it dry completely before finishing.
16. Brush on a full coat of clear varnish from base to tip, working it into the woven grooves, and let it dry upright so the tree keeps its shape and gets a gentle wicker-like sheen.
Variations & Tips
For a fuller look: If you want a thicker, more dramatic tree, start with 14 or 16 spokes instead of 12 and keep your weaving rows packed very tightly from the first round.
For picky crafters who like shortcuts: If rolling tubes is the part you dread, make them a day ahead while watching a show, then store them in a basket so the weaving day feels easy and relaxing.
Coffee color tip: The darker and stronger the coffee, the richer the final color will be. I like using leftover brewed coffee plus a spoonful of instant coffee to deepen the stain.
If the tubes crack: They are too dry; lightly mist them or rest them under a barely damp towel for a few minutes so they become flexible again.
For a cleaner point at the top: Hold the final spokes together with a clothespin for a few minutes after gluing so the tip stays neat while it sets.
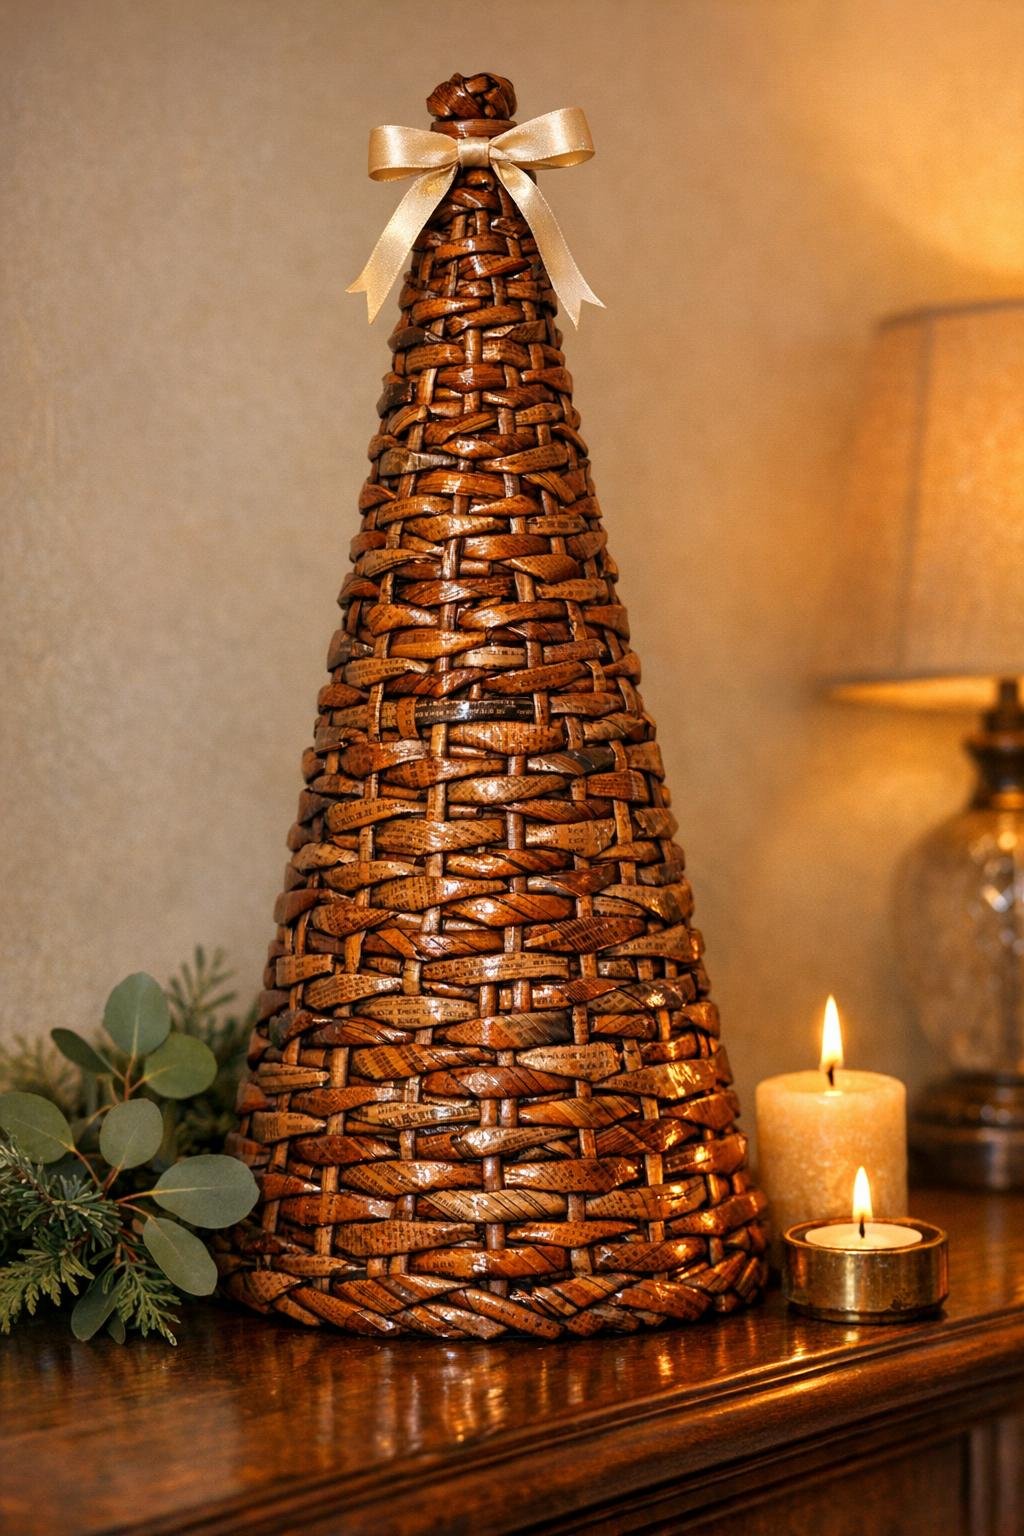
Display idea: This looks lovely on a mantel, buffet, or entry table, especially grouped with greenery, twinkle lights, or a few wooden accents during the holidays or all through winter.
Finish choice: Matte varnish gives a more natural wicker effect, while satin varnish adds a slightly richer handcrafted shine.