
I love a project that turns everyday packaging into something that looks far more special than it has any right to, especially when I’m putting together little food gifts for neighbors, teachers, or friends. This one starts with plain empty chip cans and a roll of masking tape, and by the end you’ll have a set of giftable containers that feel warm, rustic, and surprisingly polished.
If you like easy crafts with a big payoff, this is the kind of afternoon project that’s hard to stop making once you start. The process is simple enough for beginners, but the layered finish gives it that cozy handmade character that makes a batch of cookies or snack mix feel extra thoughtful.
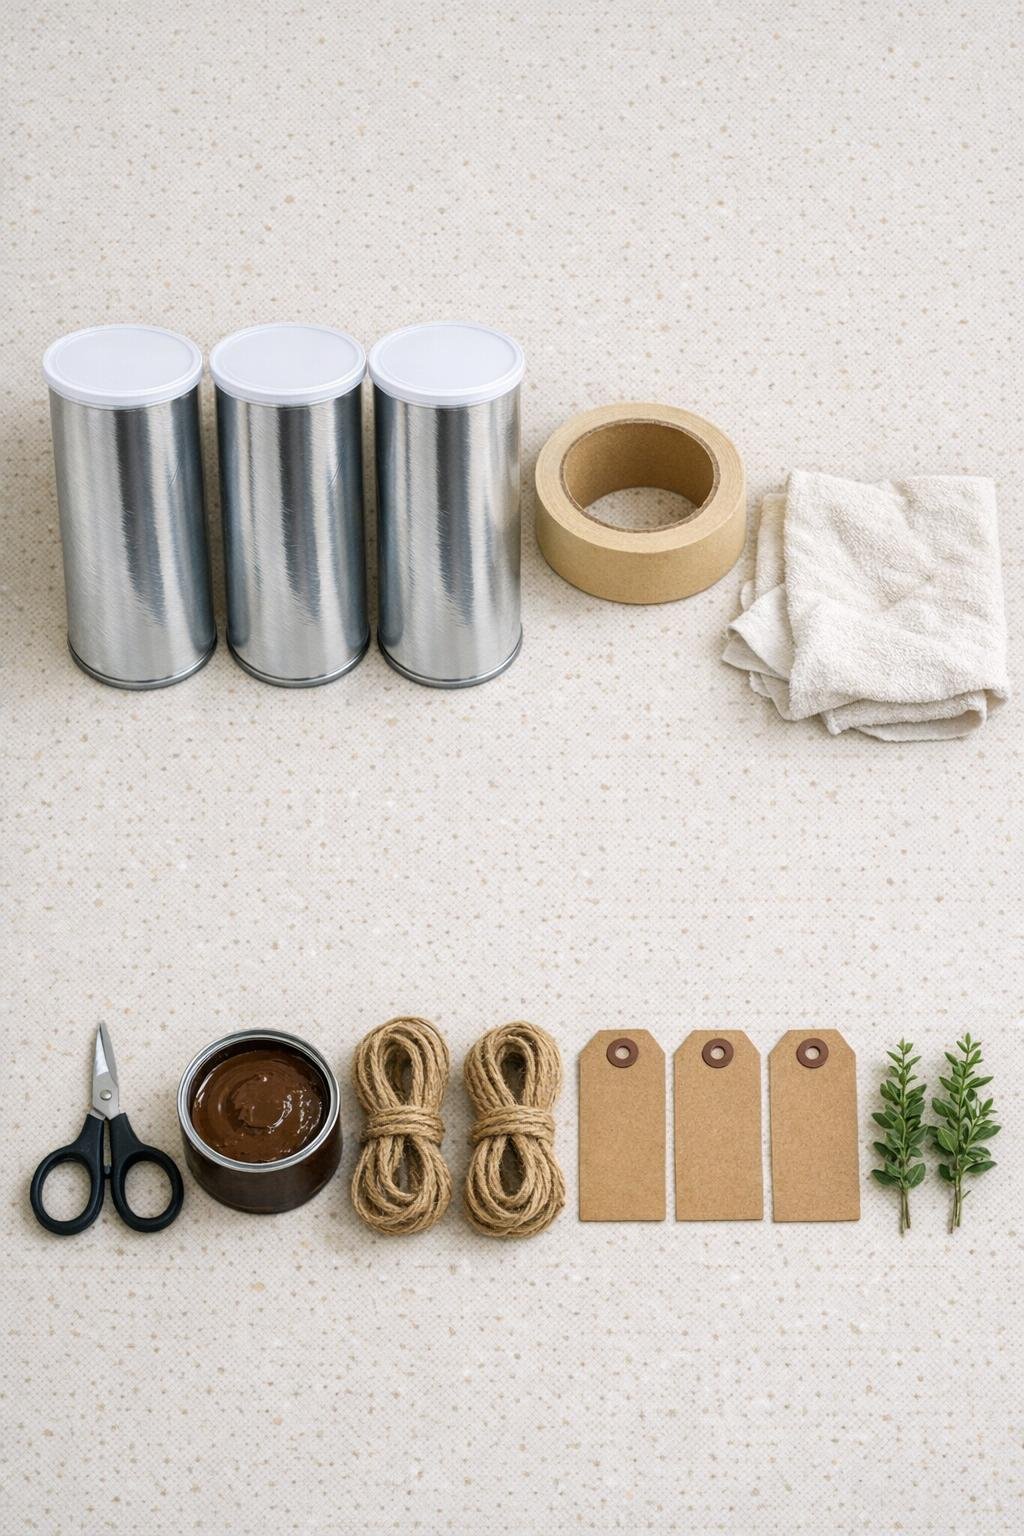
1. Peel the labels off the Pringles cans, wash away any sticky residue, and let the cans dry fully so the tape will grip well.
2. Tear the masking tape into uneven pieces about 2 to 4 inches long, because those rough edges are what create the worn, leather-like texture.
3. Press the tape pieces onto the first can, overlapping them slightly and changing directions as you go until the whole outside is covered from top to bottom.
4. Rub each taped area firmly with your fingers as you work, smoothing bubbles but keeping the ridges and seams visible so the surface looks richly textured instead of flat.
5. Repeat the same torn-tape covering on the other two cans, making sure the entire body of each can is wrapped while leaving the lids off for now.
6. Add brown shoe polish with the rag, or brush on a thin coat of brown paint with the rag as a wipe-on stain, working it into the tape seams and wiping back the excess right away.
7. Let the finish dry for 20 to 30 minutes, then buff lightly with a clean part of the rag to soften any harsh streaks and bring out a mellow, leather-look finish.
8. If you want a deeper color, add a second light coat of polish or paint, especially around the seams, then wipe it back again so the texture stays visible.
9. Cover the lids with torn masking tape pieces too, wrapping the tape neatly over the top and just around the rim so the lids still fit snugly.
10. Rub the same brown finish onto the taped lids, wipe off the excess, and let them dry completely before snapping them back onto the cans.
11. Line each can with a sheet of wax paper or parchment if you’d like, then fill each one with cookies, snack mix, or another dry treat that fits easily through the opening.
12. Tie a 24-inch length of twine around the top of each canister, tuck in a small faux greenery sprig, and knot on a kraft gift tag for a simple finished touch.
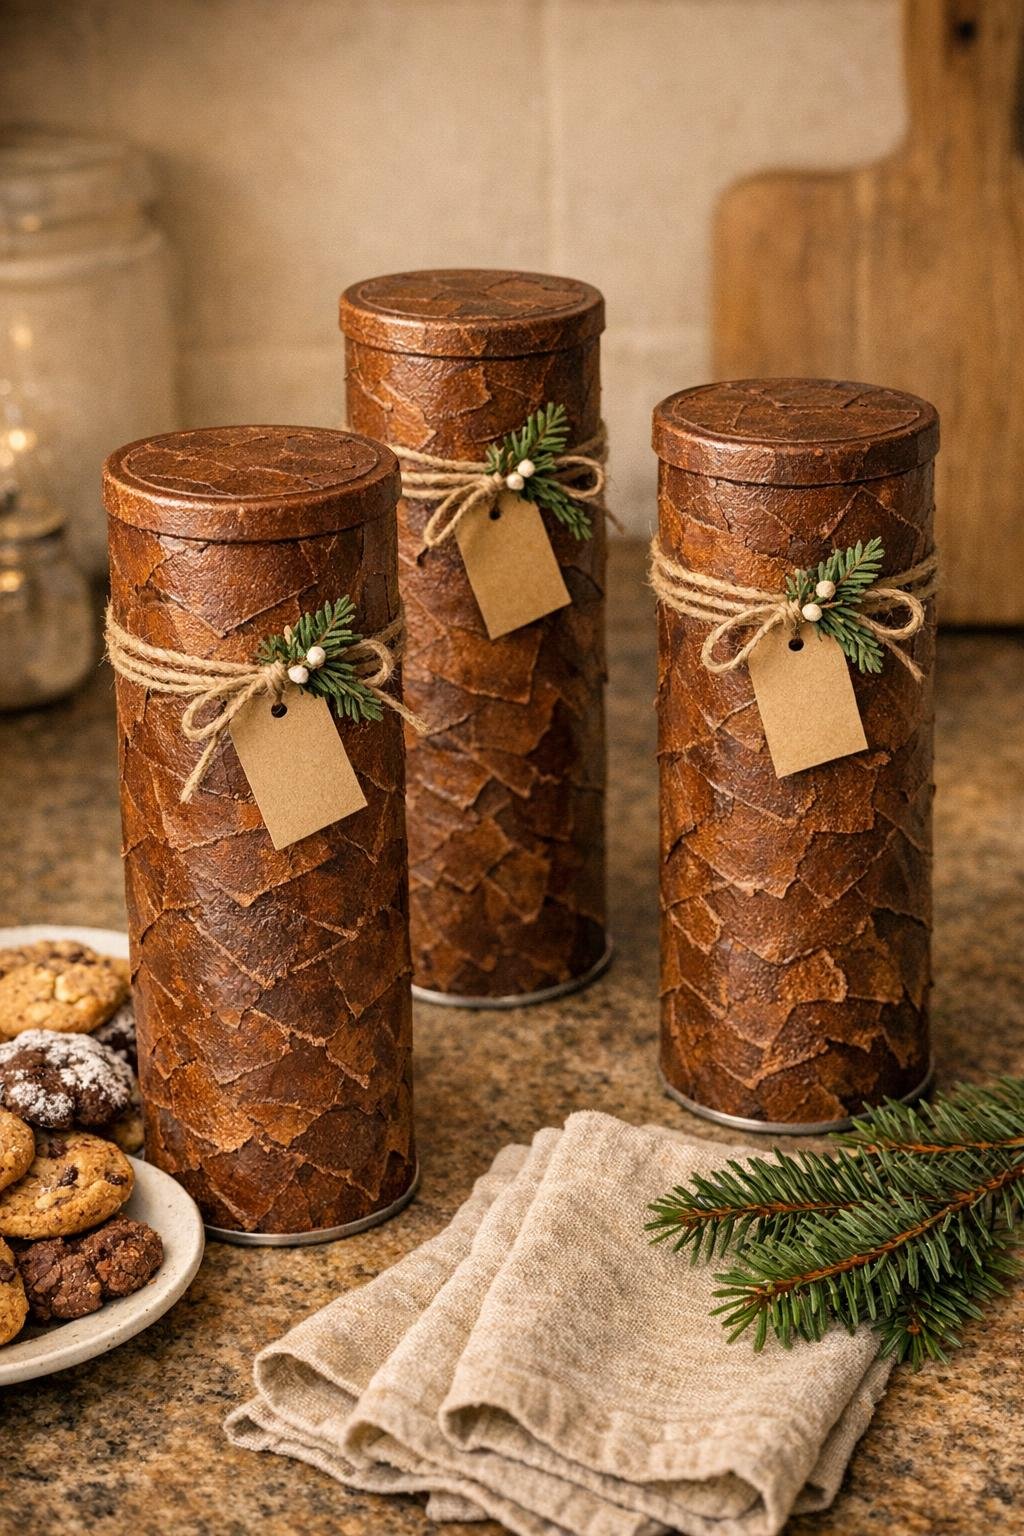
For a deeper leather look: Use two shades of brown if you have them. I like a medium brown first and a darker brown rubbed lightly around the seams for extra depth.
For picky eaters: If you’re gifting to families, fill one can with chocolate chip cookies, one with sugar cookies, and one with pretzels or popcorn mix so there’s something for everyone.
For cleaner food storage: If the treats will sit for more than a day or two, slip the cookies into small food-safe bags before placing them in the canisters.
For a softer finish: Shoe polish usually gives the most worn-in look, while craft paint gives a more even color. Either works, but wipe sparingly so you don’t lose the torn-tape texture.
For holiday gifting: Swap the greenery for cinnamon sticks, tiny bells, or a narrow ribbon layered under the twine to match the season.
For the neatest lids: Keep the tape layer on the lid fairly thin near the edge. Too much bulk can make the lid harder to press on and off.
For a more rustic style: Don’t overthink the tape placement. The charm comes from the uneven overlap, and honestly, the more relaxed I am with it, the better it usually looks.