
There’s something about a plain glass jar and a little paint that brings out the same thrifty excitement I remember from holiday craft tables at our church basement. This project starts with the simplest sort of castoff and turns it into a cheerful Christmas treat container that looks far fussier than it really is. If you like easy holiday crafts that give you a big payoff without a long supply list, this one is a real pleasure.
I especially love this for folks who want a handmade decoration that can also do a job—holding candy, cookies, cocoa packets, or little gifts for neighbors. The steps are easy, the materials are forgiving, and by the end you’ll have a trio that looks polished and festive enough to set right out on the kitchen counter or tuck into a holiday centerpiece.
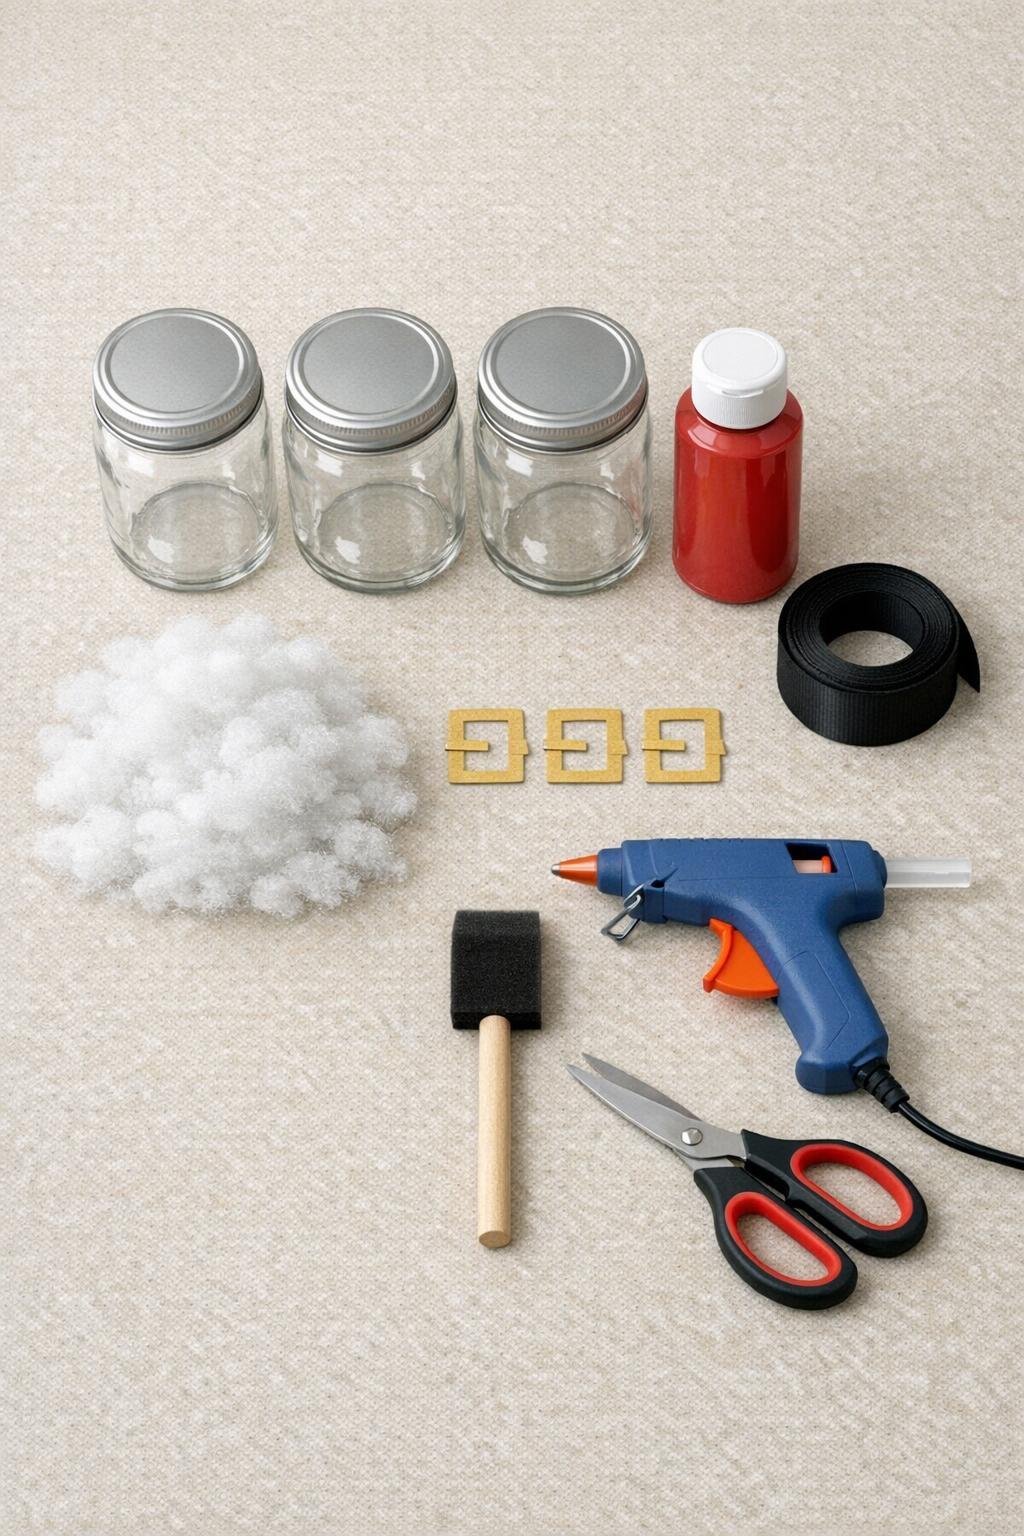
Materials
3 empty glass jars with lids, 16-ounce size each
Instructions
1. Wash the jars and lids with warm soapy water, remove any labels, and let everything dry completely so the paint and glue will stick well.
2. Brush a smooth coat of red paint over the outside of each glass jar, working from top to bottom and leaving no clear patches; let the first coat dry fully.
3. Add a second coat of red paint to make the color rich and even, then set the jars aside until they are fully dry to the touch.
4. Measure and cut three pieces of black ribbon or duct tape long enough to wrap around the middle of each jar like a belt, then secure each strip neatly around the center.
5. Glue one gold button or gold cardstock buckle shape to the front center of each black belt, pressing it in place for a few seconds until secure.
6. Add white fiberfill or white pom-poms around the top rim of each jar to make a fluffy trim; use small dots of hot glue and keep the trim full all the way around.
7. Fill the dry jars with wrapped candy, cookies in treat bags, or other small holiday goodies, then screw the lids back on and wipe away any stray glue strings.
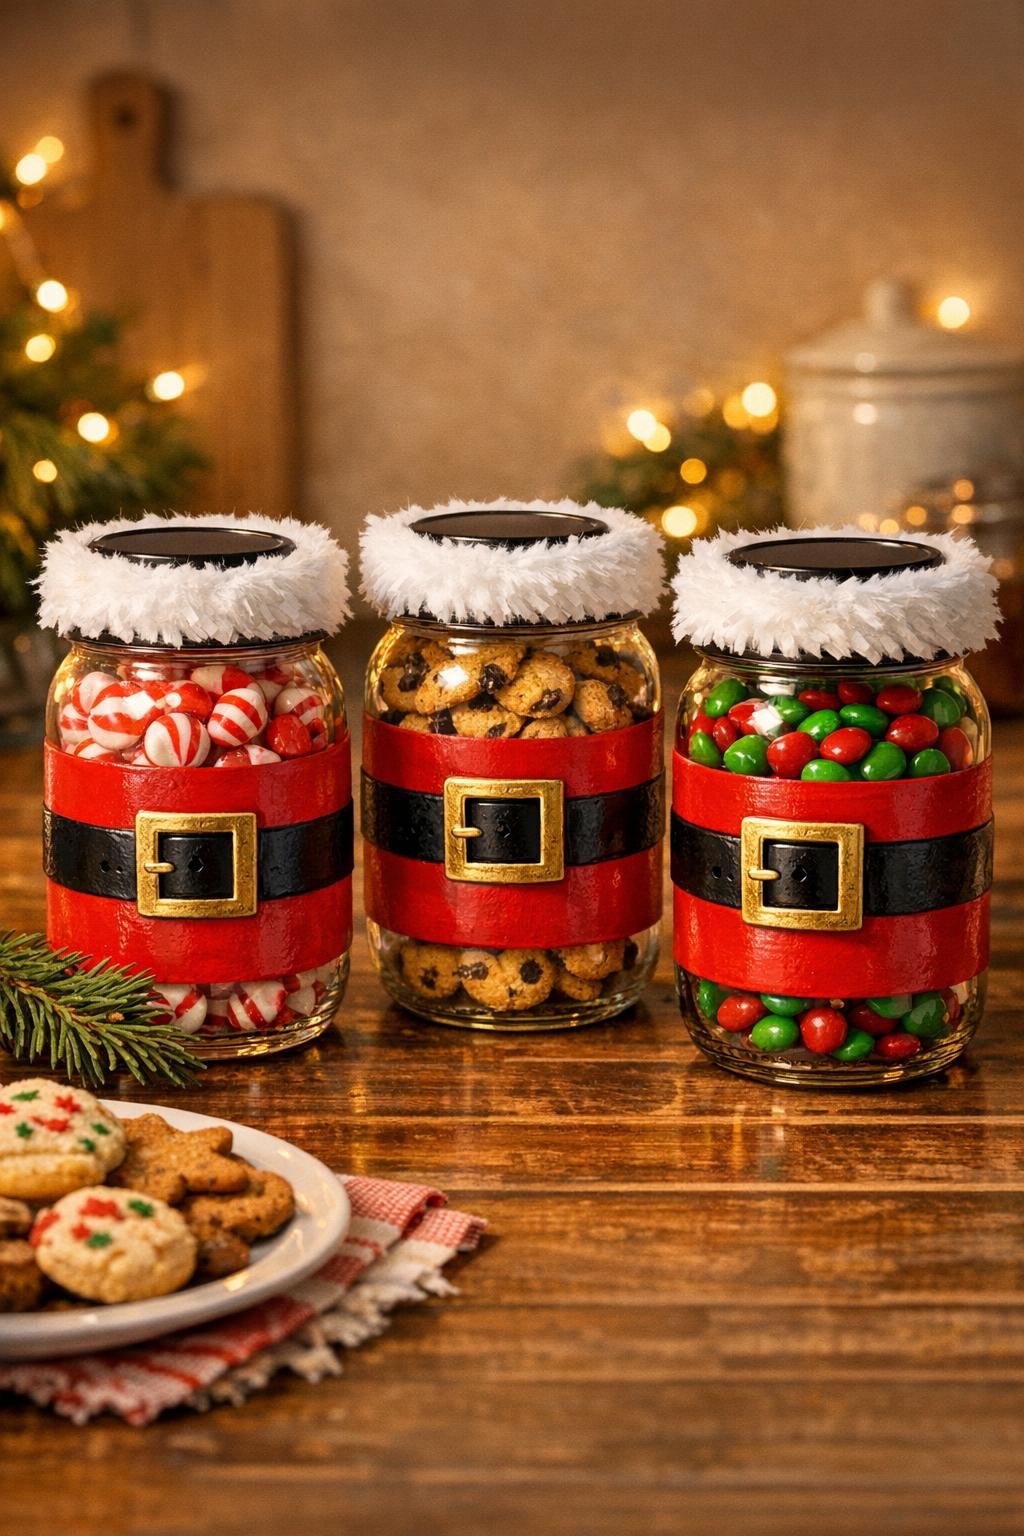
8. Set the finished jars together as a group so the belt fronts face forward, and fluff the white trim one last time for a fuller, softer look.
Variations & Tips
Use what jars you have: Matching jars make the set look tidy, but I’ve used slightly different shapes before and they still came out charming. Just keep them close in size so the trio feels intentional.
Fiberfill versus pom-poms: Fiberfill gives that soft, fluffy coat trim look, while white pom-poms make the edge more playful and crisp. If I’m making these with grandchildren, pom-poms are often the easier choice.
Make the paint smoother: Chalk paint usually covers glass beautifully, but acrylic works too if you allow full drying time between coats. A light second coat is better than one heavy, drippy one.
Better buckle look: If you’re cutting your own gold buckle from cardstock, make it a square with a smaller square cut from the center. That little detail makes the belt read much more clearly from across the room.
Best treats to use: Wrapped candies, cocoa packets, snack mixes in bags, and frosted cookies sealed in clear treat sacks all work nicely. I avoid placing unwrapped food directly into a painted craft jar.
Display idea: These look especially sweet lined up on a cookie tray, tucked beside a coffee station, or given one by one to neighbors with a handwritten tag tied around the lid.