
There’s something especially satisfying about taking a very ordinary dollar store find and coaxing it into something that looks far more special than the price tag suggests. This project starts with those tiny metal bundt pans and a bag of clear pony beads, then uses a little heat to transform them into sparkling pieces that catch the light in the prettiest way.
I love projects like this because they feel a bit like kitchen alchemy—very fitting for me, since I spend so much time cooking—and yet they’re simple enough for an easy afternoon craft session. If you enjoy low-cost seasonal projects, handmade gift toppers, or ornaments with a polished look but easy steps, this one is absolutely worth making.
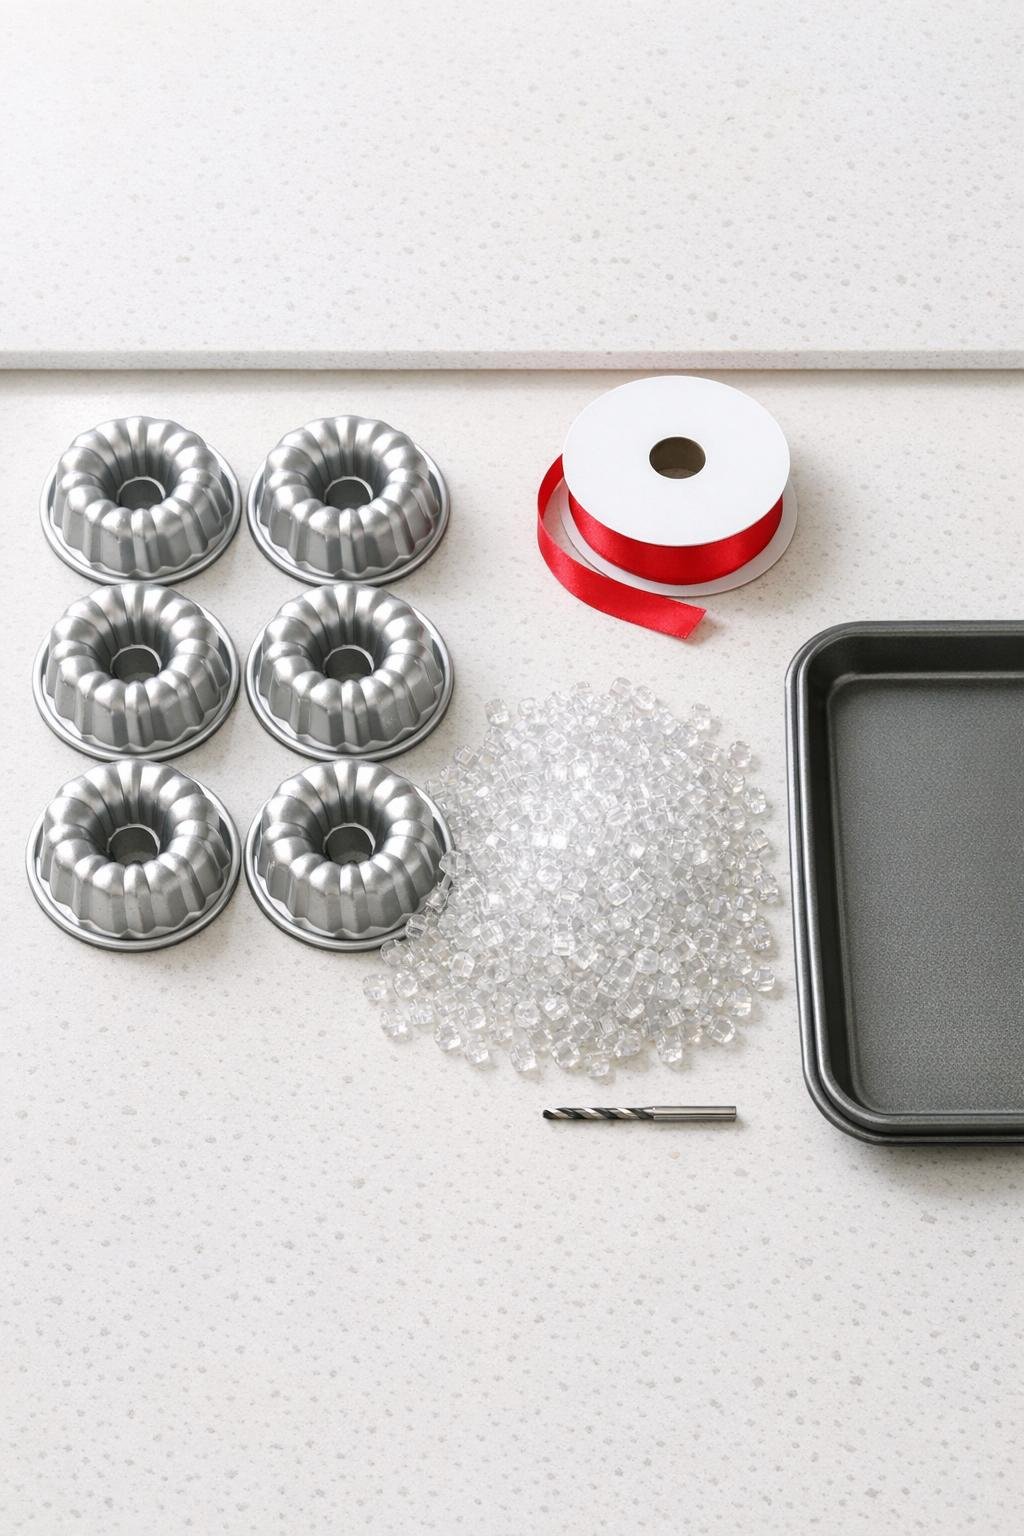
Materials
Instructions
1. Line a baking sheet or shallow metal tray with aluminum foil and set the 6 mini bundt pans on top so they sit flat and level.
2. Fill each mini bundt pan with about 1 cup of clear pony beads, distributing them evenly so the beads reach all the way around the ring and cover the bottom in a full layer.
3. Place the tray in an oven preheated to 400°F, or in a covered outdoor grill at similar heat, and melt the beads for 20 to 25 minutes until they fuse together and look smooth and glossy.
4. Remove the tray carefully with oven mitts and let the pans cool completely on a rack or heat-safe surface for 30 to 40 minutes, until the plastic is firm and no longer warm.
5. Gently flex or tap each pan to release the hardened bead ring; if one resists, chill the pan for 10 minutes and try again.
6. Drill one small hole near the outer edge at the top of each ring, staying about 1/4 inch in from the edge so the ornament remains sturdy.
7. Cut 6 pieces of ribbon 18 inches long, thread one through each drilled hole, and knot or tie each into a loop for hanging.
8. Trim the ribbon ends neatly, then check each piece for rough plastic edges and snap off any tiny sharp points with your fingers before displaying or gifting them.
Variations & Tips
Add subtle color: Mix a small handful of pale silver, icy blue, or pearl white pony beads into the clear beads for a frosted look without losing the crystal effect.
Use them beyond the tree: These are lovely tied onto wrapped gifts, hung in a window, or added to a winter garland where the light can shine through them.
Watch the melt closely: Every oven and grill runs a little differently, much like baking caramel or meringue, so start checking at 20 minutes and pull them once the beads are fused but not browned.
Keep the shape generous: Don’t underfill the pans; a full cup per pan gives you a thicker, more substantial ring that looks polished and holds up better when hung.
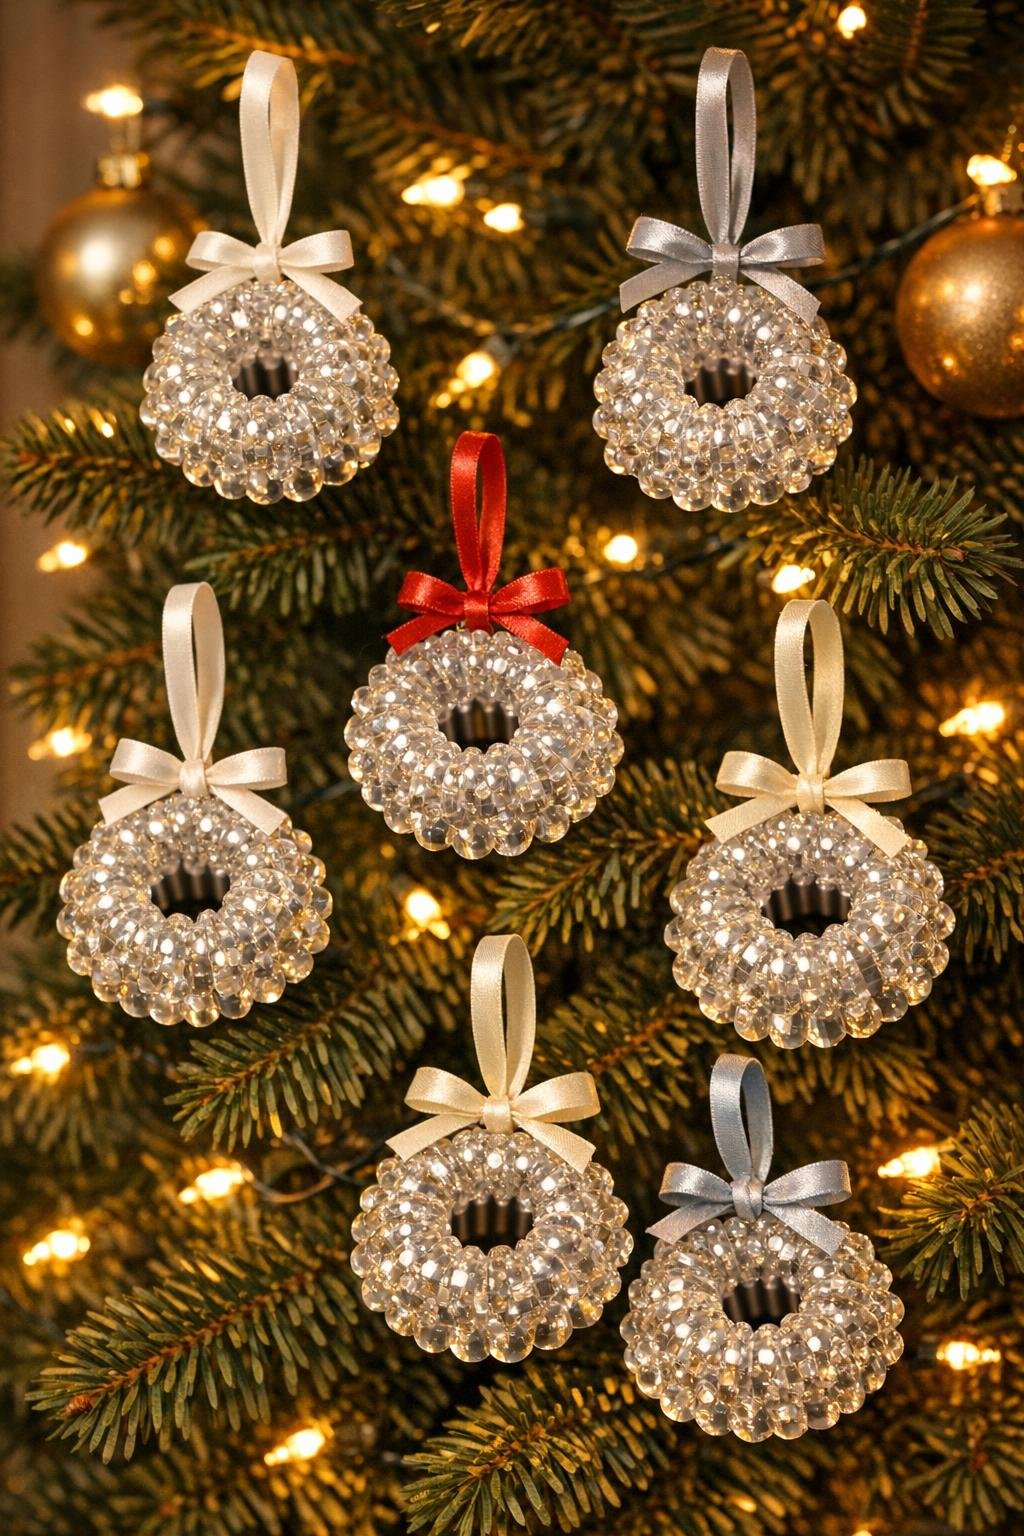
Make the finish neater: If you want a more dressed-up look, tie a small bow at the top of each ornament after threading the hanging loop.