
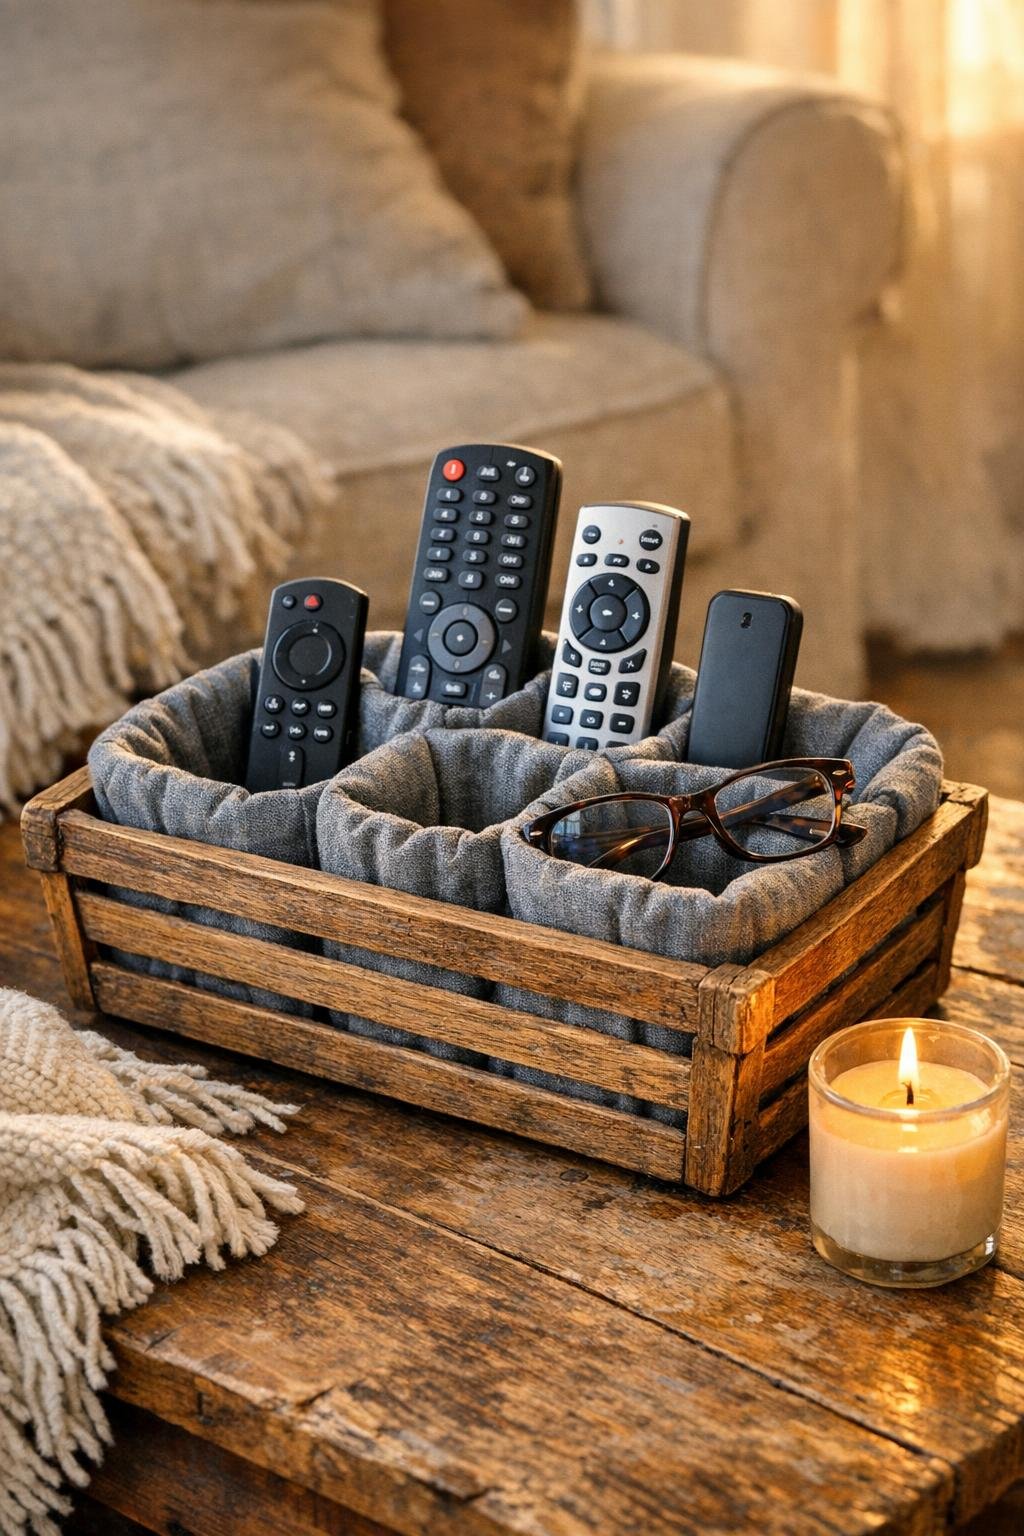
Small living rooms seem to collect little everyday things faster than any other room in the house, and remotes are always the first to disappear into the couch cushions at my house. This project turns a small wooden bread basket into a tidy remote control caddy by filling it with soft fabric-lined muffin tin liners, so each remote, pair of reading glasses, or charging cord has its own spot without taking up much table space.
I love this kind of project because it looks finished and intentional, but it is wonderfully easy to make. If you like quick home projects that solve a real problem, this one is for you. The basket keeps that warm, homey texture, and the fabric liners add neat little compartments that make the whole thing feel custom-made for a cozy living room.
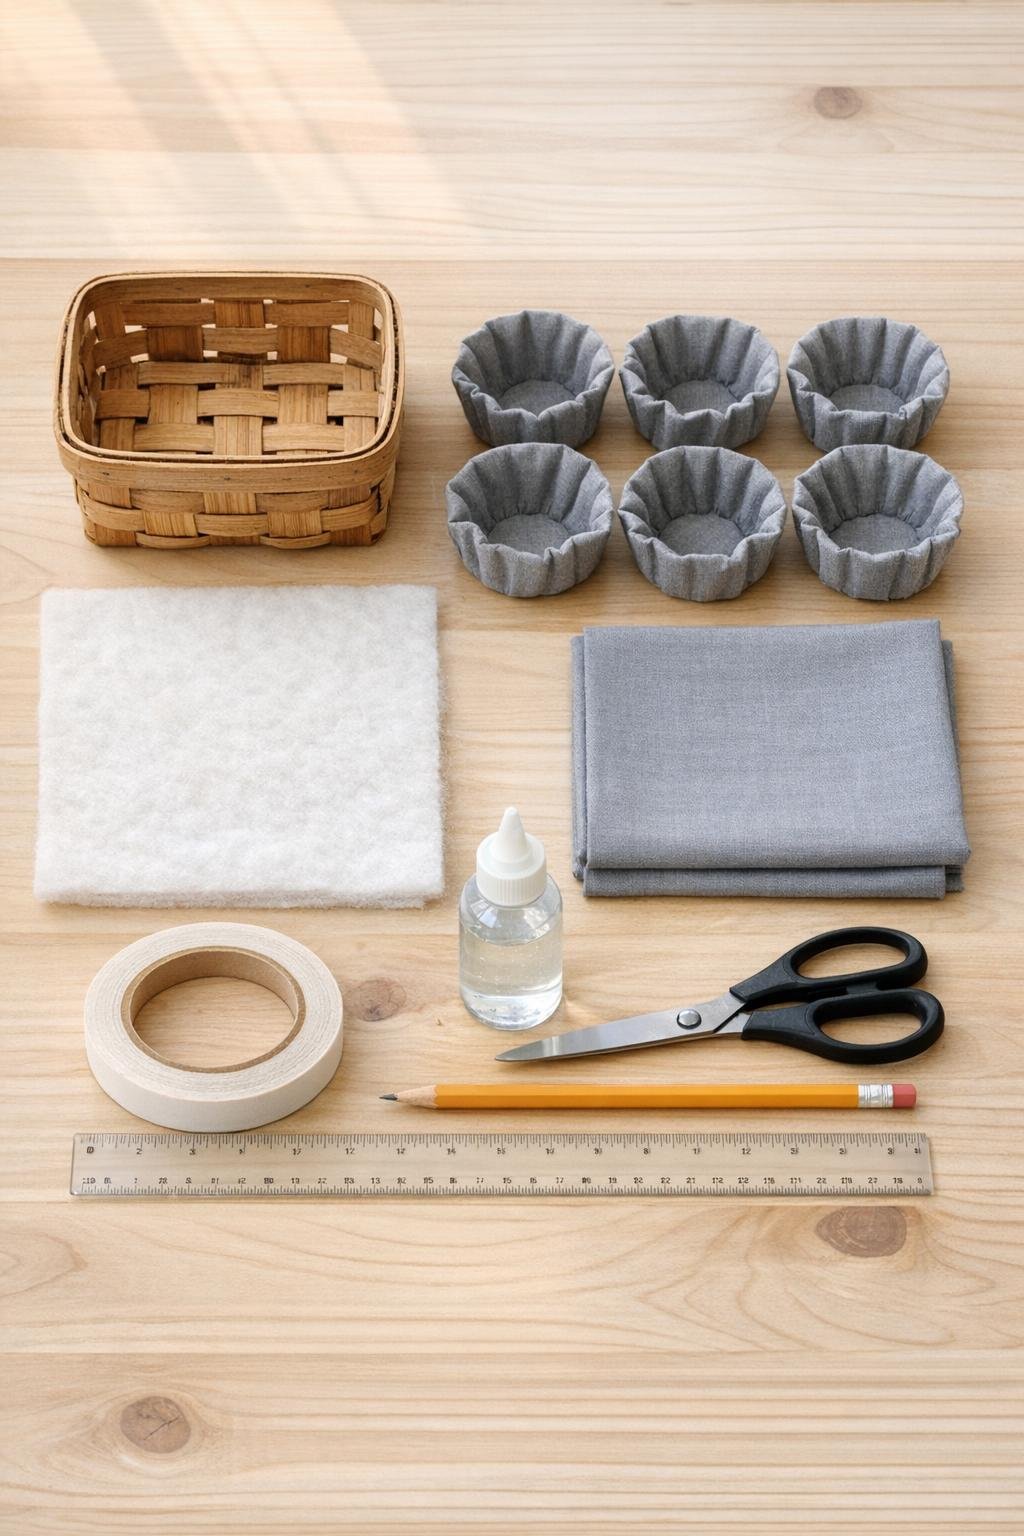
Materials
Instructions
1. Measure the inside of the bread basket, then sketch a simple layout for six compartments in two rows of three so the muffin tin liners fit snugly without crushing each other.
2. Cut the cardstock to fit the basket bottom, then trim it again if needed so it drops in flat and sits neatly against the basket sides.
3. Cut the quilt batting to the same size as the cardstock base and tape or glue it on top to create a softly padded insert that helps the liners sit securely.
4. Wrap the padded base with the gray cotton fabric like a present, pulling it smooth across the top and securing the excess fabric underneath with double-sided tape or a thin line of glue.
5. Place the finished fabric-covered base into the basket and press it down so the bottom looks tailored and clean instead of loose or bulky.
6. Set the six gray fabric muffin tin liners on top of the fabric base in your planned two-by-three arrangement, adjusting the spacing until the basket looks full and balanced.
7. Add a small strip of double-sided tape or a dot of clear-drying glue beneath each liner so it stays in place when someone lifts a remote out one-handed.
8. Cut the nonslip shelf liner to fit around the edges of the insert or beneath the central liners if needed, then tuck it in discreetly anywhere the compartments want to slide.
9. Press each liner gently outward so the fabric sides open up fully and create deeper, round pockets that can hold remotes upright instead of letting them flop over.
10. If you want a more polished look, tie the ribbon in a simple bow around one basket handle or weave a short piece through the side slats and knot it neatly.
11. Add felt pads to the bottom of the basket so it glides easily on a coffee table or side table without scratching the surface.
12. Fill the compartments with remote controls, reading glasses, charging cords, and a small notepad, grouping the tallest items toward the back so the caddy stays easy to use and nice to look at.
Variations & Tips
For extra-tall remotes: Use jumbo muffin tin liners for the back row and standard liners for the front row so taller items sit securely without blocking the smaller compartments.
For picky family members: I like assigning one compartment per person when everyone has a favorite remote or their own glasses; it cuts down on the “Who moved it?” question that somehow comes up every evening.
If your basket is wider: Add a seventh or eighth liner and make a fuller arrangement rather than leaving open gaps, because this project looks best when the basket feels nicely filled.
For a softer finish: Swap the cotton base fabric for a small piece of flannel or lightweight home décor fabric to give the inside an even cozier look.
To keep it easy to clean: Choose wipeable fabric liners or spray the cotton base lightly with fabric protector once it is dry, especially if the caddy will sit near snack bowls or a family movie-night setup.
For a more decorated style: Glue a narrow strip of trim along the basket rim or add a slightly wider ribbon bow in a color that matches your throw pillows for a living room look that feels pulled together.
Best placement: This caddy works especially well on a narrow side table, an ottoman tray, or the corner of a coffee table where it corrals clutter but still leaves room for mugs and snack plates.