
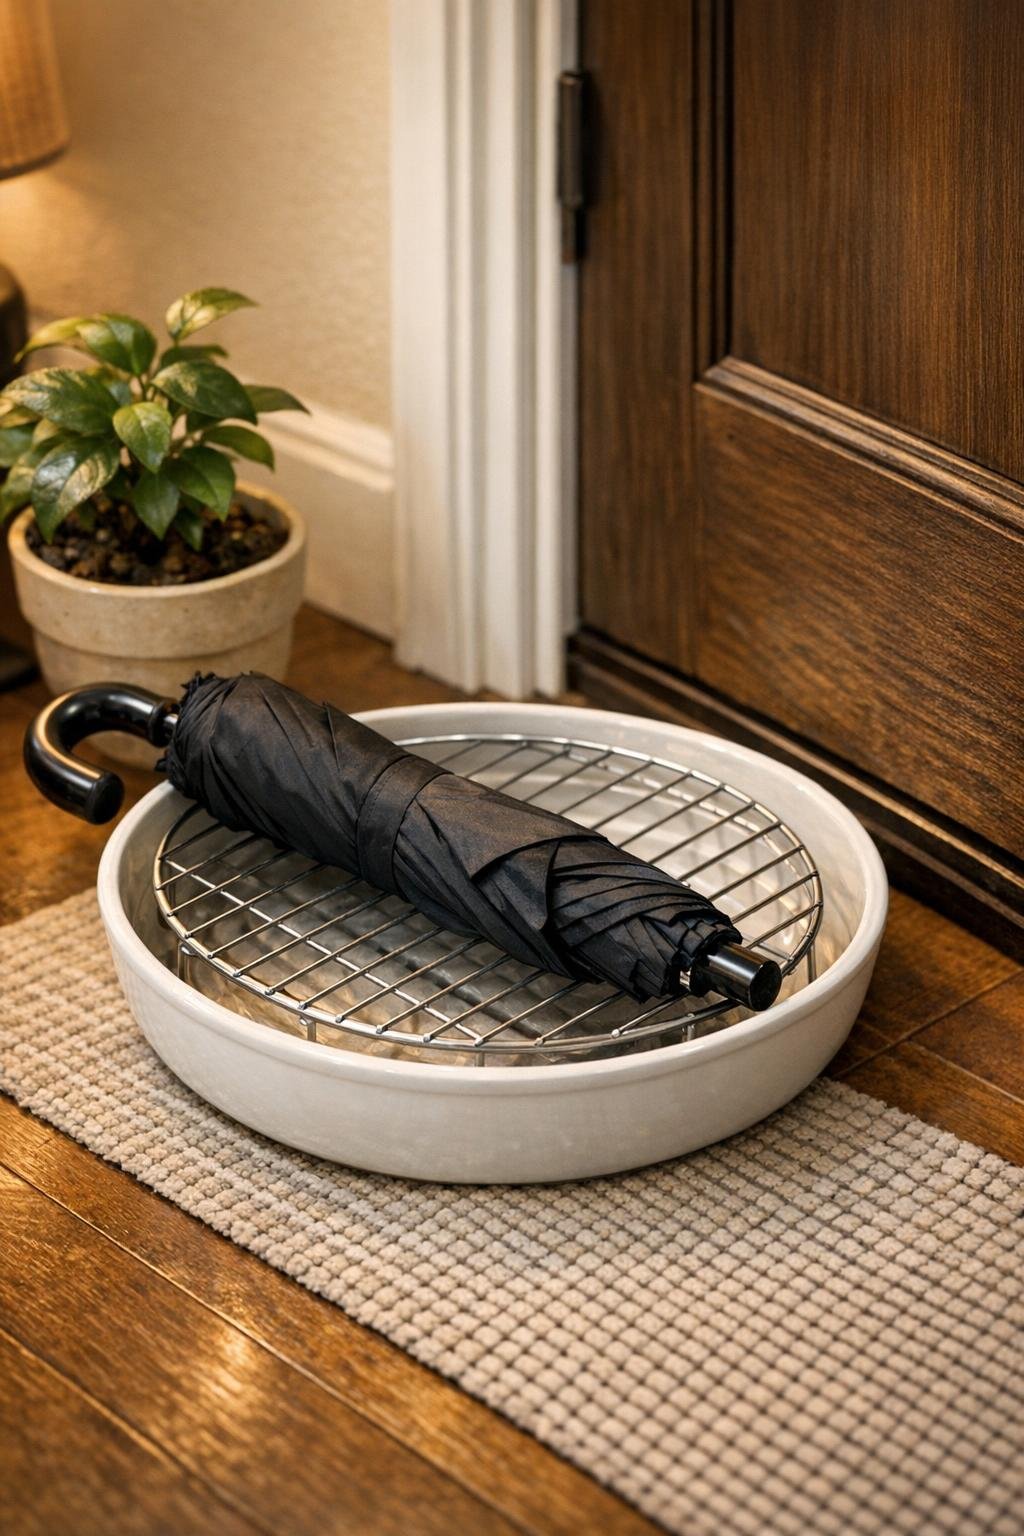
There are some little household fixes that feel almost too simple, and then you set them by the door and wonder how you ever lived without them. This umbrella drip tray is one of those for me: a round metal cooling rack set right over a large shallow ceramic planter saucer, so wet umbrellas can drip and air out instead of puddling across the hallway floor. It looks tidy, catches the mess, and costs far less than the fussy specialty trays I used to see in catalogs.
I’m especially fond of projects like this because they solve a real problem without a lot of sawing, sanding, or carrying on. If you have a rainy-season entryway, a mudroom, or a narrow hallway that needs to stay neat, this is an easy afternoon fix with a polished, intentional look. It reminds me of the practical things my family always favored out here in the Midwest—plain, useful, and handsome enough that folks notice.
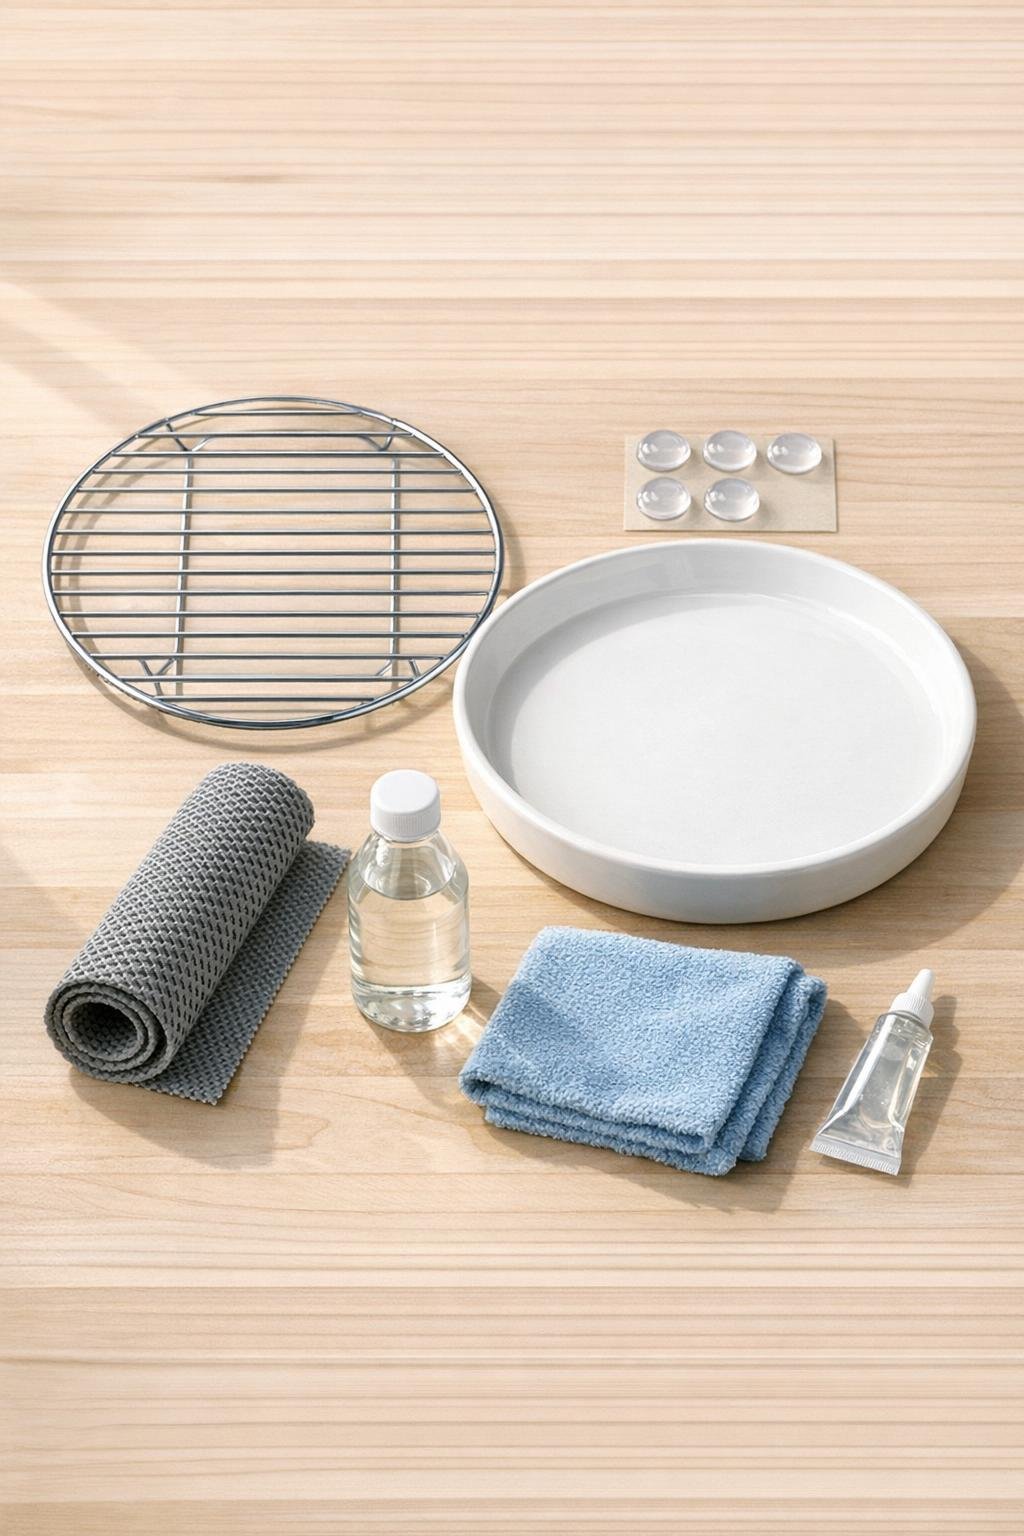
Materials
Instructions
1. Wash the ceramic saucer and the metal cooling rack with warm water, then wipe both down with white vinegar and dry them well so everything starts clean and dust-free.
2. Set the saucer on your hallway floor where you want it to live, and place the cooling rack on top to check the fit; the rack should sit comfortably inside the rim with a little border of saucer showing all around.
3. Turn the cooling rack upside down and press one clear rubber bumper near each outer edge on the underside so the rack will sit slightly raised and won’t scrape the ceramic.
4. If your bumpers are not self-adhesive enough, add a tiny dab of clear waterproof adhesive under each one and let them set for the time recommended on the adhesive.
5. Cut the non-slip shelf liner into a circle or square slightly smaller than the bottom of the saucer, and lay it underneath the saucer so the tray won’t shift when someone drops in a wet umbrella in a hurry.
6. Place the cooling rack right-side up over the saucer, resting it on the bumpers, and make sure it feels level and sturdy with a nice air gap below for water to collect.
7. Test it with a damp umbrella by standing the tip on the rack; the rack should keep the umbrella up out of the water while the saucer catches every drip.
8. For a more finished look, center the tray beside a small boot mat or narrow entry rug so it feels like part of the hallway setup instead of an afterthought.
Variations & Tips
For taller umbrellas: Use a saucer closer to 14 inches wide so longer stick umbrellas have a broader, steadier landing spot and the tray looks generous instead of skimpy.
For a darker hallway: Swap the white saucer for a soft gray or cream one if that better suits your floor, but keep the same shallow shape so the cooling rack still sits securely over it.
For extra protection: Add four more rubber bumpers around the rack if you expect heavy use from a big family or lots of company; that little bit of extra support keeps the rack from rocking.
To keep it looking fresh: Empty and wipe the saucer every few rainy days so mineral spots don’t build up, especially if your water is hard like ours can be out in the country.
For winter slush: This same setup works beautifully for one pair of wet shoes or snow boots from a child, just as long as you rinse and dry the rack now and then to keep it looking nice.
A simple styling touch: I like to place this near a basket for scarves or gloves so the whole entry feels orderly; it’s such a small thing, but those are often the details visitors remember and ask about.