
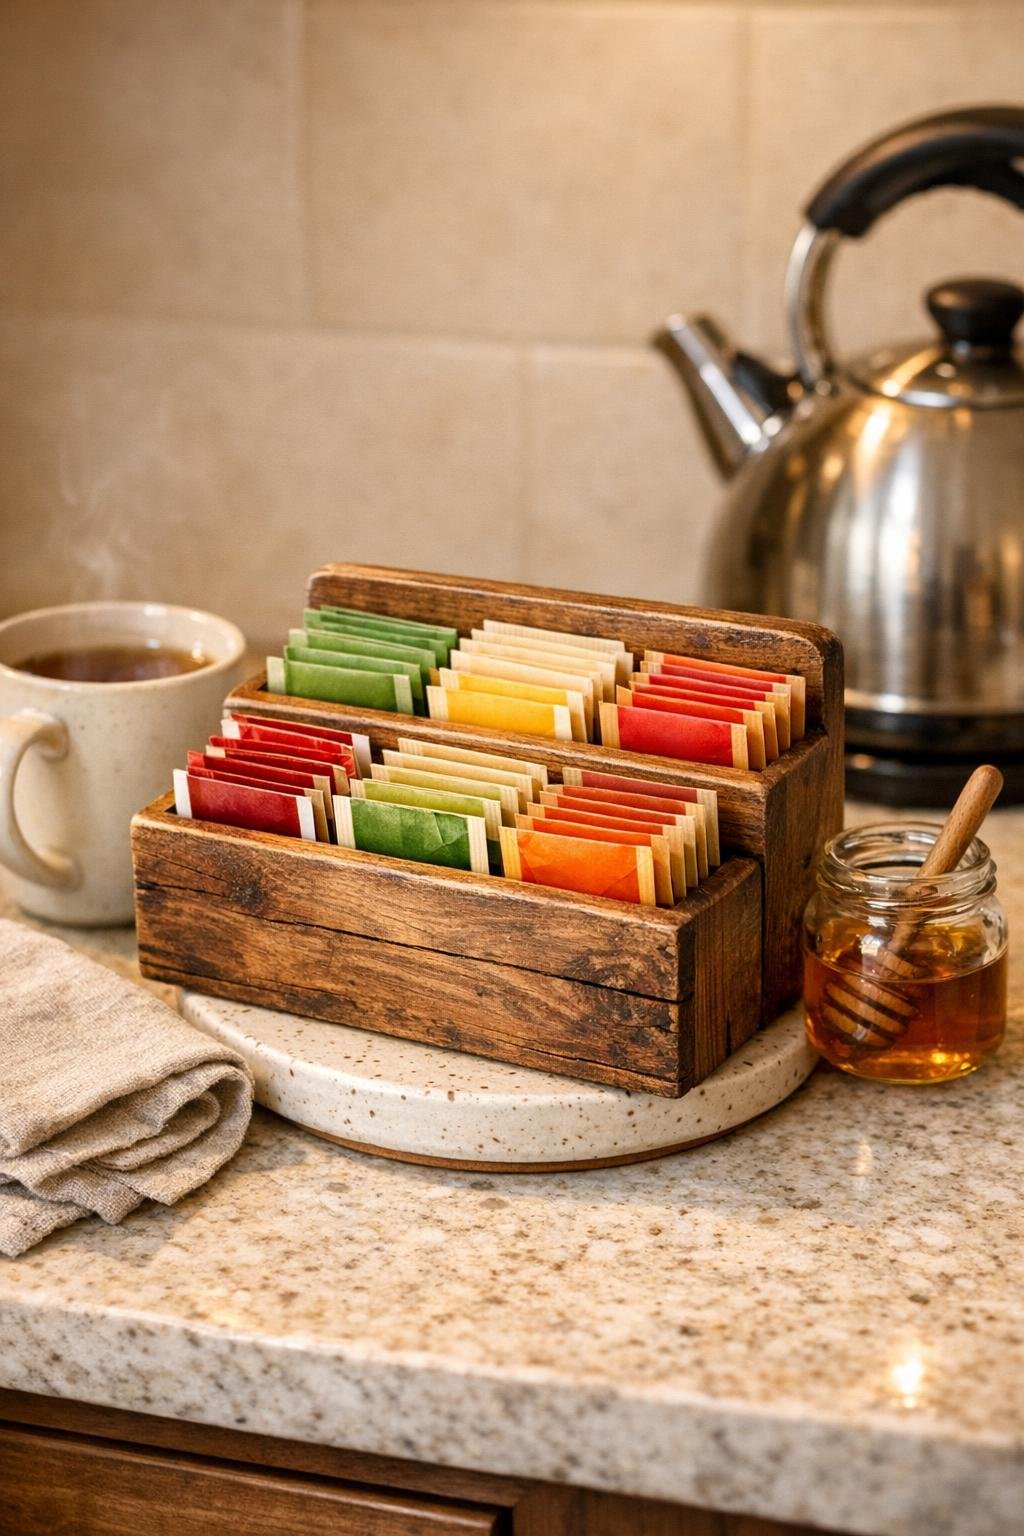
If your tea collection has a way of migrating all over the counter, this little organizer is one of those small kitchen projects that earns its keep immediately. I’m taking a simple wooden letter holder and turning it into a compact tea station by setting it over a ceramic trivet, which gives it a finished base and makes the whole piece feel intentional instead of improvised.
I love projects like this because they solve a real everyday problem without asking for an entire weekend. If you have a cozy kitchen, a tea habit, or a soft spot for practical storage that still looks charming on the counter, this is an easy one to make and even easier to use.
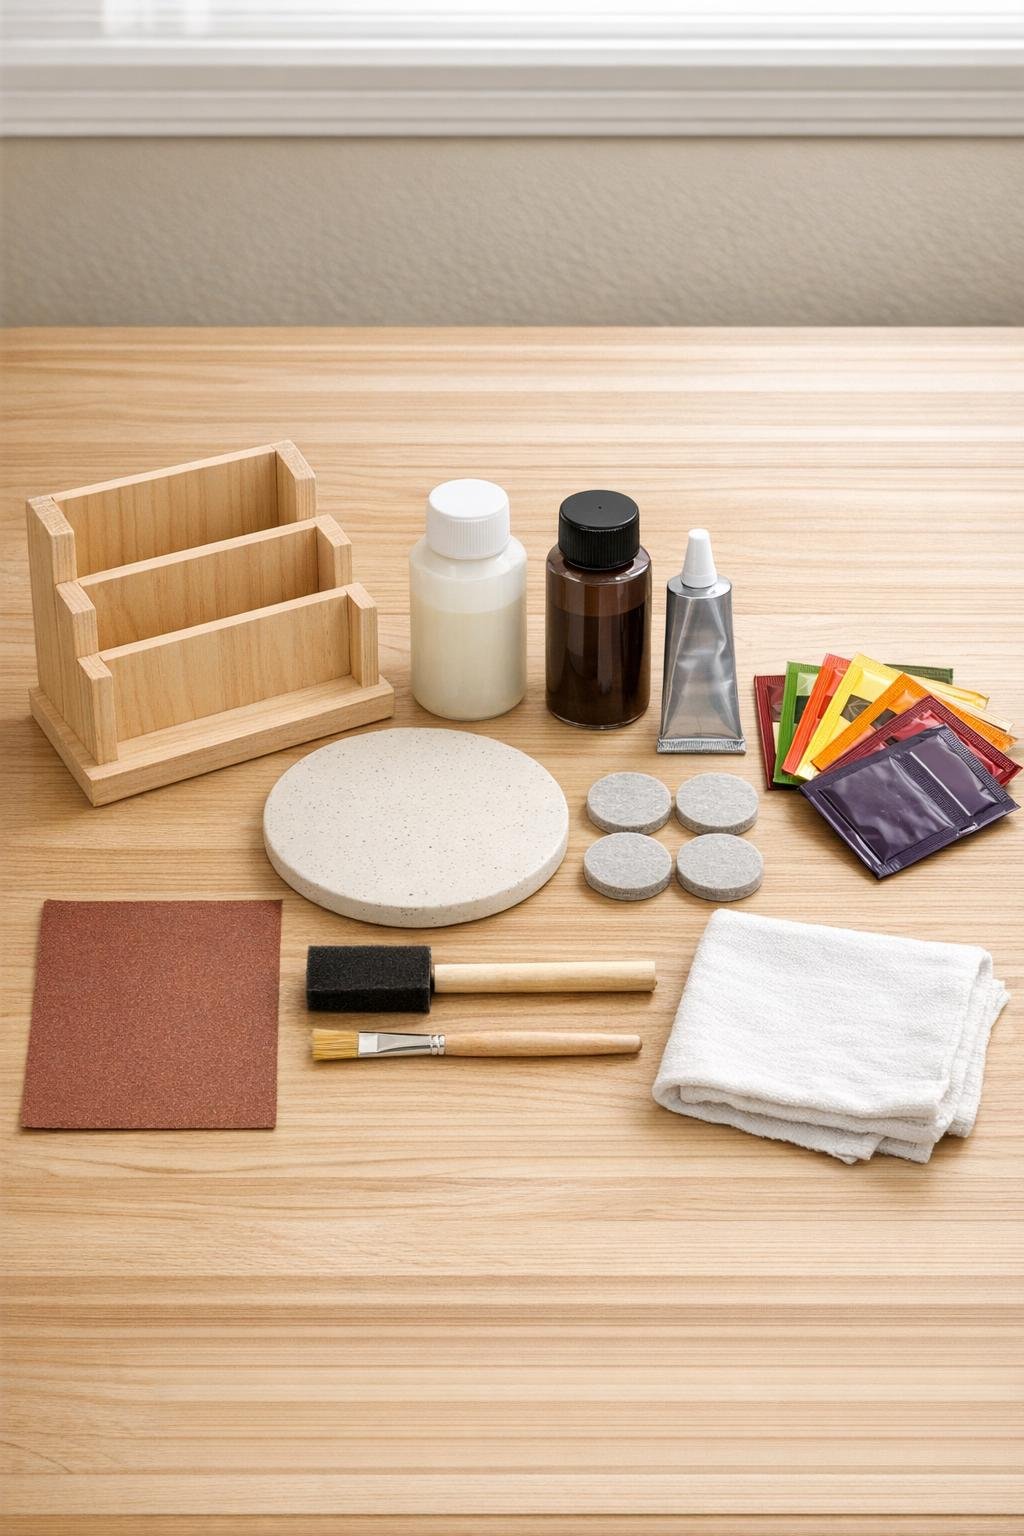
Materials
Instructions
1. Test the wooden letter holder on top of the ceramic trivet and center it so the base looks balanced from all sides. Choose the front-facing direction now, especially if one side of the letter holder has a cleaner shape.
2. Lightly sand the wooden letter holder to soften rough edges and help the finish go on evenly. Wipe away all dust with a clean cloth.
3. Apply a thin coat of stain or paint to the letter holder, working into the divider edges and outer frame. Let it dry completely, then add a second coat if you want deeper color or more even coverage.
4. Seal the finished letter holder with a light coat of matte sealer so it stands up better to kitchen moisture and handling. Let it dry fully before assembling.
5. Clean the top of the ceramic trivet so the adhesive grips well, then run a generous bead of clear craft adhesive along the bottom edges of the letter holder. Set it centered on the trivet and press down firmly.
6. Let the adhesive cure according to the package directions before moving the organizer. If needed, place a small can or jar inside the holder for light pressure while it sets.
7. Add felt pads underneath the trivet to protect the counter and keep the organizer from sliding. This small step makes it feel much more polished in daily use.
8. Sort the tea packets by type, flavor family, or caffeine level, then slide them into the slots so the tops stay visible. Fill each section generously for a full, abundant look that also makes selection easy.
9. Adjust the packet heights by staggering a few forward and a few back in each slot. I like doing this because it makes the organizer look fuller and lets guests spot their options at a glance.
Variations & Tips
Painted farmhouse look: Use cream, soft black, or sage chalk paint instead of stain, then lightly distress the edges with sandpaper after drying for a more vintage kitchen feel.
Trivet swap: A square ceramic trivet works just as well if that’s what you have; just make sure the letter holder sits fully on the surface with a little border showing around it.
Extra-sturdy bond: If the letter holder is heavier or the trivet surface is especially slick, rough up the contact area very lightly with sandpaper before gluing.
Tea sorting system: I find it most useful to group black teas in one section, herbal teas in another, and green or specialty blends in the remaining slots so nobody has to shuffle through every packet.
Easy-clean finish: Stick with a matte or satin water-based sealer so you can wipe away kitchen dust and the occasional tea drip without the wood looking plastic-coated.
Gift version: Fill the organizer with 24 to 30 tea packets, add a mug and a honey stick, and wrap the whole set in clear cellophane for a thoughtful housewarming or hostess gift.