
There are some projects that feel a little like kitchen magic, and this is one of them. You start with a humble bowl of glue and cornstarch, give it a turn in the microwave, and before long you have a smooth, moldable dough that dries with a lovely porcelain-like finish. I’ve always had a soft spot for that kind of transformation—simple pantry-and-drawer ingredients becoming something that looks far more special than it ought to.
This is a wonderful little craft for anyone who wants a handmade holiday project that feels elegant without being fussy. If you enjoy easy ornament making, air-dry clay projects, or old-fashioned Christmas decorating, this one is especially satisfying. The steps are straightforward, the materials are inexpensive, and the finished result has that polished, heirloom look I always think makes a tree feel truly loved.
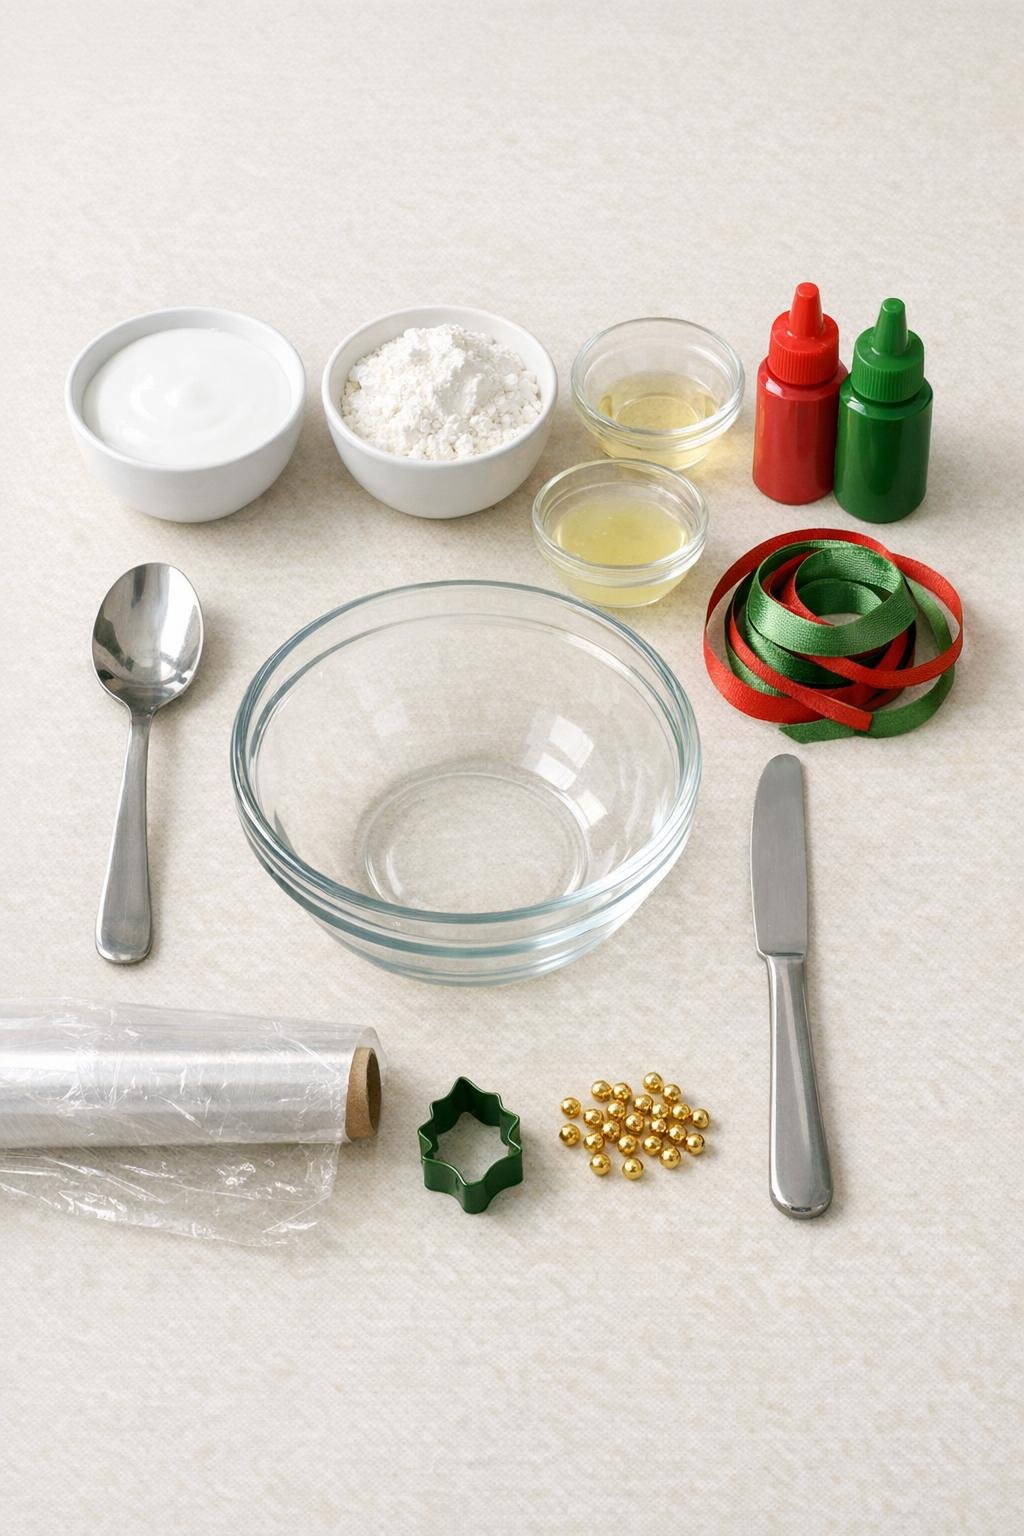
Materials
1 cup white school glue
Instructions
1. Add the glue, 1 cup of cornstarch, baby oil or lotion, and lemon juice to the glass bowl, then stir until the mixture is smooth and creamy with no dry pockets.
2. Microwave the bowl for 30 seconds, stir well, then microwave in 15-second bursts, stirring after each one, until the mixture pulls together into a soft dough; this usually takes 45 to 75 seconds more.
3. Turn the hot dough onto a sheet of plastic wrap, let it cool just until comfortable to handle, then knead it for 2 to 3 minutes until smooth and elastic; dust your hands lightly with extra cornstarch if it feels sticky.
4. Divide the dough into three larger pieces and three smaller pieces; tint the larger portions red and the smaller portions green by kneading in acrylic paint a little at a time until the color is even.
5. Wrap each colored piece in plastic wrap and let it rest for 5 minutes so the paint and moisture settle evenly through the dough.
6. Pinch off 5 to 6 small red pieces for the first flower and shape them into teardrop petals about 1 1/4 inches long; flatten each one gently with your fingers or the back of the butter knife.
7. Make 2 to 3 green leaves for that same flower, shaping them by hand or pressing dough with the small leaf cutter, then use the butter knife to press in simple leaf veins.
8. Overlap the green leaves in a small star, then layer the red petals on top in a full blossom, arranging them in a slightly cupped circle so the flower looks lush rather than flat.
9. Press 6 gold seed beads into the center of the flower, then use the tip of the butter knife or a skewer tip to make a small hole near the top petal for hanging.
10. Repeat the shaping and assembly to make 3 full flowers total, using all the red dough for generous petals and all the green dough for leafy backing.
11. Let the ornaments dry flat for 24 hours, flip them carefully, and dry another 24 to 48 hours until hard all the way through.
12. Thread an 8-inch ribbon through each hole and tie it into a hanging loop, trimming the ends neatly so the ornaments are ready for the tree.
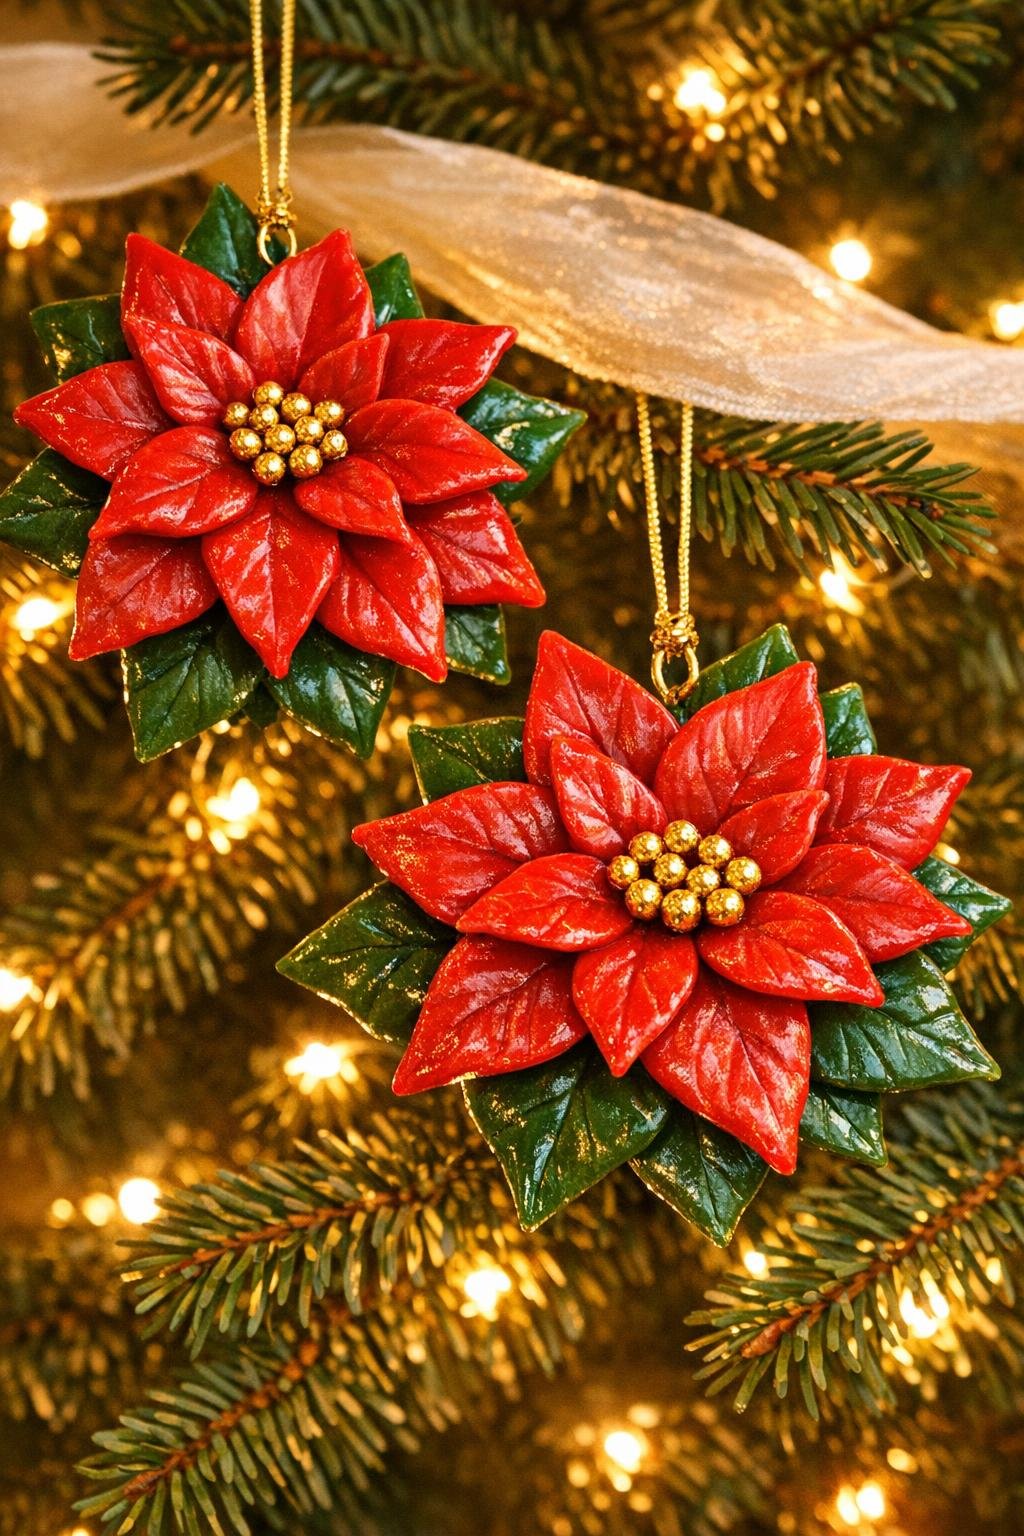
Variations & Tips
For smoother dough: If the mixture gets too firm in the microwave, knead in a pea-sized dab of lotion while it is still warm. I’ve found that a little softness now saves a lot of cracking later.
For richer color: Knead the paint in thoroughly and let the dough rest before shaping. That short rest helps the color even out beautifully, especially with red.
For fuller flowers: Use 6 petals instead of 5 and slightly overlap them at the center. Poinsettias look best when they feel abundant, not skimpy.
For crisp details: Dust your fingers and tools lightly with cornstarch as you work. Just a touch keeps the dough from dragging and gives cleaner petal edges and leaf lines.
For a polished finish: Once fully dry, you can brush on a very thin coat of clear craft sealer if you like a subtle sheen. I usually keep the finish soft and natural, but a little sealer does make the colors pop.
For gift giving: Tie each ornament to a package or tuck one into a cookie tin with tissue paper. Handmade holiday pieces like this always remind me of the decorations mothers and grandmothers used to save from year to year, and that kind of charm never goes out of style.