
I love a project that rescues something too pretty to throw away, and old holiday cards are high on that list for me. The artwork is usually rich, colorful, and nostalgic, so turning that little stack into something decorative feels a bit like giving the season a second course instead of scraping the plate. This one is especially satisfying because the pieces are simple, repetitive, and forgiving, but the finished result looks far more elaborate than the effort suggests.
If you have a pile of saved cards, a cardboard ring, and a little table time, this is a wonderfully manageable craft. It’s ideal for anyone who likes budget-friendly holiday decorating, memory-keeping projects, or easy paper crafts that still look polished enough to hang up proudly or give away.
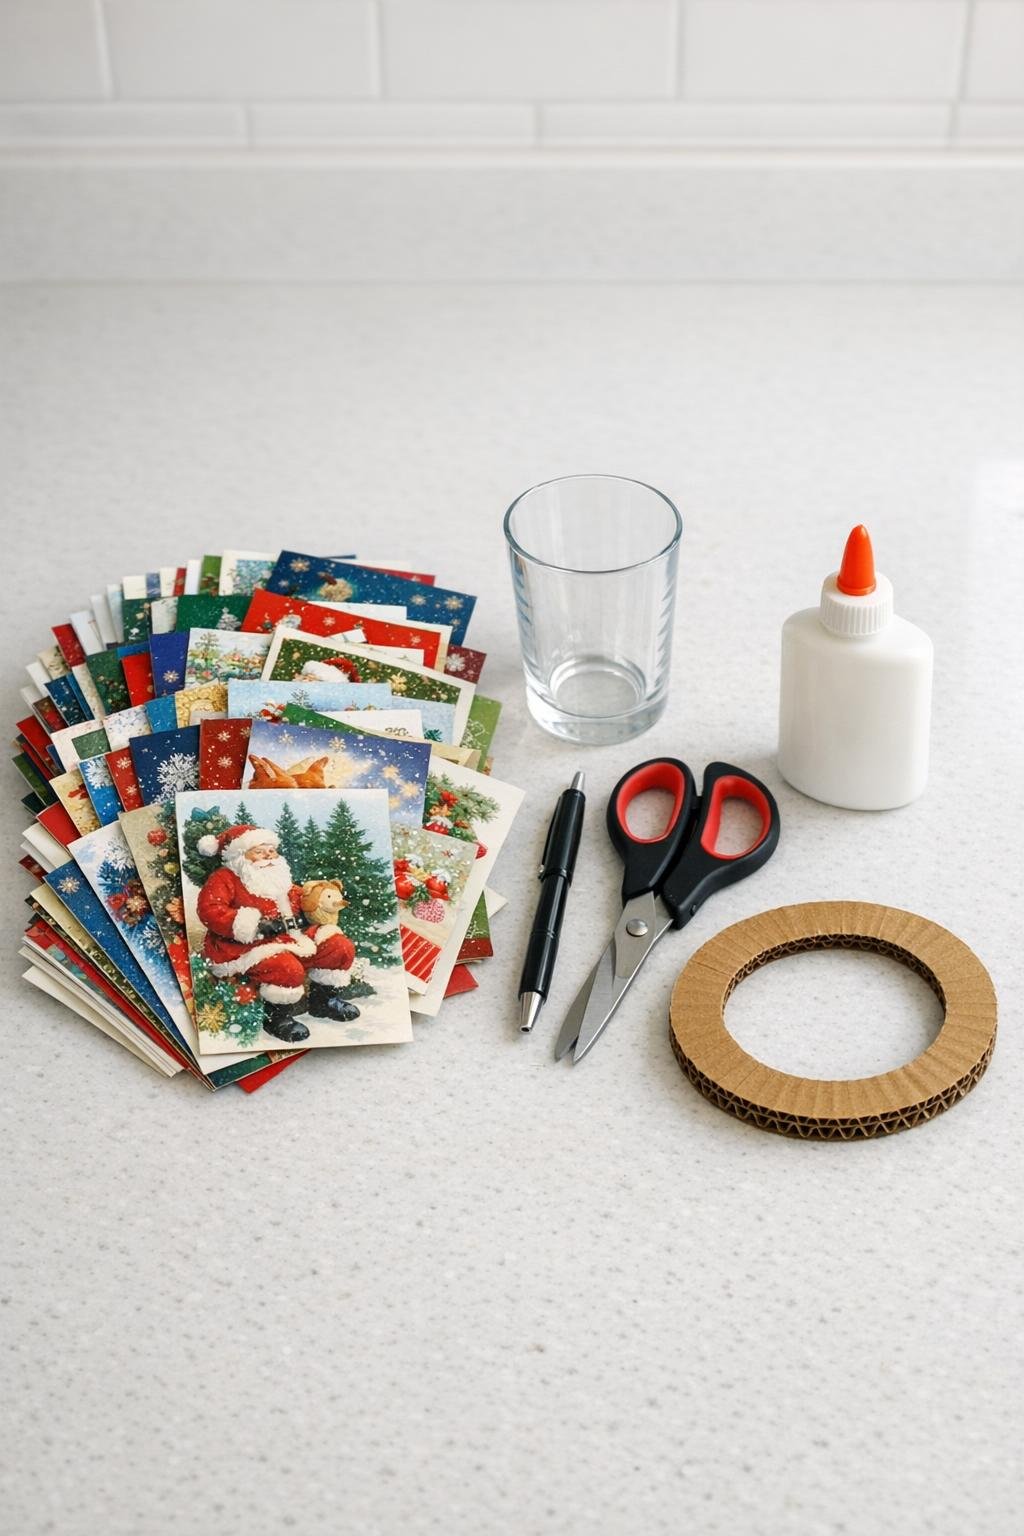
Materials
40 old Christmas cards, standard greeting-card size with colorful fronts
Instructions
1. Sort through the old Christmas cards and choose at least 40 fronts with strong color, pattern, or holiday imagery so the finished piece looks full and varied.
2. Place the drinking glass on each card front and trace 40 circles, keeping the best parts of the designs centered inside the outlines.
3. Cut out all 40 circles as neatly as you can; a smooth edge helps the folded pieces sit tightly together later.
4. Fold one circle in half, then in half again, and open it back up so you can see four equal sections marked by creases.
5. Fold the outer curved edge of each quarter inward toward the center point, overlapping slightly, to create a rounded petal-like unit; repeat with all 40 circles.
6. If your cardboard ring is rough, trim any uneven edges now so the base is clean and balanced before you begin gluing.
7. Glue the first row of folded units around the outer edge of the cardboard ring, placing each one with its pointed center facing inward and the rounded folds facing out, slightly overlapping them for dense coverage.
8. Add a second row just inside the first, staggering the pieces between the seams below so the ring starts to look lush and layered instead of flat.
9. Fill the entire ring with the remaining folded units, covering as much of the cardboard as possible and adjusting the spacing so the colors and patterns feel evenly distributed.
10. Glue any lifted flaps or loose edges down lightly so the shape stays dimensional but secure, then let the wreath dry flat for at least 30 minutes.
11. If you want to hang it, glue the ends of the ribbon or twine into a loop on the back top of the ring and hold it in place with a paper clip or clothespin until set.
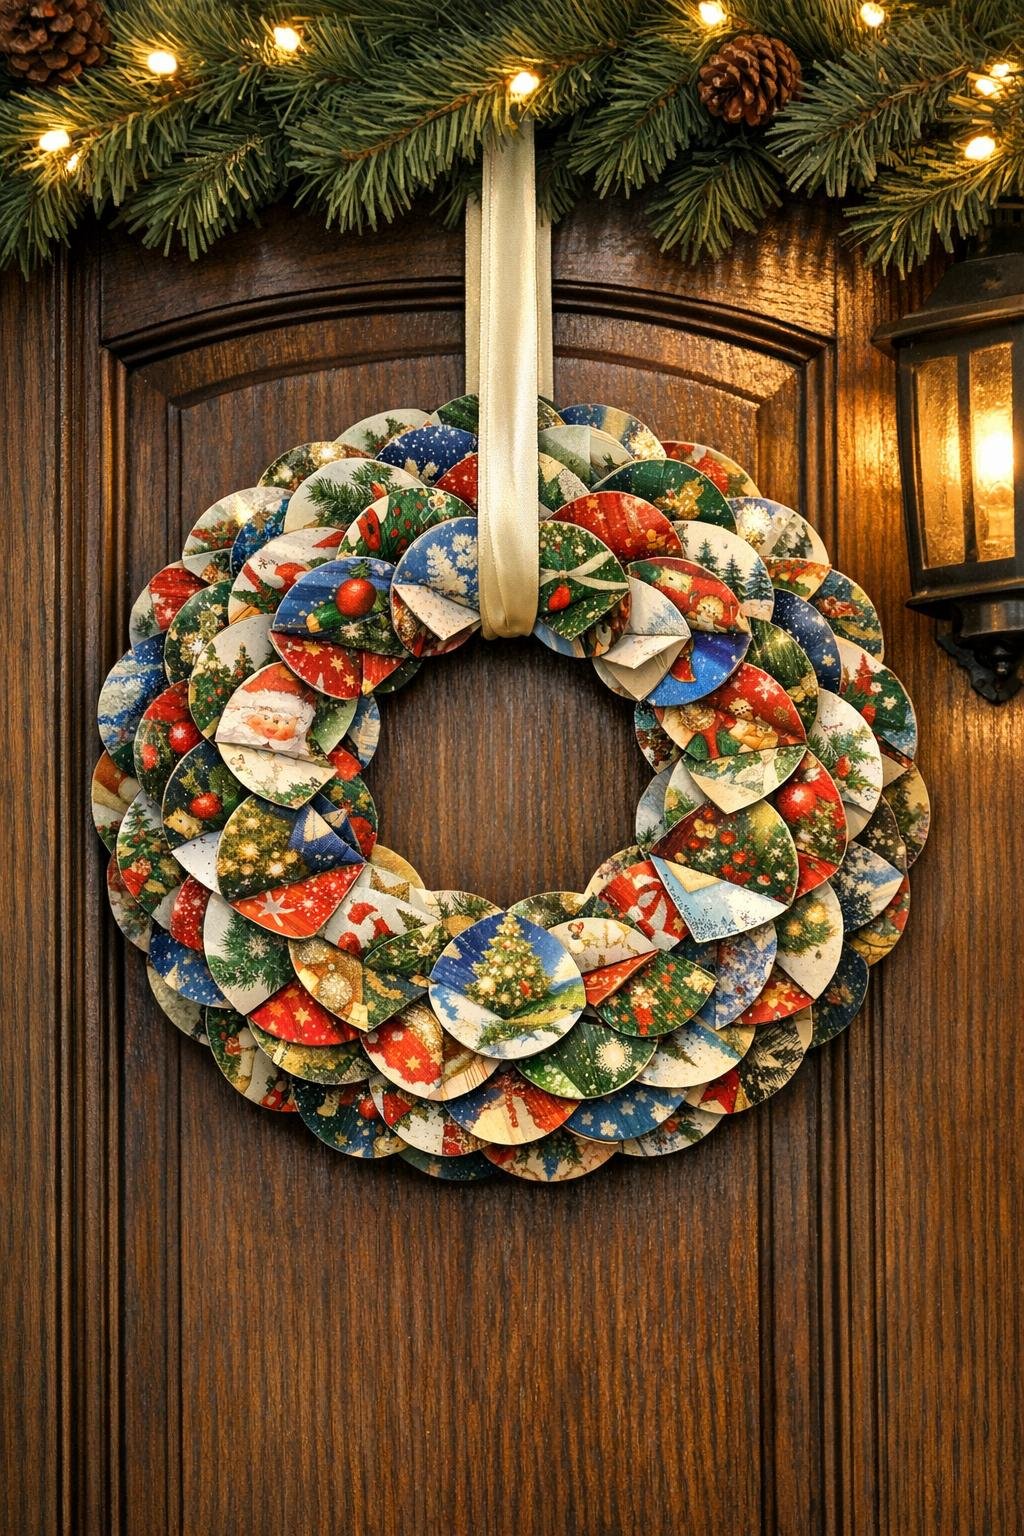
Variations & Tips
Use a color story: If you want a more designer look, group cards by palette such as red and gold, snowy blue and silver, or vintage greens and creams before you start gluing.
Make it fuller: For an especially generous look, cut 48 to 50 circles instead of 40 and pack the inner row tightly; I find a crowded ring almost always looks richer and more finished.
Choose the right glue: Tacky glue grabs faster than school glue and helps the folded pieces stay where you place them, especially on slick glossy card stock.
Save standout images: If a card has a beautiful wreath, bird, ornament, or Santa face, reserve that circle for a more visible outer section where the artwork can shine.
Turn it into a memory piece: Using cards from friends and family gives the project a lovely sentimental layer, especially if you remember who sent which design; that little story is half the charm for me.
Store it flat: After the season, lay it in a shallow box with tissue paper over the top so the folded sections do not get crushed.