
I love a thrift-store project that solves a real-life problem, and this one absolutely does. If you’ve ever spotted an old wire document tray with good bones but a scratched, rusty finish, this crochet makeover turns it into a sturdy, warm-looking storage basket that feels surprisingly high-end. The best part is that the metal tray already gives you the structure, so you get the satisfaction of crochet without having to build a basket shape from scratch.
This is a great project for anyone who knows a few basic crochet stitches and wants a weekend DIY that looks far more impressive than it is difficult. I’m always looking for prettier ways to contain kitchen linens, mail, chargers, and all the little clutter that seems to migrate across my counters, and this method gives that vintage office tray a second life while keeping the wire frame visibly part of the design.
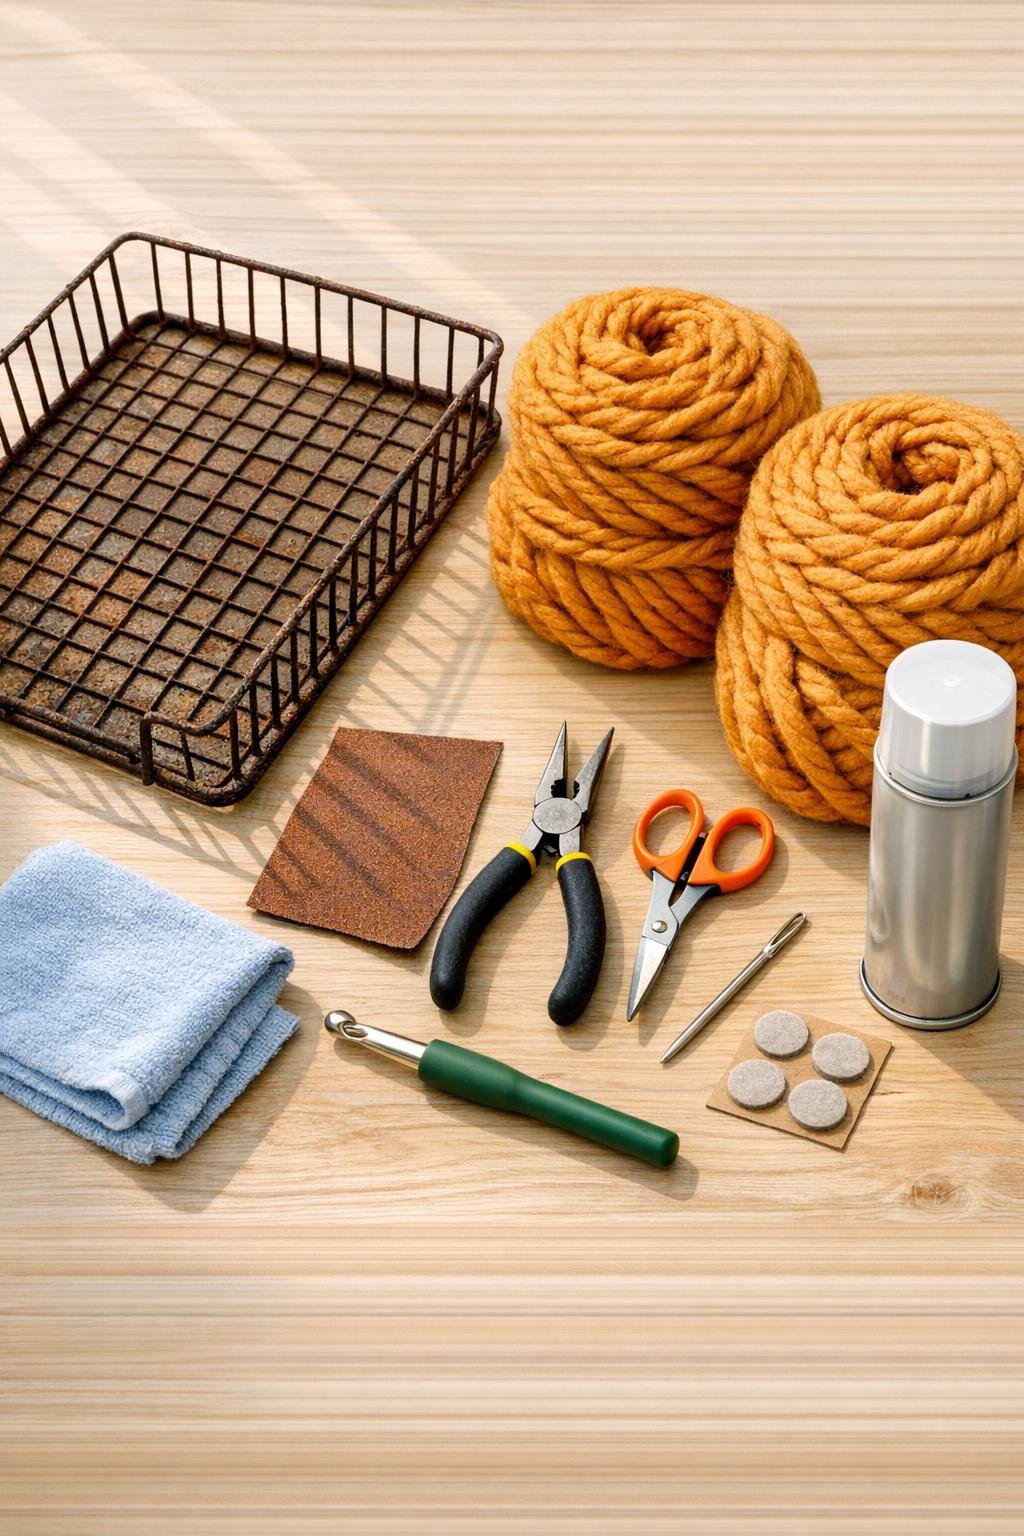
Materials
1 vintage wire metal document tray, approximately 14 inches long x 10 inches wide x 3 inches tall
Instructions
1. Wipe down the metal document tray with a damp cloth, then sand any flaky rust or rough spots until the frame feels smooth enough that it won’t catch the yarn.
2. Use needle-nose pliers to bend any warped wires back into line so the tray sits flat and the sides look even.
3. Spray the tray with a light coat of clear rust-inhibiting sealer and let it dry completely; this keeps the vintage finish but stops more rust from rubbing off onto the yarn.
4. Tie the yarn securely around one bottom corner of the tray frame, then work single crochet stitches directly through each wire opening along the outer edge to anchor the yarn all the way around the base.
5. Continue across the bottom grid, working one single crochet around each crossbar and pulling the stitches snug so the yarn starts filling the metal base with dense coverage.
6. When the bottom is fully covered, work a second pass of single crochet around the inside perimeter of the base to tighten gaps and create a neat transition before moving up the sides.
7. Start on one long side and crochet through each side opening, working one single crochet per wire space and stacking the stitches upward row by row until the side is fully wrapped.
8. Repeat on the second long side, then crochet both short ends the same way, keeping the stitches firm and close together so the basket looks full rather than patchy.
9. At each corner, add one extra stitch around the vertical corner wire wherever needed so the crochet bends smoothly without pulling or leaving open gaps.
10. Crochet a final edging row around the top rim by wrapping single crochet stitches over the top wire, covering the sharp look of the metal edge and giving the basket a finished border.
11. Cut the yarn with an 8-inch tail, thread it onto the yarn needle, and weave the end back through several nearby stitches on the inside until it feels secure.
12. Check the basket for any bare spots, then use short leftover lengths of yarn to fill small gaps around corners or the rim so the coverage looks even and generous.
13. Press four adhesive felt pads onto the underside corners of the tray so the finished basket slides smoothly and doesn’t scratch a shelf, desk, or countertop.
Variations & Tips
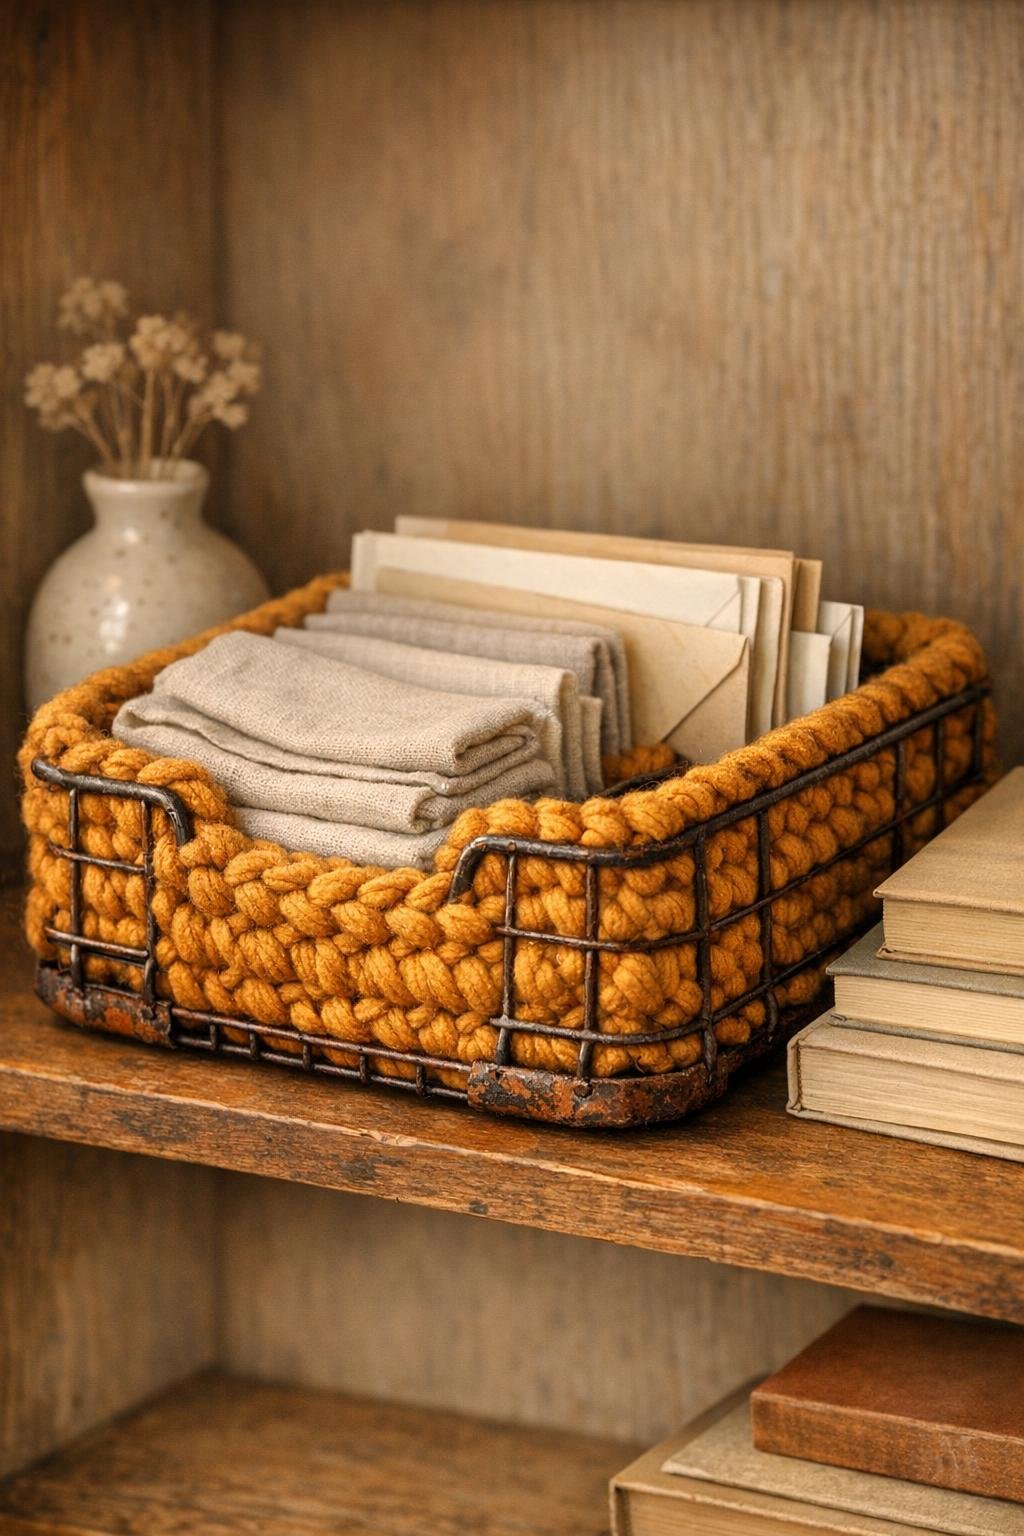
Use it in the kitchen: I love this size for corralling folded dish towels, tea packets, or recipe cards on a counter where I want storage to look intentional instead of cluttered.
Choose the right yarn: Super bulky yarn gives the best coverage fast, and a plied yarn holds up better against the wire frame than a fluffy roving-style yarn.
If your tray has wide openings: Work two stitches in larger wire spaces so the crochet fills the frame nicely and you don’t end up with saggy sections.
For a cleaner finish: Keep all yarn joins along one short end or near the bottom inside edge so they disappear once the basket is in use.
Add a softer interior: If you want to store delicate items, tuck in a simple fabric liner cut to about 13 1/2 by 9 1/2 inches for the base and matching side panels.
Try a different look: Amber is beautiful with vintage metal, but cream, olive, charcoal, or rust would all work well if you want the basket to match your room.
Check thrifted frames carefully: I always run my hand lightly over the wires before starting because one tiny sharp spot can snag chunky yarn and slow the whole project down.