
There’s something deeply satisfying about taking a jumble of little old notions and turning them into one sculptural piece that looks far more special than the sum of its parts. This project starts exactly the way the headline promises: with a long length of sturdy wire and a whole pile of vintage buttons, then lets repetition do the heavy lifting until you have a charming, dimensional decoration with real heirloom character.
I love this kind of make because it’s simple enough for an unhurried afternoon, but it still gives you that “where did you get that?” payoff at the end. If you enjoy easy handwork, thrifted materials, or holiday-style crafts that feel collected rather than flashy, this is a wonderfully approachable project.
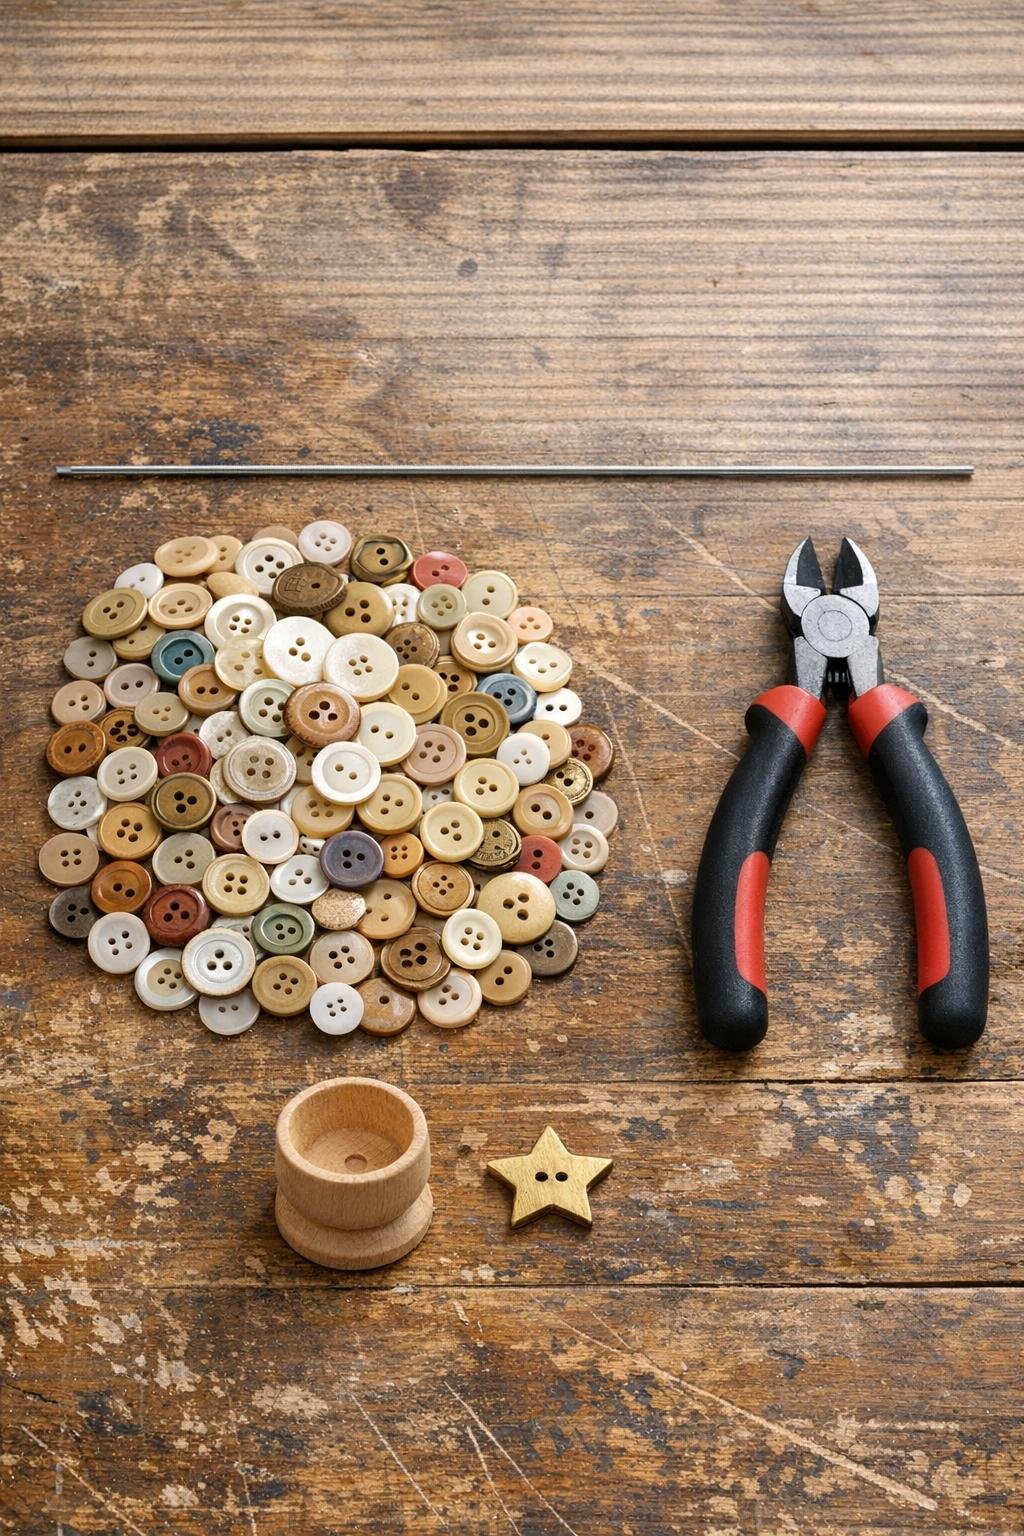
Materials
Instructions
1. Sort your 200 buttons into loose size groups, keeping the largest handful for the bottom, medium buttons for the middle, and the smallest for the top. This gives the finished piece a full tapered shape without making the threading any harder.
2. Cut the heavy wire to 36 inches if needed, then bend a tight stopper loop about 1/2 inch wide at one end with your fingers or pliers. Flatten that loop slightly so the first buttons cannot slip off.
3. Begin threading buttons onto the wire one at a time, mixing colors and finishes as you go but favoring larger buttons first. Let some buttons face different directions and nest against each other so the stack looks textured and generous.
4. Continue adding buttons until you’ve used nearly all 200, checking every so often that the overall stack gradually narrows as it grows. If one area looks too flat, add a few wider or cupped buttons there to build out the silhouette.
5. Slide the button stack down snugly, then leave about 2 1/2 inches of bare wire at the top. Thread on the star button last so it sits like a topper.
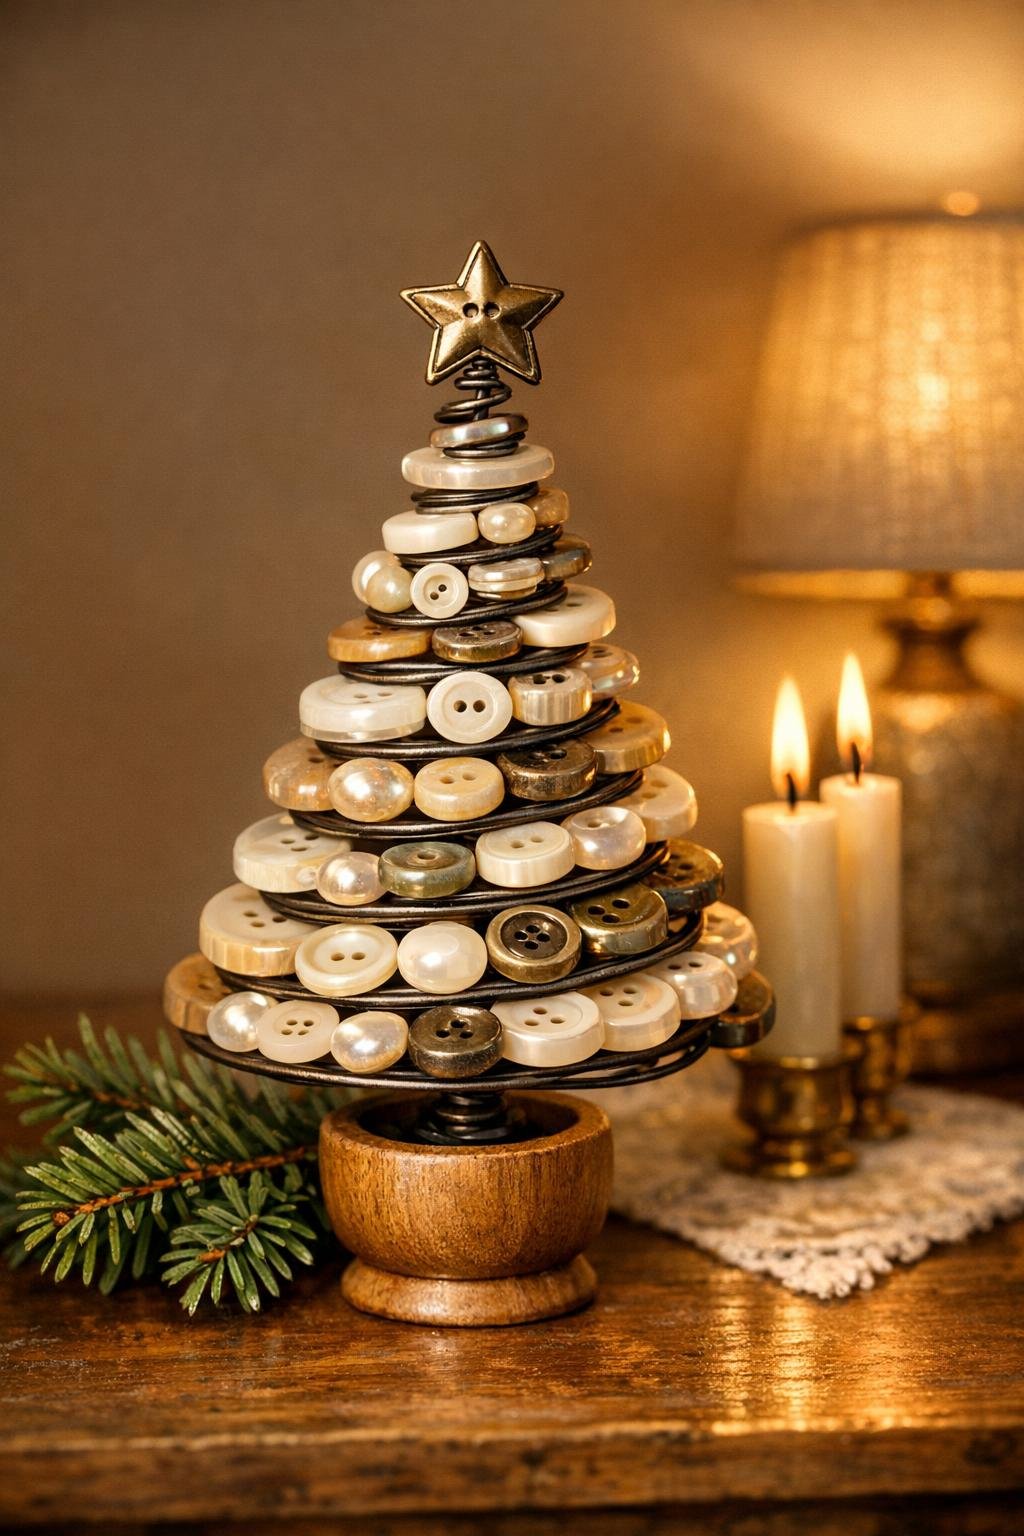
6. Starting at the bottom, gently curve the loaded wire into a spiral tree shape, making the base the widest ring and winding upward in smaller circles. Keep the spiral fairly tight so the buttons touch and create a lush, full look.
7. Insert the bottom wire loop into the center opening of the wooden candle cup base and adjust the lowest spiral so it sits level. Add a small dab of clear-drying craft glue inside the cup if you want the tree permanently secured.
8. Bend the top wire into a tiny finishing loop right above or through the star button to lock it in place, then trim any excess wire. Tweak the spirals with your fingers until the tree looks balanced, open, and evenly tapered from top to bottom.
Variations & Tips
Color story: If your button collection is very mixed, pull a narrower palette such as all whites and creams, metallics and mother-of-pearl, or soft holiday reds and ivories. A tighter color story makes the finished tree look especially polished.
Button sizing: The easiest way to get a dramatic shape is to be generous with the larger buttons at the bottom. I’ve learned from stacking ingredients in the kitchen and stacking materials in crafts that the base does a lot of visual work.
Wire choice: Heavy wire is important here because lightweight floral wire will sag under 200 buttons. If your wire feels too springy, straighten it first and shape the spiral slowly instead of forcing tight bends all at once.
Base options: A wooden candle cup base keeps the project simple and gives it a finished look, but a small drilled wood round also works well. Just make sure the opening fits the wire snugly so the tree stands straight.
Make it fuller: If your button assortment runs small, use a slightly shorter wire, around 30 to 32 inches, so the tree still looks dense rather than skimpy. Packed spirals always look more precious than stretched ones.
Finishing touch: A satin or velvet ribbon tied around the base can soften the transition between the wooden holder and the button spiral. Keep it narrow so it accents the piece instead of competing with the buttons.
Display idea: This looks lovely on a mantel, side table, or holiday shelf grouped with candlelight and greenery. I especially like it where the side lighting catches the different button finishes and makes all that layering show up.