
There’s something about a simple glass jar and a pack of air dry clay that feels a little ordinary right up until the moment it suddenly doesn’t. This project takes those basic supplies and turns them into a soft, cozy Christmas decoration that looks far more special than the effort involved. If you like seasonal crafts that feel calm and satisfying instead of complicated, this one is such a good weekend make.
I love projects like this during December because I can do them on the kitchen counter while dinner is in the oven, and the cleanup is manageable even on a busy weeknight. If you’ve never worked with air dry clay before, this is a very forgiving place to start, and if you have, you’ll appreciate how polished the finished jars look with just a few easy details.
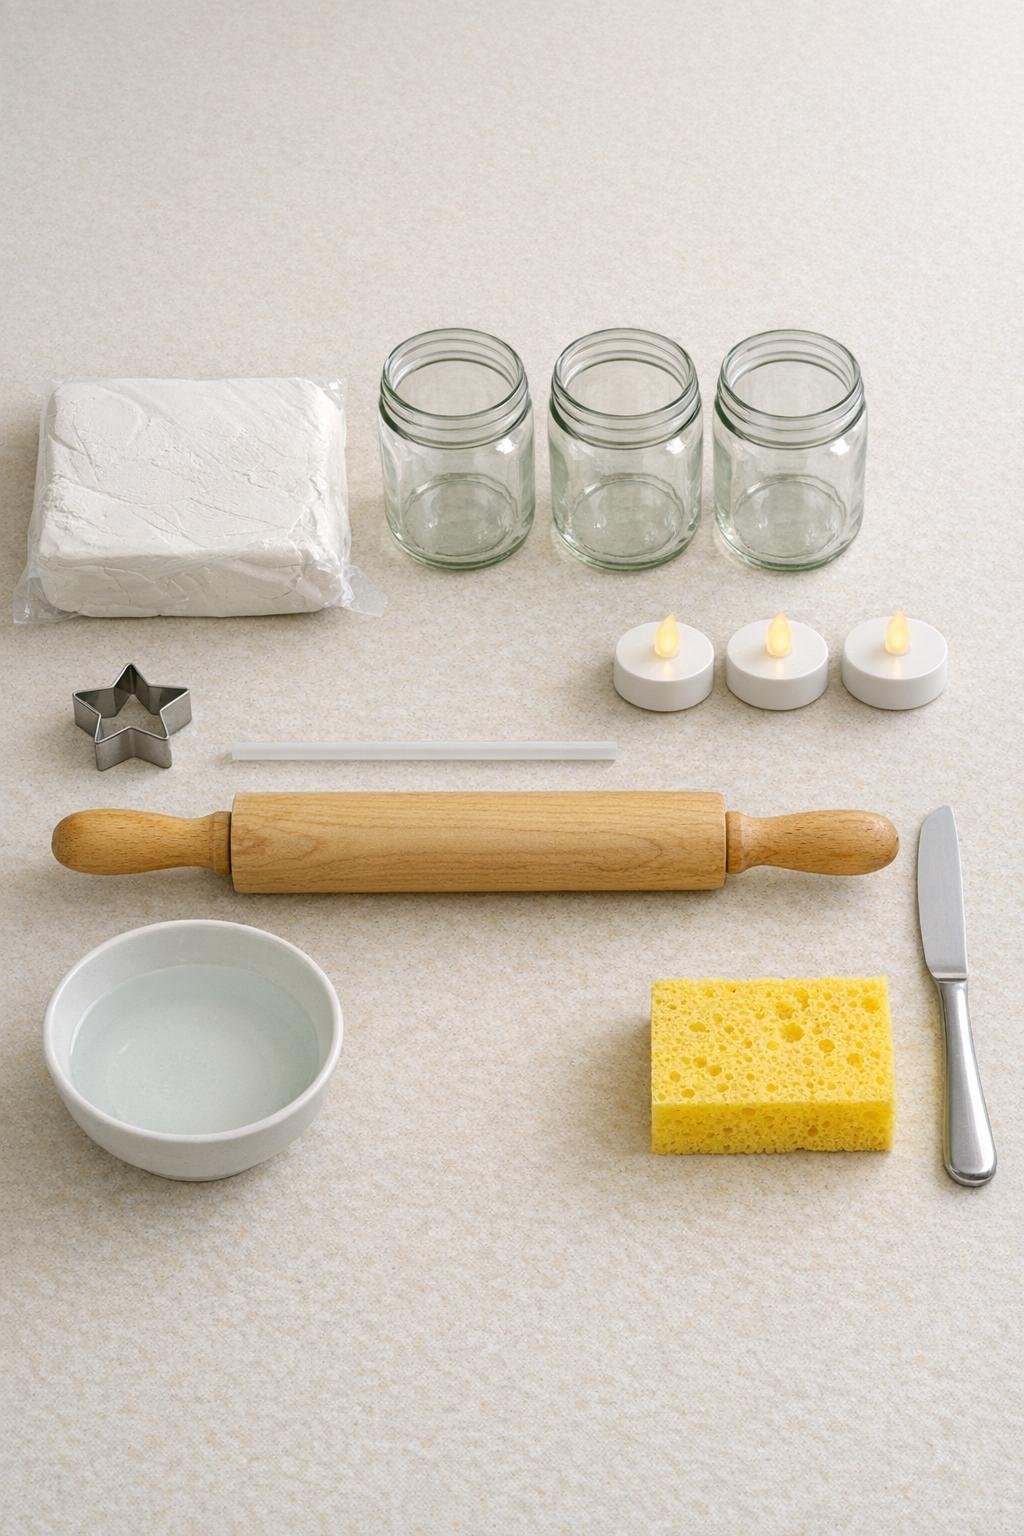
Materials
Instructions
1. Wash the jars well, remove any labels, and dry them completely so the clay can grip the glass without slipping.
2. Divide the clay into 3 equal portions so each jar gets a full, generous wrap without leaving one too thin.
3. Roll the first portion of clay into a slab about 1/8 inch thick and large enough to wrap around most of one jar, keeping the thickness as even as you can.
4. Hold the jar on its side and wrap the clay slab around it, pressing gently with your hands so the clay hugs the glass and covers the sides in one continuous layer.
5. Trim away any overlap with the butter knife, then smooth the seam with a fingertip dipped in water until it nearly disappears.
6. Use the damp sponge and a little water to smooth the entire outside surface, softening fingerprints and tiny cracks but keeping the clay layer thick enough to feel substantial.
7. Press the small star cookie cutter into the clay to cut out stars all around the jar, spacing them evenly and placing enough of them to create a full glowing pattern.
8. Use the drinking straw to punch a few small round holes between the stars, which helps the light sparkle more and fills in any empty spaces nicely.
9. Cut away the clay covering the mouth of the jar so the top edge is open and even, then smooth that rim with a damp fingertip for a clean finished look.
10. Repeat the rolling, wrapping, smoothing, and cutout steps for the other 2 jars, varying the star placement slightly so the set looks handmade but coordinated.
11. Let all 3 jars dry upright for 24 to 48 hours, turning them once or twice during drying if needed so the clay cures evenly and feels hard all the way through.
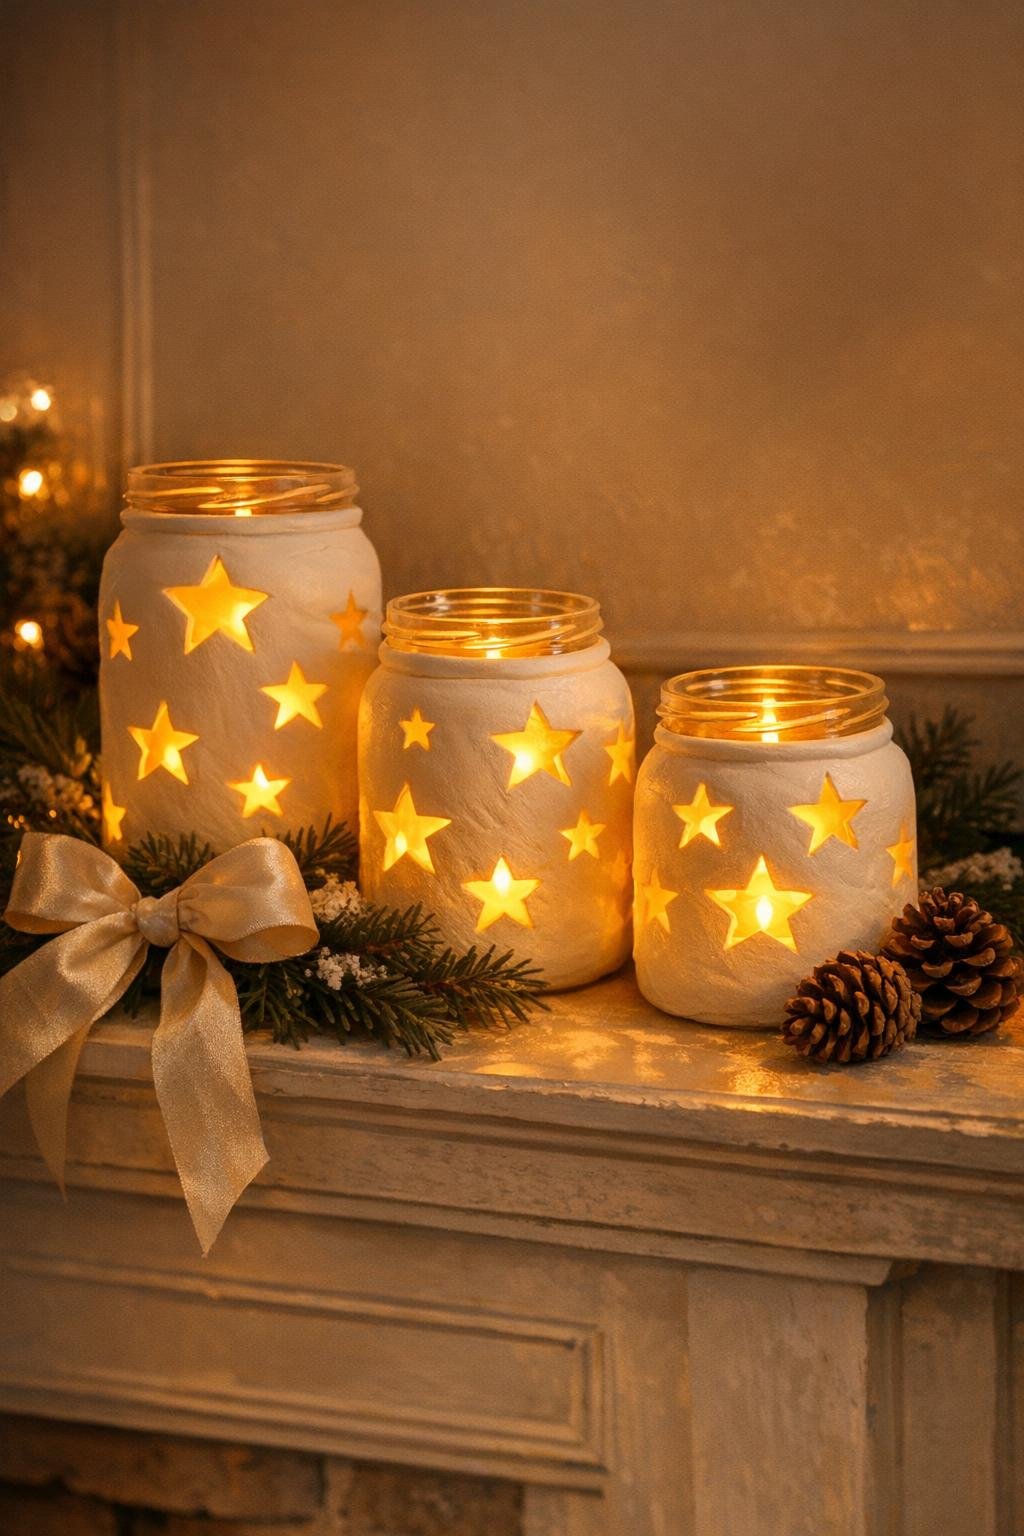
12. Once dry, do a final light smoothing with a barely damp sponge if needed, then place 1 battery tea light inside each jar and switch them on.
Variations & Tips
For a cleaner clay surface: Keep a small bowl of water nearby the whole time and smooth as you go instead of waiting until the end; I’ve learned that tiny cracks are much easier to erase before the clay starts drying.
Jar size tip: Medium jars are the easiest to wrap neatly because they give you enough space for lots of stars without making the clay slab heavy and awkward.
Pattern variation: If you want a more delicate look, use fewer stars and more straw holes; if you want a bolder holiday look, pack the stars closer together for a fuller glow.
Drying tip: Don’t rush these near a heater or vent, because air dry clay can crack when it dries too fast; room-temperature drying gives the smoothest finish.
Safety note: Use only battery tea lights for this project since the jars are wrapped in air dry clay and meant for flameless glow, not real candles.
Easy finishing touch: These look especially pretty grouped in a set of three, and I like placing them on a tray or mantel with a little evergreen clipping nearby so they feel intentionally styled without any extra work.