
I love a project that takes the plainest odds and ends and turns them into something that looks like it came from a little boutique garden shop. This winter planter starts with a black plastic nursery pot, then uses two easy dollar store finds to turn it into a self-wicking cold-season container that stays handsome long after the summer flowers are gone. It’s practical, too—especially if you live where the wind blows hard, the porch gets dry, and you still want your entry to look cared for clear through the end of the season.
What I especially like about this one is that it gives you a full, generous winter display without needing a lot of fussing once it’s made. The hidden water reservoir helps keep the soil from drying out so quickly during those odd warm spells, and the finished planter has enough height and fullness to really hold its own by a front door. If you’ve got one old nursery pot hanging around and a dollar store nearby, you can make this in an afternoon.
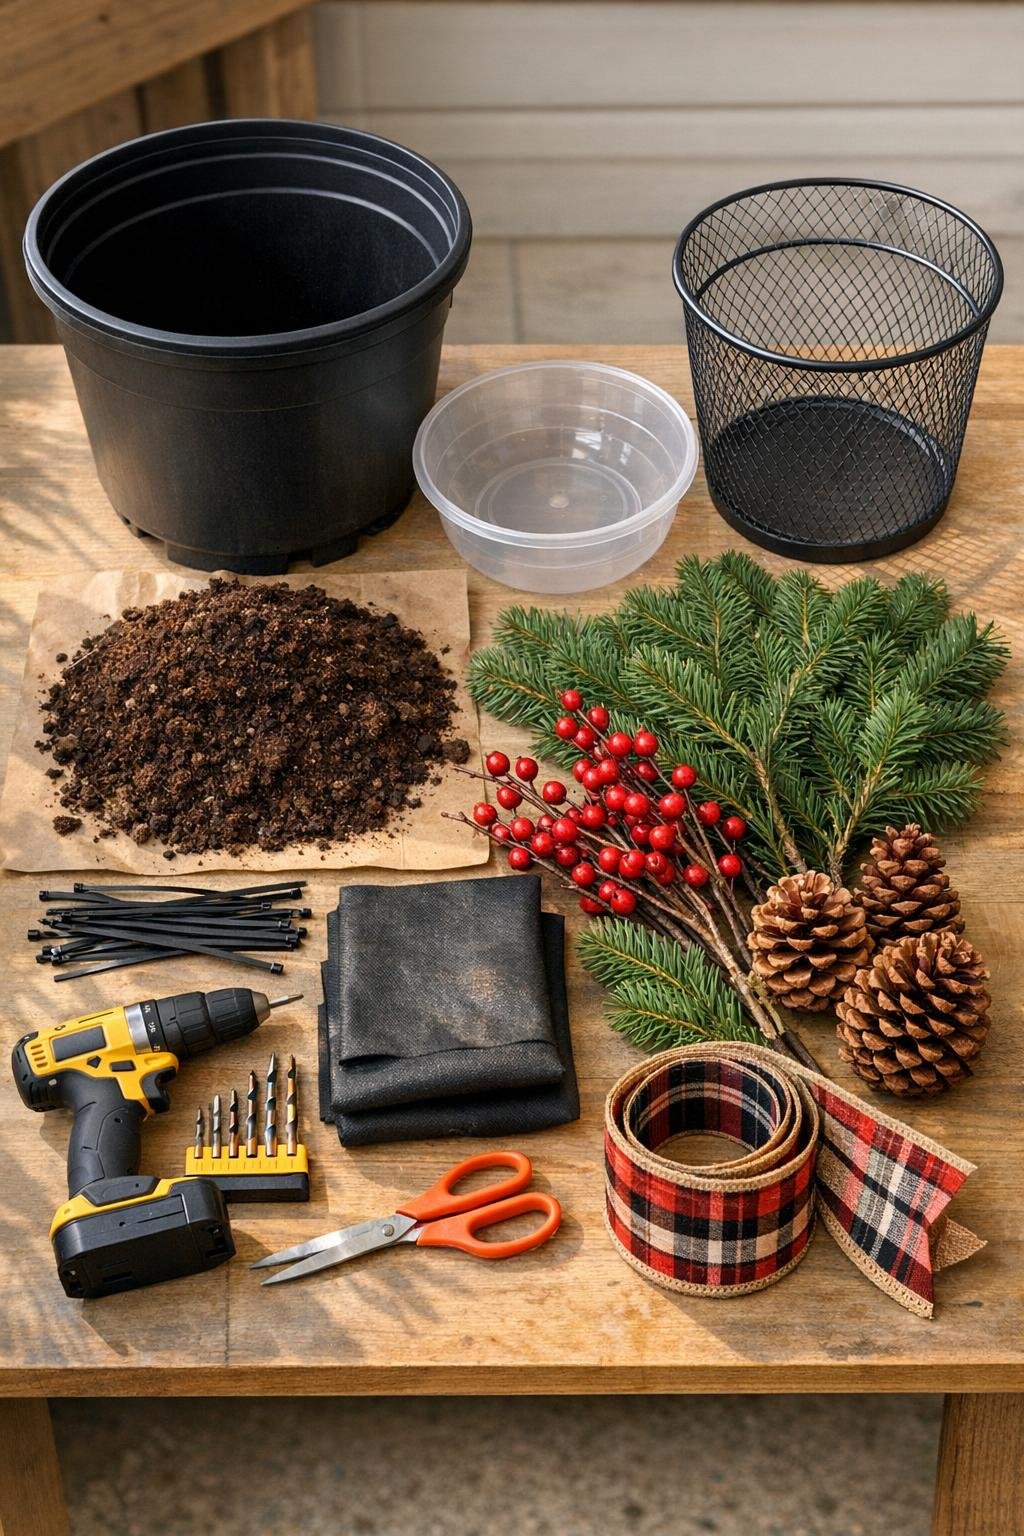
1. Set the black nursery pot upside down or on its side and drill 10 to 12 holes around the lower sidewalls, keeping them about 1 1/2 inches up from the bottom; these side holes let excess water escape while preserving a small reservoir underneath.
2. If your wire wastebasket is bright silver or colorful, spray it matte black outdoors and let it dry completely so it disappears inside the planter and matches the nursery pot.
3. Place the plastic bowl in the bottom center of the nursery pot and pour the pea gravel around it to steady it so it won’t wobble or tip when you fill the pot.
4. Set the wire wastebasket directly on top of the bowl so it acts like a soil column above the reservoir, then check that the top rim of the basket sits a few inches below the rim of the nursery pot.
5. Drape the landscape fabric over the wire basket and press it down into the pot so it lines the basket and covers the gaps, leaving enough extra to overlap the edges by an inch or two.
6. Use 4 to 6 zip ties to fasten the fabric to the top rim of the wire basket through the mesh, then trim the ends so the liner stays snug while still allowing moisture to move through.
7. Fill the basket-lined center with potting mix, pressing some soil firmly down through the middle so it makes contact with the area above the water bowl; that packed center becomes the wick that draws moisture upward.
8. Water the soil lightly from above until it is evenly damp, then pour about 2 cups of water into the reservoir area by slipping the watering stream down one edge of the pot until the bottom chamber is charged.
9. Build the winter arrangement by pushing the tallest twig stems into the center first, then add the evergreen branches all around at a low outward angle so the planter looks wide, full, and lush instead of upright and sparse.
10. Tuck in the berry stems evenly around the greenery, then add pinecones and the centerpiece pick a little forward of center so the arrangement has depth and a polished focal point.
11. Fluff and rotate the stems until there are no bare spots, then tuck in any optional faux cedar or eucalyptus picks to thicken the middle and soften the transitions between materials.
12. Tie a generous ribbon bow and secure it near the front rim or around a small cluster of branches, then place the finished planter by your door, on steps, or beside the porch where the black nursery pot can do its quiet work beneath all that winter texture.
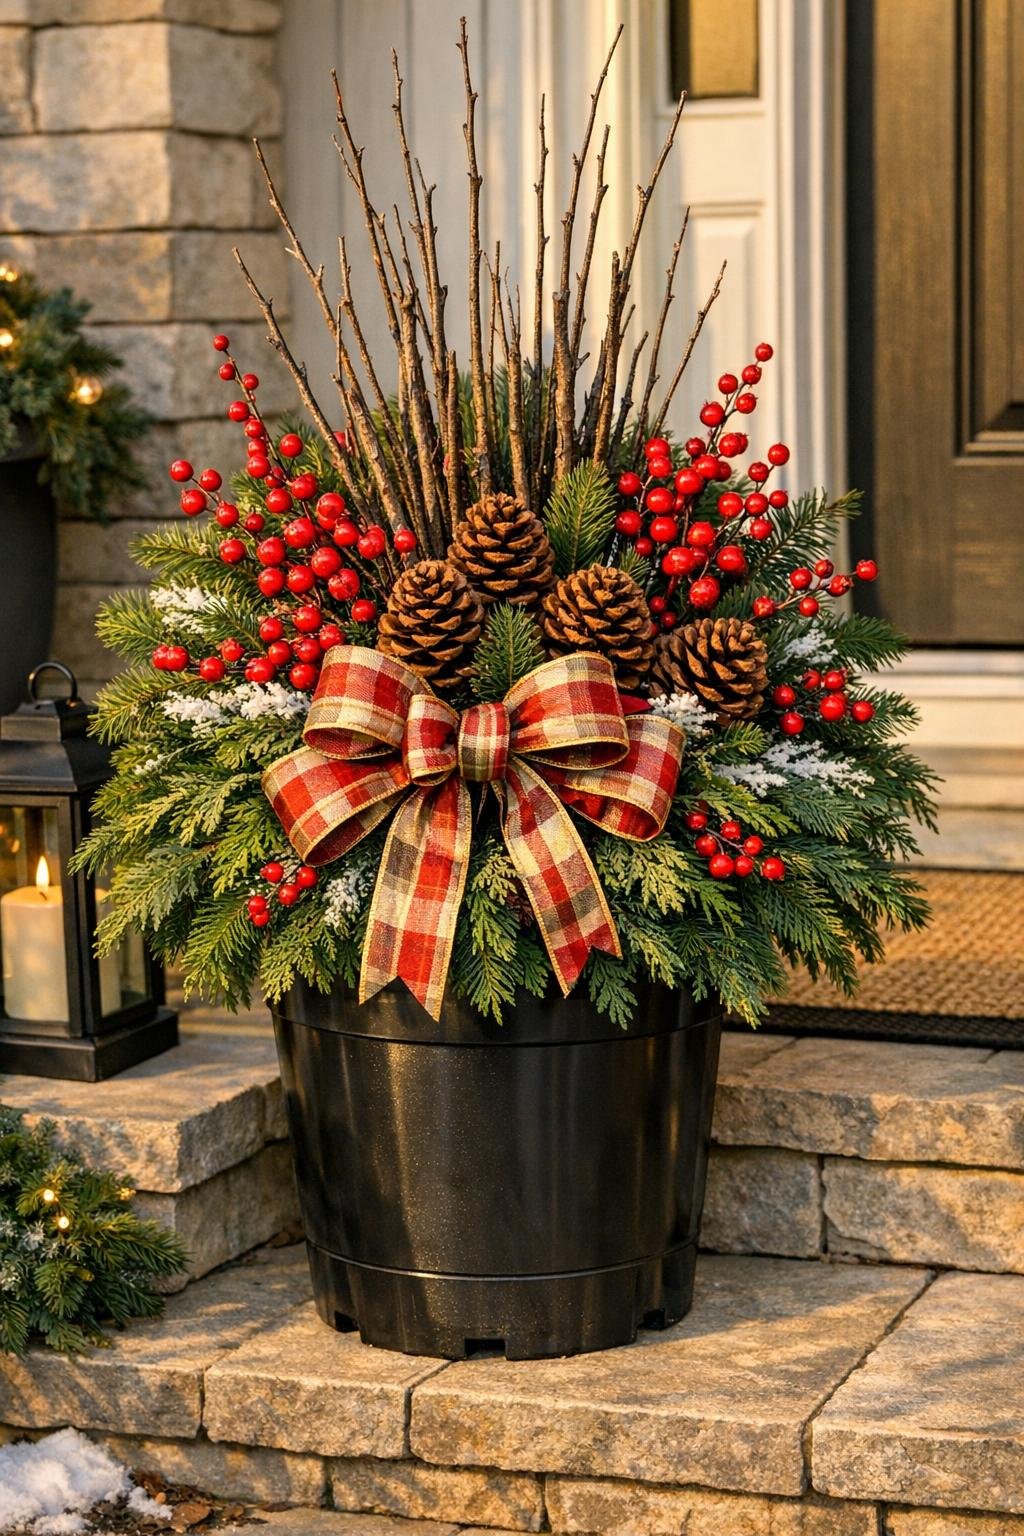
For colder climates: If your winters freeze hard, use mostly cut evergreen branches, twigs, berries, and pinecones rather than live plants. The self-wicking base still helps hold moisture in the soil mass, which keeps everything anchored better through wind and temperature swings.
For a taller statement: Use a 3-gallon or larger nursery pot and choose longer dogwood, birch, or curly willow stems. I’ve found that generous height is what makes a porch arrangement look expensive, even when the bones are wonderfully humble.
For a holiday look: Add a few weatherproof ornament picks in deep red, bronze, or gold. Keep them tucked into the greenery rather than perched on top, so the planter stays tasteful and doesn’t tip into looking flimsy.
For a natural farmhouse finish: Skip the shiny accents and use extra pinecones, magnolia leaves, and a burlap-style ribbon. That combination reminds me of the winter porches I used to admire on country roads after the harvest was in.
To refill the reservoir: Water slowly along one inside edge of the pot every week or two during dry spells, just enough to recharge the bottom chamber without flooding the soil. Because you drilled the overflow holes on the lower sides, the planter won’t stay waterlogged.
To keep it looking full: Insert greenery in layers—low around the rim, medium through the middle, and tallest at the center back. That one little florist’s trick makes a homemade arrangement look finished instead of simply stuck together.
If you want more permanence: Use all faux winter stems and secure them tightly in the damp potting mix. You’ll still get the weight and stability of a real planter, but you can store the whole thing and reuse the base next year.